How to Install a Shelf That Won’t Fall Down
I was standing in my kitchen last Tuesday, staring at a stack of heirloom ceramic bowls that were currently living in a cardboard box because my pantry was a total disaster, when I realized something: most people think you need a contractor or a degree in engineering just to get your spices off the floor. We’ve been told that learning how to install a shelf is this daunting, high-stakes DIY project that’s bound to end in a hole in the drywall and a broken jar of saffron. But honestly? It’s a lot like mastering a basic roux—once you understand the fundamental steps and have the right tools, it becomes second nature.
I’m not here to give you a lecture filled with confusing jargon or overly complicated blueprints. Instead, I’m going to walk you through the process with the same no-nonsense approach I use when consulting for busy restaurant kitchens. We’re going to cover everything from finding those elusive studs to choosing the right anchors, ensuring your new display is as sturdy as a cast-iron skillet. By the time we’re done, you’ll have the confidence to turn your cluttered corners into a beautifully organized culinary sanctuary.
Table of Contents
- Step-by-Step Instructions
- Essential Tools for Shelf Mounting and Creative Vision
- Finding Wall Studs for Shelving to Support Your Treasures
- Pro-Tips from the Kitchen: Avoiding a Culinary (and Structural) Collapse
- The Secret Sauce to a Successful Shelf
- ## More Than Just Hardware
- From Blueprint to Banquet
- Frequently Asked Questions
Guide Overview
Tools & Supplies
- Drill/Driver for making holes and driving screws
- Level to ensure the shelf is straight
- Stud finder to locate wall supports
- Pencil for marking placement
- Shelf unit 1 unit
- Wall anchors 1 pack (if not using studs)
- Screws 1 pack (compatible with shelf/anchors)
Step-by-Step Instructions
- 1. First things first, let’s talk about your mise en place. Just like you wouldn’t start a high-stakes service without having your onions diced and your pans ready, you shouldn’t touch a drill without your gear. You’ll need a level, a stud finder, a drill, some sturdy wall anchors, a pencil, and of course, your shelving hardware. Trust me, nothing kills the creative vibe faster than having to stop halfway through because you realized you’re missing a screwdriver.
- 2. Once your station is set, grab that stud finder and go to work. You want to find those solid wooden studs behind your drywall whenever possible; they are the backbone of your setup. If you can’t find a stud where you want your shelf to live, don’t panic! We can always use heavy-duty drywall anchors, but aiming for the studs is always the gold standard for stability.
- 3. Now, grab your pencil and mark your spots. This is where your level becomes your best friend. Hold your bracket up to the wall, place the level on top to ensure it’s perfectly straight, and mark the screw holes lightly. I know it’s tempting to just “eye it,” but in a kitchen, a millimeter can be the difference between a perfect emulsion and a disaster—and the same goes for your decor!
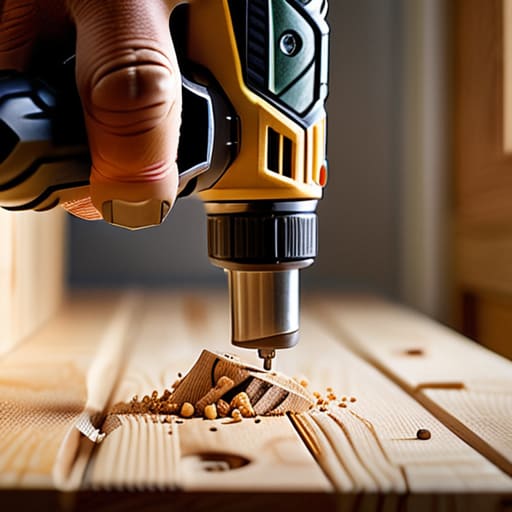
- 4. If you’re mounting into a stud, go ahead and drill your pilot holes. If you’re using anchors because you’re working with just drywall, this is the moment to carefully tap those anchors into the holes you’ve drilled. Make sure they are flush against the wall so they don’t create an awkward bump that ruins the sleek look of your new culinary display.
- 5. It’s time for the main event: mounting the brackets. Line them up with your marks and drive the screws in. I like to do this in a slow, steady rhythm to make sure I’m not stripping the screw or cracking the wall. You want those brackets to feel absolutely rock-solid; if they wiggle even a little, we aren’t ready to move on to the next step.
- 6. Finally, slide your shelf into place and secure it to the brackets. This is the most rewarding part—it’s like seeing a beautifully plated dish come together after hours of prep. Give the shelf a gentle test tug to ensure everything is secure before you start loading it up with your favorite cookbooks or those vintage spice jars I’m always obsessing over.
Essential Tools for Shelf Mounting and Creative Vision
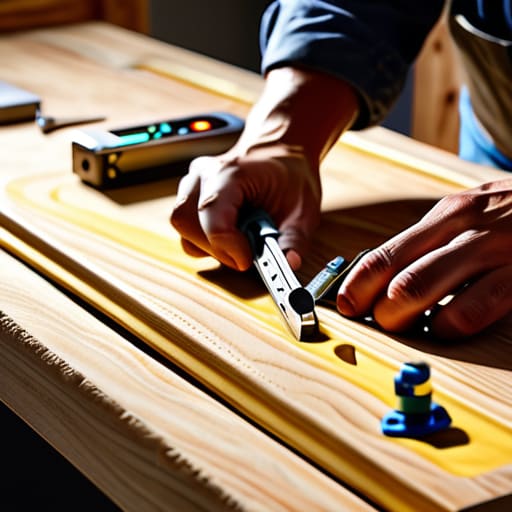
Before you even pick up a drill, you need to gather your mise en place. Just like I wouldn’t start a service without my knives sharpened and my station prepped, you shouldn’t tackle a project without the right essential tools for shelf mounting. Beyond the basics like a level and a screwdriver, I always recommend investing in a decent stud finder. Finding wall studs for shelving is the difference between a beautiful display of heirloom spices and a very expensive pile of broken ceramic on your kitchen floor. If you aren’t hitting a stud, don’t panic—just make sure you’re using high-quality drywall anchors for heavy loads to keep everything secure.
Once you have your gear, take a moment to step back and dream a little. Are these shelves going to hold your heavy stand mixer, or are they just a curated stage for your favorite vintage cookbooks? Your vision dictates your hardware. A sleek, modern look might require a specialized shelf bracket installation guide to ensure those floating lines stay crisp, while a rustic farmhouse vibe can handle something a bit more substantial. Aim for a balance between function and flair!
Finding Wall Studs for Shelving to Support Your Treasures
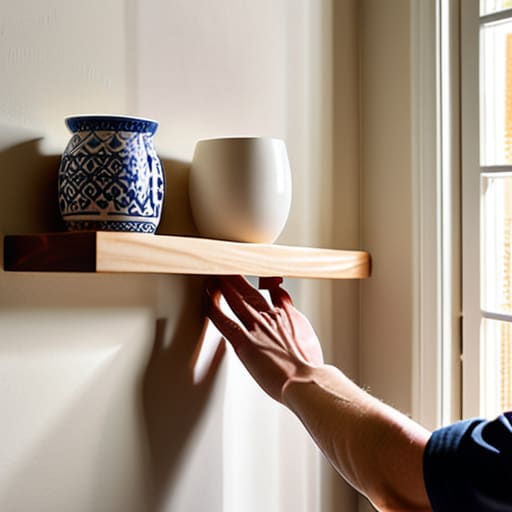
Now, here’s where we get into the real “prep work” of the project. If you’ve ever seen a beautiful display of heirloom ceramics or heavy cookbooks suddenly take a dive onto the kitchen floor, you know that stability is everything. When it comes to finding wall studs for shelving, you aren’t just looking for any spot; you’re looking for the structural backbone of your home. I always tell my clients that skipping this step is like trying to bake a soufflé without preheating the oven—you might get lucky, but you’re mostly just asking for a collapse. Grab your stud finder and take your time; hitting those wooden studs ensures your treasures stay exactly where you put them.
If your dream layout doesn’t perfectly align with your studs, don’t panic! You can still create something stunning by using high-quality drywall anchors for heavy loads. Just make sure you match the anchor type to the weight of your items—think of it like choosing the right knife for the job. Whether you’re working with heavy stoneware or light spice jars, having the right support is the secret to a shelf that looks professional and stays rock-solid.
Pro-Tips from the Kitchen: Avoiding a Culinary (and Structural) Collapse
- Don’t overstuff the pantry! It’s tempting to display every single heirloom ceramic bowl you own, but remember that weight adds up fast. I always tell my clients to test the load-bearing capacity of their shelves with something heavy before committing to your full collection of heavy stoneware.
- Level it like a pro. In a professional kitchen, precision is everything, and it’s no different here. A shelf that’s even slightly tilted might not look like a huge deal, but it’ll eventually send your olive oil bottles sliding right off the edge—and nobody wants an oil slick on their kitchen floor.
- Mind your spacing. If you’re installing shelves for spices or cookbooks, give them some breathing room. You want your kitchen to feel like a curated boutique, not a cluttered storage unit. Leave enough “white space” so your beautiful ingredients can actually be seen and enjoyed.
- Use the right anchors for the job. If you can’t hit a stud (and let’s be real, sometimes the walls just won’t cooperate), don’t just wing it with basic nails. Invest in some high-quality drywall anchors. It’s the difference between a shelf that stays put and one that ends up in a pile on the floor mid-dinner party.
- Think about the “flow” of your workspace. I like to treat shelf installation like mise en place—everything should be exactly where you need it. Place your most-used items, like your favorite salt cellar or cooking oils, at eye level and within easy reach so your cooking process feels seamless and inspired.
The Secret Sauce to a Successful Shelf
Measure twice and prep your space like a mise en place; having your tools and layout ready before you even pick up a drill prevents a kitchen (or living room) disaster.
Never skip the stud search—your beautiful collection of artisanal ceramics and heavy cookbooks deserve a foundation that’s as sturdy as a professional-grade prep table.
Let your personality shine through the organization, treating your shelves not just as storage, but as a curated gallery that tells your unique culinary story.
## More Than Just Hardware
“Think of installing a shelf much like balancing a delicate reduction; if your foundation isn’t steady and your measurements aren’t precise, the whole thing just won’t hold the weight of your vision. But once it’s secure, it becomes the perfect stage for the ingredients and treasures that make your kitchen feel like home.”
Amelia Johnson
From Blueprint to Banquet
Now that you’ve navigated the technicalities—from hunting down those elusive wall studs to selecting the perfect tools—you are officially ready to bring your vision to life. Remember, installing a shelf is a lot like perfecting a signature sauce; it requires patience, the right ingredients, and a bit of precision to ensure everything stays balanced. By taking the time to measure twice and secure your hardware properly, you aren’t just putting up a piece of wood; you are building a sturdy foundation for your kitchen’s personality. Whether you’re displaying heirloom spice jars or your favorite hand-thrown ceramic bowls, the effort you put into the setup now will pay off every time you reach for a tool or a treat.
At the end of the day, your kitchen should be more than just a place where you prep meals; it should be a reflection of your unique culinary journey. Don’t be afraid to experiment with different heights or groupings to find a layout that feels just right for your creative soul. Every chef, whether they’re running a Michelin-starred kitchen or just mastering a Sunday roast at home, knows that the environment we create influences the magic we make. So, go ahead and claim your space, hang those shelves with pride, and let your kitchen become the inspiring sanctuary you’ve always dreamed of. Happy decorating!
Frequently Asked Questions
What should I do if I can't find a stud exactly where I want my shelf to go?
Don’t panic! Even in a professional kitchen, things don’t always line up perfectly. If your dream shelf placement misses a stud, your best friends are heavy-duty drywall anchors. I swear by the toggle bolt style for anything substantial—it grips the back of the wall like a pro. Just make sure you check the weight rating on the package. It’s like using a high-quality emulsifier; it provides the stability you need when the natural structure isn’t quite there!
How much weight can I actually expect these shelves to hold before they start to sag or pull away from the wall?
That is the million-dollar question! Honestly, it depends on whether you’re displaying light spices or a heavy collection of Le Creuset Dutch ovens. If you’ve hit those studs like we discussed, you’re looking at a much higher capacity—potentially dozens of pounds. But if you’re relying solely on drywall anchors, be careful! I always tell my clients: test your weight limits gradually. You don’t want your culinary treasures taking an unexpected dive!
Are there specific types of wall anchors I should use for heavier items like my collection of cast iron skillets or ceramic bowls?
Oh, those cast iron skillets! They are gorgeous, but they are heavy hitters—literally. Since they’re much more substantial than a few spice jars, you definitely want to skip the basic plastic plugs. I’d recommend using heavy-duty toggle bolts or zinc self-drilling anchors. They grip the drywall much more securely. Just remember, if you can, always aim for a stud first; it’s the ultimate “secret ingredient” for a shelf that won’t budge!


Amelia Johnson
I believe that food is not just sustenance but an expression of culture and creativity. Let’s explore how we can turn our culinary passions into rewarding careers that feed both our souls and our wallets.