How to Cook Chicken Breast So It’s Never Dry
I still remember the frantic, humid chaos of my first line position in NYC, where I’d watch junior cooks treat a simple piece of poultry like it was some high-stakes chemistry experiment. They’d be sweating over complicated sous-vide setups or expensive thermometers, convinced that knowing how to cook chicken breast required a degree in molecular gastronomy. But honestly? Most of that high-end kitchen theater is just noise. I’ve seen more talent wasted on overcomplicated techniques than I care to count, all while the actual meat ends up dry, tasteless, and frankly, depressing.
I’m not here to sell you on some fancy, unnecessary gadget or a recipe that requires a trip to a specialty boutique. Instead, I’m going to give you the real deal: the fundamental, chef-tested methods that actually work in a busy home kitchen. We’re going to strip away the hype and focus on mastering the heat and the seasoning so you can turn a humble protein into something truly soulful. By the time we’re done, you won’t just be following a recipe; you’ll be owning the technique.
Table of Contents
- Creative Chicken Breast Seasoning Ideas for Flavorful Expressions
- The Pan Seared Chicken Breast Method for Golden Perfection
- Pro-Tips from the Line: My Secrets to Juicy, Never-Dry Chicken
- Mastering the Essentials: My Top Three Tips for Chicken Success
- More Than Just Protein
- Mastering the Art of the Chicken Breast
- Frequently Asked Questions
Creative Chicken Breast Seasoning Ideas for Flavorful Expressions
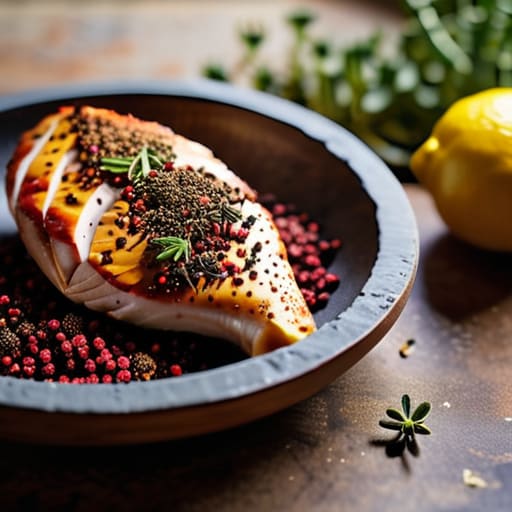
Now, let’s talk about the real magic: the flavor. If you’ve ever felt like chicken is a bit of a blank canvas that’s too boring to paint on, I’m here to tell you that’s simply because you haven’t found your palette yet! One of my favorite chicken breast seasoning ideas involves a Mediterranean twist—think dried oregano, lemon zest, and a heavy hand of garlic powder. If you’re feeling a bit more adventurous, a smoky paprika and cumin rub can transform a standard dinner into something that feels like a street food find from a market in Marrakech.
The secret to making these spices truly sing is ensuring they adhere to the meat without creating a crust that’s too thick. I always recommend patting your protein bone-dry with a paper towel before applying your rub; this is one of those essential moist chicken breast techniques that prevents steaming and encourages a beautiful crust. Whether you’re leaning into a spicy chili lime profile or a soothing herb medley, remember that seasoning isn’t just a step—it’s your chance to inject your own personality into the dish.
The Pan Seared Chicken Breast Method for Golden Perfection
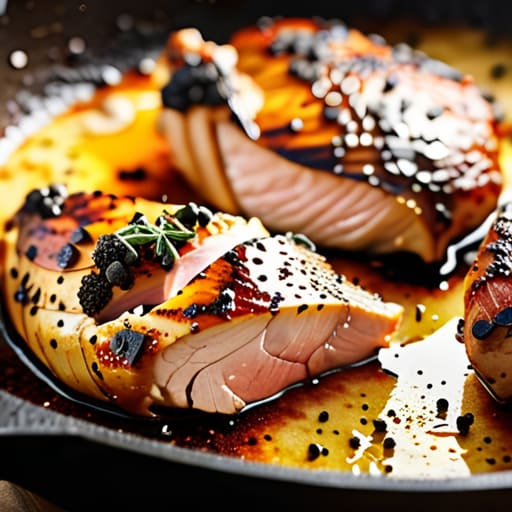
Now, let’s get into the heart of the kitchen: the actual heat. If you’ve ever felt frustrated by a piece of poultry that looks cooked on the outside but is practically a desert on the inside, the pan-seared chicken breast method is going to be your new best friend. The secret isn’t just about high heat; it’s about patience and the science of the sear. Start with a heavy-bottomed skillet—cast iron is my absolute favorite for heat retention—and get that oil shimmering. When you lay that seasoned meat into the pan, you should hear a glorious, aggressive sizzle. That sound is the Maillard reaction happening right before your eyes, creating that beautiful, golden-brown crust that locks in all those lovely juices we worked so hard on during the seasoning stage.
Once you’ve achieved that perfect color, the real trick to preventing dry chicken breast is knowing exactly when to pull it off the heat. Don’t guess! I always tell my consulting clients that a digital thermometer is the most important tool in your kit. You’re aiming for an internal temperature for chicken of exactly 165°F (74°C), but honestly, I like to pull it at 160°F and let it rest. That carryover cooking is what ensures a truly succulent result. Give it five minutes of peace on a cutting board before you slice into it; your taste buds will thank you!
Pro-Tips from the Line: My Secrets to Juicy, Never-Dry Chicken
- Don’t even think about cooking it straight from the fridge! Let your chicken sit at room temperature for about 15-20 minutes first; it helps the meat cook much more evenly so you don’t end up with a hot exterior and a cold center.
- Invest in a digital meat thermometer—seriously, it’s a total game-changer. Pulling that chicken off the heat at exactly 160°F (it will carry over to 165°F while resting) is the difference between a culinary masterpiece and a piece of cardboard.
- Give your breasts a little “spa treatment” with a gentle pound. Using a meat mallet to even out the thickness ensures that the thin tail end doesn’t dry out while you’re waiting for the thickest part to finish.
- Patience is your best friend during the resting phase. Once the chicken is done, let it sit on a warm plate for at least five minutes before slicing; this allows those delicious juices to redistribute back into the fibers instead of running all over your cutting board.
- Dry your meat thoroughly with paper towels before it hits the pan. Moisture is the enemy of a good sear, and if you want that gorgeous, golden-brown crust we all crave, you need a bone-dry surface to start with.
Mastering the Essentials: My Top Three Tips for Chicken Success
Don’t fear the seasoning; treat your chicken like a blank canvas and use spices to tell a story, whether it’s a trip to Thailand or a cozy night in Vermont.
Temperature is your best friend, but technique is your secret weapon—aim for that perfect golden crust through careful pan-searing to lock in all those delicious juices.
Remember that cooking is a skill that builds confidence, so treat every chicken breast as a chance to practice your craft and refine your culinary intuition.
More Than Just Protein
“Mastering the chicken breast isn’t about following a rigid set of instructions; it’s about learning to listen to the sizzle and feel the texture, turning a humble staple into a canvas for your own culinary signature.”
Amelia Johnson
Mastering the Art of the Chicken Breast
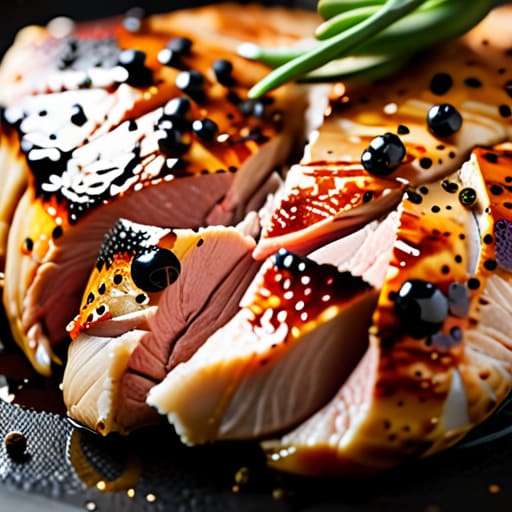
At the end of the day, mastering the humble chicken breast is about much more than just hitting a specific internal temperature; it’s about understanding the harmony between seasoning and technique. We’ve explored how a thoughtful spice profile can transform a plain protein into a global flavor journey, and we’ve tackled the pan-searing method to ensure you achieve that dreamy, golden-brown crust every single time. Remember, whether you are experimenting with a smoky paprika rub or focusing on the precision of your heat control, the goal is to move past simple instruction and toward culinary intuition. Once you nail these fundamentals, you aren’t just following a recipe anymore—you’re actually cooking.
As you head back into your kitchen, I want you to remember that every mistake is just a delicious lesson in disguise. Don’t be afraid to let a little bit of smoke escape the pan or to try a spice combination that sounds a bit wild; that’s exactly where the magic happens. Cooking should be a source of joy and a way to express who you are, not a stressful chore on a checklist. So, grab your apron, trust your senses, and cook with intention. You have all the tools you need to turn a simple meal into something truly extraordinary that feeds both your hunger and your soul.
Frequently Asked Questions
How do I keep my chicken from turning into a dry, rubbery mess if I accidentally overcook it?
Oh, we’ve all been there—staring at a piece of chicken that feels more like a yoga mat than dinner! If you’ve accidentally overcooked it, don’t panic. The best rescue mission is moisture. Slice it thin and toss it into a warm, flavorful sauce, like a creamy lemon butter or a spicy salsa. Better yet, shred it into a hearty soup or a bright, acidic chicken salad. It’s all about masking that texture with deliciousness!
Is it actually worth the extra effort to pound my chicken breasts to an even thickness before they hit the pan?
Oh, absolutely! If you ask me, pounding your chicken is the ultimate “work smarter, not harder” hack. When you have those uneven, thick-to-thin breasts, you end up with a culinary tragedy: dry, rubbery edges while the center is still raw. By leveling them out, you ensure even heat distribution, meaning every single bite cooks perfectly at the same time. It’s a tiny bit of prep that makes a massive difference in your final result!
Can I use these same pan-searing techniques if I'm working with organic or air-chilled chicken, or does the texture change too much?
Oh, that is such a fantastic question! Honestly, you absolutely can—and I actually highly recommend it. Using organic or air-chilled chicken is a total game-changer for your pan-searing results. Since air-chilled birds don’t hold onto that excess water, you’ll actually get a much better, crispier sear without the dreaded “steaming” effect in the pan. The texture might feel slightly more firm, but that’s just a sign of high-quality protein!


Amelia Johnson
I believe that food is not just sustenance but an expression of culture and creativity. Let’s explore how we can turn our culinary passions into rewarding careers that feed both our souls and our wallets.