Diy Jewelry Making: a Beginner’s Starter Guide
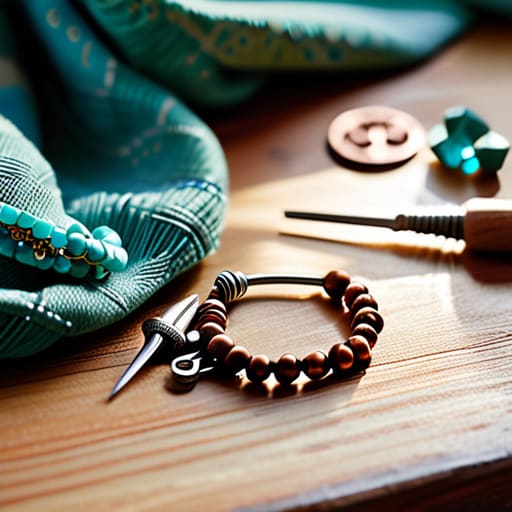
You know, people often tell me that transitioning from a professional kitchen to a creative hobby like jewelry making is a total leap into the unknown, but I see it differently. They think you need a massive studio or a mountain of expensive gemstones to get started, but that’s a total myth. To me, diy jewelry making is just like mastering a delicate reduction sauce—it’s all about understanding your ingredients, finding your rhythm, and having the patience to let the process unfold. I remember sitting on my kitchen floor in NYC, surrounded by beadwork instead of mise en place, realizing that the same creative spark that drove me to plate a perfect dish was exactly what I needed to string my first necklace.
In this guide, I’m stripping away the fluff and the “influencer” hype to give you the real deal. I’ll walk you through the essential tools you actually need, how to source quality materials without breaking the bank, and the foundational techniques to ensure your pieces look professional rather than “crafty.” Whether you’re looking for a way to decompress after a long day or you’re dreaming of building a side hustle that feeds your soul, we’re going to turn those raw materials into something truly spectacular.
Table of Contents
- Step-by-Step Instructions
- Curating Your Jewelry Making Kit Essentials for Success
- Mastering Jewelry Wire Wrapping Techniques to Express Your Style
- Seasoning Your Craft: 5 Pro-Tips for Elevating Your Jewelry Game
- Bringing Your Vision to Life: The Heart of Your Creative Journey
- ## The Secret Ingredient to Every Creation
- From Spark to Statement Piece
- Frequently Asked Questions
Guide Overview
Tools & Supplies
- Needle-nose pliers for gripping and bending wire
- Wire cutters for trimming excess material
- Beading mat to prevent rolling
- Assorted beads (approx. 50-100 pieces)
- Jewelry wire or elastic cord (1-2 meters)
- Lobster clasps or crimp beads (5-10 pieces)
Step-by-Step Instructions
- 1. First things first, we need to prep our “mise en place.” Just like I wouldn’t dream of starting a service without my ingredients chopped and ready, you shouldn’t start a jewelry project without a clear workspace. Gather your beads, wires, findings, and tools—pliers, cutters, and tweezers—and lay them out on a felt mat or a soft cloth. This prevents your tiny, precious components from rolling off the table and disappearing into the kitchen floor abyss.
- 2. Once your station is set, it’s time to choose your “flavor profile.” This is where you decide on the aesthetic of your piece, whether it’s a minimalist gold chain or a maximalist, chunky beaded statement necklace. I always tell my clients that consistency is key; pick a color palette or a specific theme so the final product feels like a cohesive dish rather than a pile of random ingredients.
- 3. Now, let’s get to the technical prep by measuring and cutting your base materials. If you’re working with wire or cord, use your cutters to grab the exact length you need, but always leave a little extra room for error. It’s much easier to trim a long strand than it is to realize you’ve accidentally made a choker when you were aiming for a mid-length necklace.
- 4. Next, we move into the assembly phase, which is essentially the “cooking” part of the process. If you’re using jump rings, use your pliers to gently twist them open sideways rather than pulling them apart—this keeps the metal strong and prevents it from losing its shape. Think of it as handling delicate herbs; you want to be firm enough to get the job done, but gentle enough to preserve the integrity of the material.
- 5. As you begin stringing your beads or attaching charms, pay close attention to the rhythm and spacing. I like to lay everything out on a bead board first to visualize the pattern before I commit to the final stringing. This allows you to tweak the composition until it looks exactly how you imagined it in your head.
- 6. Once your design is assembled, it’s time to “plate” the piece by securing the ends. This usually involves adding crimp beads and attaching a clasp to ensure your creation stays put. Make sure your crimps are tight and secure; there is nothing more heartbreaking than a beautiful piece of jewelry falling apart mid-wear because the finishing touches were rushed.
- 7. Finally, give your piece a quick quality check. Hold it up to the light, check the tension, and make sure every clasp clicks shut perfectly. If it looks stunning and feels sturdy, you’ve officially moved from hobbyist to creator—now, go ahead and celebrate your win with a well-deserved snack!
Curating Your Jewelry Making Kit Essentials for Success
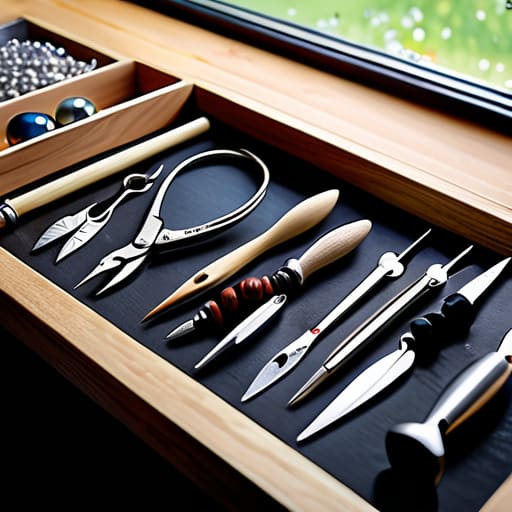
Think of setting up your workspace like prepping a professional mise en place. In a high-pressure kitchen, you wouldn’t dream of starting a reduction without your sharpest knife, and the same logic applies here. Instead of rushing out to buy every shiny gadget in the craft store, I recommend focusing on high-quality jewelry making tools for beginners that actually hold up under pressure. A sturdy pair of needle-nose pliers and a reliable wire cutter are your “chef’s knives”—they are the foundation of everything you’ll create. Investing in a few reliable basics now prevents the frustration of cheap tools snapping mid-project, which is the quickest way to kill your creative momentum.
Once you have your hardware, it’s time to source your ingredients. Just like choosing the right heirloom tomatoes for a sauce, your choice of essential bead supplies will dictate the “flavor” and quality of your final piece. I love mixing textures—pairing matte stones with polished glass—to give a piece depth. If you’re feeling adventurous, you can even start experimenting with intricate wire wrapping techniques to add a custom, high-end touch to your designs. Remember, it’s not about having the most supplies; it’s about having the right supplies to bring your vision to life.
Mastering Jewelry Wire Wrapping Techniques to Express Your Style
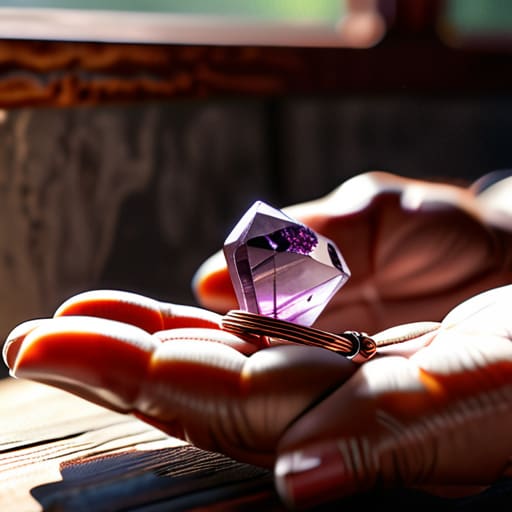
Think of wire wrapping like tempering chocolate or perfecting a delicate reduction; it requires patience, a steady hand, and a bit of rhythm. Once you’ve gathered your jewelry making tools for beginners, the real magic happens when you stop following the instructions blindly and start feeling the tension of the metal. When you’re practicing different jewelry wire wrapping techniques, don’t be discouraged if your first few coils look a little messy. Even in a professional kitchen, we mess up our plating before we master the art. The goal is to find a flow where the wire feels like an extension of your fingers rather than a stubborn obstacle.
As you move from simple loops to more intricate designs, remember that the wire is what holds your creative vision together. Whether you are crafting handmade earrings or securing a centerpiece stone, consistency is your best friend. I always tell my clients that detail is what separates a hobby from a brand. If you keep your wraps tight and even, your pieces will have that polished, high-end feel that makes people stop and ask, “Where did you get that?”
Seasoning Your Craft: 5 Pro-Tips for Elevating Your Jewelry Game
- Don’t fear the “seasoning” process. Just like a cast-iron skillet needs a little care to get perfect, your tools—especially your pliers and cutters—need regular maintenance. A tiny drop of oil or a quick wipe-down prevents rust and keeps your movements as smooth as a well-emulsified hollandaise.
- Think in flavor profiles. In the kitchen, we balance salt, fat, acid, and heat; in jewelry, you’re balancing texture, weight, color, and shine. If a piece feels “off,” it’s likely because you’re missing a counterpoint—try adding a matte bead to offset a high-shine metal.
- Master your mise en place. There is nothing more frustrating than being mid-wire-wrap and realizing you’ve run out of jump rings. Organize your beads and components in small, labeled trays before you even start. It keeps your creative flow uninterrupted and your workspace from turning into a chaotic pantry.
- Embrace the “tasting” phase. Before you commit to a full production run of a specific design, make a single prototype. It’s your test batch. Check the weight on your ears and the tension of the wire to ensure the “recipe” actually works in real-world conditions.
- Find your signature spice. Every great chef has that one ingredient that makes their food instantly recognizable. For your jewelry, find that one unique element—maybe it’s a specific way you knot your silk cord or a certain vintage bead you hunt for—that tells the world, “This is an Amelia original.”
Bringing Your Vision to Life: The Heart of Your Creative Journey
Treat your jewelry kit like a professional mise en place—having the right tools organized and ready means you can focus entirely on the flow of your creativity rather than hunting for a pair of pliers.
Don’t be afraid to experiment with wire wrapping as your “signature seasoning”; just like a chef perfecting a spice blend, your unique techniques are what will eventually make your brand stand out in a crowded market.
Remember that building a profitable passion is a marathon, not a sprint, so focus on mastering the fundamentals first before trying to launch a full collection.
## The Secret Ingredient to Every Creation
“Just like a perfectly balanced reduction in a pan, great jewelry making is all about finding that sweet spot between technique and intuition—it’s where your raw materials stop being just beads and wire, and start becoming a delicious expression of who you are.”
Amelia Johnson
From Spark to Statement Piece
We’ve covered a lot of ground today, moving from the foundational basics of gathering your essential kit to the intricate, delicate dance of mastering wire wrapping. Just like prepping a complex reduction in a professional kitchen, success in jewelry making comes down to having the right tools and, more importantly, the patience to let your technique develop. You’ve learned how to curate your supplies with intention and how to use wire to translate your unique aesthetic into something tangible. Remember, every piece you create is a combination of your technical precision and your personal flair, building a foundation that is as sturdy as it is beautiful.
As you step away from the workbench and prepare to wear—or even sell—your creations, I want you to remember that perfection is often the enemy of progress. In the culinary world, we say that the best recipes are often refined through trial and error, and your jewelry journey is no different. Don’t be afraid to mess up a loop or bend a wire the wrong way; those little “mistakes” are often where your most signature styles are born. Whether you are crafting a single gift for a loved one or building the beginnings of a boutique brand, let your passion lead the way. Now, go out there and turn that creative spark into something truly spectacular!
Frequently Asked Questions
I've got my tools and my wire, but how do I actually figure out how to price my pieces so I'm making a profit without scaring people away?
Pricing is a lot like balancing a recipe: you can’t just guess and hope for the best! Start by calculating your “ingredients”—every bead, inch of wire, and even the electricity for your workspace. Then, add a labor fee for your time. I always tell my clients: don’t undervalue your craft. Aim for a price that covers costs plus a healthy margin, so you’re building a sustainable business, not just a hobby.
Is there a way to make my handmade jewelry look more "high-end" and professional rather than just looking like a fun hobby project?
Think of it like the difference between a home-cooked meal and a Michelin-starred dish: it’s all in the finishing touches. To elevate your pieces, focus on “plating.” Use high-quality findings—like sterling silver or gold-filled components—instead of basic craft wire. Consistency is your best friend; ensure your loops are uniform and your tension is even. When your craftsmanship looks intentional and polished, people stop seeing a “hobby” and start seeing a brand.
Where's the best place to source high-quality beads and metals without breaking the bank on my initial investment?
Think of sourcing your materials like sourcing ingredients for a signature dish: you want quality, but you don’t want to blow your entire food cost budget on day one! For high-quality beads, I love scouring Etsy for small-batch artisans, or checking out Fire Mountain Gems—they’re like the pantry staples of the jewelry world. For metals, look for wholesale suppliers online rather than big-box craft stores to keep those margins healthy!


Amelia Johnson
I believe that food is not just sustenance but an expression of culture and creativity. Let’s explore how we can turn our culinary passions into rewarding careers that feed both our souls and our wallets.