Diy Wall Art Ideas That Look Store-bought
I remember standing in my first tiny apartment in New York, staring at these cold, sterile white walls that felt more like a hospital ward than a home. I had all this culinary inspiration swirling in my head—the vibrant turmeric yellows of a street market in Jaipur or the deep, earthy greens of a Vermont forest—but my space felt completely soulless. I used to think that knowing how to make wall art required a degree from a fine arts academy or a massive budget, but I was dead wrong. Just like a perfectly seasoned sauce, great decor isn’t about the most expensive ingredients; it’s about the layers of intention you bring to the table.
In this guide, I’m stripping away the pretension and giving you the real, hands-on techniques to transform your space. We aren’t just going to talk about theory; I’m going to show you how to use texture, color, and even repurposed kitchen finds to create something truly meaningful. Whether you’re a total beginner or just looking to add a little more flavor to your decor, you’ll walk away with a clear, actionable plan to turn those blank canvases into expressions of your own unique story.
Table of Contents
- Step-by-Step Instructions
- Mastering Easy Canvas Painting Techniques for Creative Expression
- Exploring Textural Art Methods to Feed Your Visual Hunger
- Seasoning Your Space: 5 Pro-Tips for a Perfectly Plated Gallery Wall
- Bringing the Flavor Home: My Top Tips for Your Creative Kitchen
- The Secret Ingredient for Your Space
- Serving Up Your Final Masterpiece
- Frequently Asked Questions
Guide Overview
Tools & Supplies
- Paintbrush for applying colors
- Painter's tape for creating clean lines
- Pencil for sketching designs
- Canvas or wooden panel (1 piece)
- Acrylic paint set (1 set)
- Palette knife for texture (1 piece)
- Water cup for cleaning brushes (1 piece)
Step-by-Step Instructions
- 1. First things first, we need to gather our “mise en place.” Just like I wouldn’t dream of starting a service without my prep bowls and sharpest knives, you shouldn’t dive into art without a clear workspace. Grab some canvas or high-quality paper, a variety of brushes, and your favorite mediums—whether that’s acrylics, watercolors, or even some repurposed kitchen scraps like dried herbs or coffee grounds for a textured, earthy look.
- 2. Next, let’s find our inspiration and sketch out a rough blueprint. Don’t feel pressured to create a masterpiece immediately; think of this like a test kitchen session where you’re just playing with flavors. Lightly sketch your concept using a graphite pencil, focusing on the flow and balance of the composition rather than getting bogged down in tiny, stressful details.
- 3. Now, it’s time to layer in your base colors. Start with your lightest tones and work your way toward the deeper, more intense hues. This is where you really begin to build the soul of the piece, much like how a slow-simmered stock provides the foundation for a complex sauce. Don’t be afraid to let the colors bleed or blend slightly; that’s where the magic happens.
- 4. Once your base is set, we’re moving into the “seasoning” phase: adding texture and depth. This is my favorite part! You can use a palette knife to create thick, impasto strokes or even dab a sponge to create a soft, atmospheric effect. If you’re feeling particularly adventurous, try adding a bit of tactile grit using sand or even crushed eggshells to give your art a sensory dimension that pulls people in.
- 5. Now, let’s refine the details. Just as a final pinch of salt can elevate a dish from good to unforgettable, a few strategic highlights or sharp lines can make your artwork pop. Use your smallest brushes to define the edges and add those tiny pops of light that give your creation a sense of life and movement.
- 6. Before we call it a day, we need to talk about the “plating”—which, in this case, is the finishing and framing. A beautiful piece of art deserves a presentation that does it justice. Whether you choose a sleek, modern frame or a rustic, reclaimed wood border, the goal is to frame your vision in a way that complements the energy of the piece you’ve created.
- 7. Finally, let your creation cure and dry completely in a dust-free environment. Patience is a virtue in the kitchen and in the studio alike! Once it’s fully set, find that perfect spot on your wall where the light hits it just right, and take a moment to celebrate your hard work. You’ve just turned a blank space into a reflection of your unique creative spirit.
Mastering Easy Canvas Painting Techniques for Creative Expression
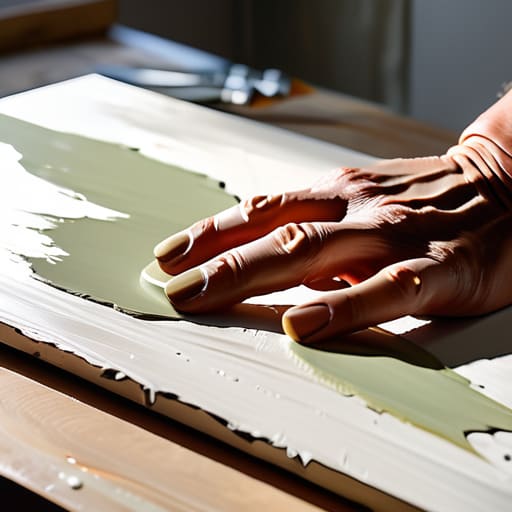
Now, if you’re feeling a little intimidated by the blank white void of a new canvas, take a deep breath. Just like when I first stepped into a professional kitchen and faced a line of demanding orders, the secret is to stop overthinking and start playing. One of my favorite easy canvas painting techniques is working with abstraction. You don’t need to be Da Vinci to create something stunning; instead, try using a palette knife to sweep thick layers of acrylic across the surface. This creates incredible textural art methods that catch the light beautifully, giving your piece a high-end, gallery feel without the hefty price tag.
If you want to push the boundaries even further, don’t be afraid to raid your craft drawer for some mixed media art supplies. I love incorporating bits of old lace, sand, or even dried herbs from my spice kit to add a tactile, organic element to the work. Think of it as seasoning a dish—you’re adding layers of depth and character that make the final result truly unique. These small, thoughtful additions turn a simple DIY into a soulful centerpiece that tells a story.
Exploring Textural Art Methods to Feed Your Visual Hunger
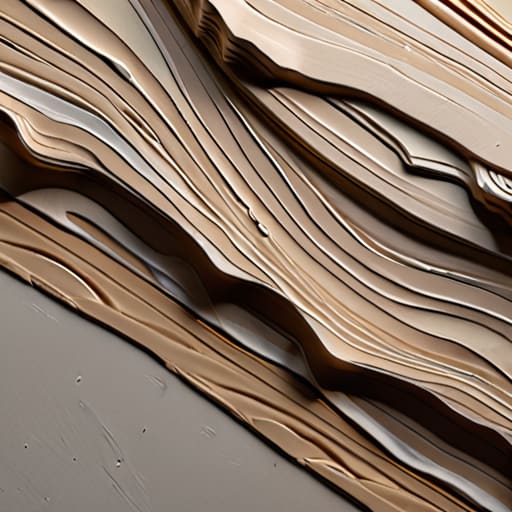
If you think painting is just about color, let me tell you—it’s really about the sensation. Just like how a perfectly seared scallop offers a delightful crunch against a velvety puree, great art needs layers to truly sing. One of my favorite textural art methods involves using modeling paste or even something as simple as joint compound to create ridges and valleys on your canvas. When the light hits these elevations, it creates shadows that dance across the room, giving your piece a depth that flat paint simply can’t match.
Don’t be afraid to raid your pantry for inspiration, either! Much like how I might use a pinch of smoked paprika to elevate a dish, you can use mixed media art supplies like sand, coffee grounds, or even dried herbs to add a gritty, organic feel to your work. These are some of the most rewarding budget friendly home decor projects because they turn everyday “scraps” into high-end, tactile masterpieces. It’s all about adding that extra dimension that makes people want to reach out and touch the canvas.
Seasoning Your Space: 5 Pro-Tips for a Perfectly Plated Gallery Wall
- Think of your wall like a signature dish—it needs balance. Don’t just throw everything up at once; mix large, bold pieces with smaller, delicate accents to create a visual rhythm that keeps the eye moving.
- Test your “flavor profile” before committing. I always tell my clients to lay their art out on the floor first. It’s much easier to rearrange a collection on a rug than it is to patch up five holes in your drywall!
- Don’t be afraid of a little texture. Just like a pinch of smoked paprika can transform a bland soup, adding 3D elements like woven baskets or wooden carvings can add depth and prevent your walls from looking “flat.”
- Lighting is your secret ingredient. A piece of art can look mediocre in a dim corner, but with a well-placed spotlight or even just some warm ambient light, you can make a DIY canvas look like a million-dollar masterpiece.
- Let your personal history be the base stock. The best art isn’t just something you bought because it was on sale; it’s the pieces that tell a story, whether it’s a framed menu from your favorite bistro or a sketch from your travels.
Bringing the Flavor Home: My Top Tips for Your Creative Kitchen
Don’t be afraid to get messy; just like a chaotic dinner service, the best art often comes from experimenting with textures and layers until you find that perfect “flavor” profile.
Treat your art like a signature dish—it should be a true reflection of your personal style and the stories you want to tell about your life and culture.
Remember that perfection is the enemy of passion, so focus more on the joy of the process and less on the final plating; the soul of the piece is what really matters.
The Secret Ingredient for Your Space
“Just like a perfectly balanced reduction, great wall art isn’t about following a rigid recipe; it’s about knowing when to add a dash of bold color and when to let the texture speak for itself to create a masterpiece that truly nourishes the eyes.”
Amelia Johnson
Serving Up Your Final Masterpiece
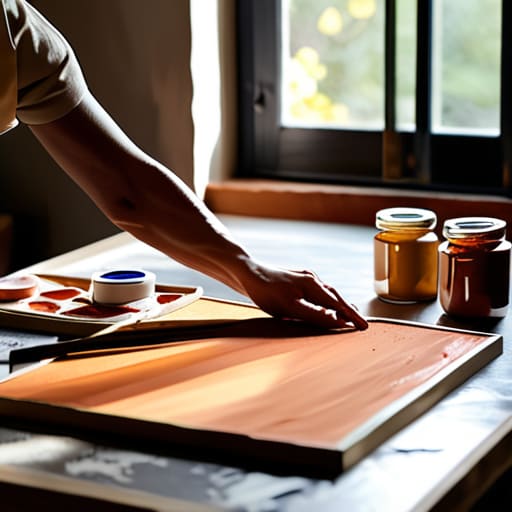
As we wrap up this creative kitchen session, I hope you feel as energized as a chef prepping for a busy Saturday night service. We’ve journeyed from the foundational strokes of canvas painting to the rich, sensory depths of textural art, proving that making wall art is much like perfecting a signature sauce—it requires patience, the right ingredients, and a bit of intuition. Whether you leaned into the simplicity of a clean wash or went bold with heavy impasto techniques to add dimension, remember that every layer you add is a step toward personalizing your sanctuary. You’ve gathered all the essential tools and techniques; now, it’s time to let your vision simmer and come together into something uniquely yours.
At the end of the day, your home should feel as vibrant and nourishing as a perfectly balanced meal. Don’t be afraid to get a little messy or experiment with flavors—or in this case, colors and textures—that feel a bit risky. Art, much like a career in the culinary world, isn’t about achieving immediate perfection; it’s about the joy of the process and the courage to express who you are. So, hang your creations with pride, embrace the beautiful imperfections, and keep feeding your creative soul. I can’t wait to see the delicious visual feasts you create!
Frequently Asked Questions
How do I choose the right colors to make sure my art actually complements my room instead of clashing with it?
Think of your room’s color palette like a well-balanced recipe; you want your art to be the star ingredient, not a flavor that fights the rest of the dish. Look at your existing decor—if your space is filled with calming neutrals, a pop of vibrant saffron or deep teal can add that perfect “kick.” If you want harmony, pull a subtle hue from your rug or pillows to create a cohesive, soulful feast for the eyes.
Are there any budget-friendly materials I can use if I want to experiment without breaking the bank on fancy supplies?
Oh, I hear you! Just like when I was starting out in professional kitchens, you don’t need the most expensive copper pans to make magic happen. You can absolutely create stunning pieces without draining your bank account. Try using leftover acrylics, reclaimed wood from a local shop, or even textured elements from your pantry—think dried lentils or coarse salt! It’s all about the creativity you bring to the table, not the price tag.
Once I've finished my piece, what's the best way to hang it securely without accidentally ruining my walls?
Think of hanging your art like plating a masterpiece—presentation is everything, but you don’t want to mess up the “tablecloth!” For lightweight pieces, those tiny adhesive strips are a lifesaver; they’re like the perfect garnish that leaves no trace. If your creation has some real weight to it, skip the flimsy stuff and go for a sturdy picture hook. Just a pro tip from my years of decorating: always double-check your stud placement!


Amelia Johnson
I believe that food is not just sustenance but an expression of culture and creativity. Let’s explore how we can turn our culinary passions into rewarding careers that feed both our souls and our wallets.