How to Build a Workbench for Your Garage
I remember standing in a cramped, chaotic kitchen in Manhattan during my early days as a chef, staring at a prep table that wobbled every time I tried to dice an onion. It was frustrating, inefficient, and honestly, a total blow to my creative flow. People often think that learning how to build a workbench requires a degree in engineering or a massive workshop full of expensive, scary-looking power tools, but that is a total myth. In reality, your workspace is just like your mise en place; it’s the essential foundation that dictates how smoothly your entire day will run. If your foundation is shaky, your output will be too.
In this guide, I’m stripping away all the technical jargon and the “expert” gatekeeping to give you a straightforward, no-nonsense roadmap. I’ll walk you through exactly how to build a workbench that is sturdy enough to handle your heaviest projects and organized enough to fuel your passion. We aren’t just making a piece of furniture here; we are crafting a reliable sanctuary where your ideas can actually take shape. Let’s roll up our sleeves and get to work!
Table of Contents
- Step-by-Step Instructions
- Mastering Heavy Duty Workbench Design for Lasting Passion
- Essential Woodworking Tools for Beginners to Start Creating
- Pro-Tips from the Kitchen: Fine-Tuning Your Workbench for Maximum Flow
- Bringing It All Together: My Final Kitchen Wisdom
- The Foundation of Every Great Creation
- Your New Creative Command Center
- Frequently Asked Questions
Guide Overview
Tools & Supplies
- Circular saw or miter saw for cutting lumber
- Power drill for driving screws
- Tape measure for precise marking
- Speed square for ensuring 90-degree angles
- 2×4 lumber (approx. 8-10 boards)
- 4×8 plywood sheet (1/2" or 3/4" thickness)
- Wood screws (2.5" and 1.25" varieties)
- Wood glue for structural stability
Step-by-Step Instructions
- 1. Before you even touch a saw, you need to gather your ingredients—or in this case, your materials. Think of this like prepping your mise en place for a busy dinner service; if you’re missing a crucial component halfway through, everything falls apart. You’ll want some sturdy 4×4 posts for the legs, heavy-duty 2x4s for the frame, and a thick piece of plywood or even a solid butcher block if you’re feeling fancy. Don’t forget your “seasonings”: a box of high-quality wood screws, a level, and a drill that won’t quit on you.
- 2. Start by constructing the frame, which is essentially the backbone of your workstation. Lay out your 2x4s to create a rectangular perimeter, ensuring your corners are perfectly square. I always tell my clients that precision in the foundation is what prevents a shaky, frustrating experience later on. Use your drill to drive screws through the joints, but don’t go overboard with the torque—you want them tight, not splintered.
- 3. Now, it’s time to attach those heavy-duty legs. This is where the real strength of your workbench is forged. Position your 4×4 posts at each corner of your frame and secure them using heavy-duty lag bolts or long wood screws. I like to double-check that everything is perfectly level at this stage; if your legs are uneven now, your entire workspace will feel like a tilting ship by the time you’re finished.
- 4. Once the skeleton is standing tall, we need to add the bracing. This prevents the “wobble” that can drive a perfectionist crazy when you’re trying to work. Run some 2x4s horizontally between the legs, about a foot or two from the ground. This doesn’t just add stability; it also gives you a handy lower shelf where you can store your heavy tools or even a few extra crates of supplies, keeping your main workspace clear and clutter-free.
- 5. Next up is the star of the show: the tabletop. If you’re using plywood, I recommend layering two sheets together to give it some serious heft. If you’re lucky enough to score some leftover butcher block, you’re in for a treat. Secure the top to your frame by driving screws from underneath through the support rails. This keeps the surface smooth and free of unsightly screw heads that might catch on your sleeves or snag your projects.
- 6. Finally, give your new station a little bit of love with some sanding. You don’t want a single splinter catching your hand while you’re in the middle of a creative flow. Start with a coarser grit to smooth out the rough edges and work your way up to a fine grit until the wood feels as smooth as silk. If you’re using real wood, a quick coat of oil or sealant will protect it from spills and make it last long enough to see your culinary (or crafting!) dreams come to life.
Mastering Heavy Duty Workbench Design for Lasting Passion
Mastering Heavy Duty Workbench Design for Lasting Passion
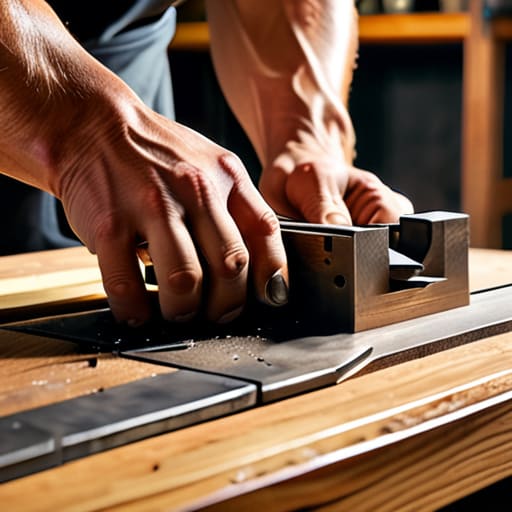
When you’re transitioning from a hobbyist to someone truly serious about their craft, you quickly realize that a flimsy setup is the enemy of progress. Think of it like a high-end commercial kitchen: if your prep station wobbles every time you chop an onion, your entire workflow suffers. Investing time into a heavy duty workbench design means you aren’t just building a table; you’re building a foundation that can withstand years of intense, rhythmic labor. I always tell my clients that stability is the secret ingredient to precision.
To ensure your station stays as reliable as a seasoned sous chef, you need to think about more than just the surface. I’m a huge advocate for integrating smart workbench tool storage ideas directly into the build. Whether it’s adding a heavy-duty pegboard or custom-built drawers, having your essentials within arm’s reach prevents that frantic, disorganized feeling we all dread during a rush. A well-organized space creates a clear mind, allowing you to focus entirely on the creative magic happening right under your hands.
Essential Woodworking Tools for Beginners to Start Creating
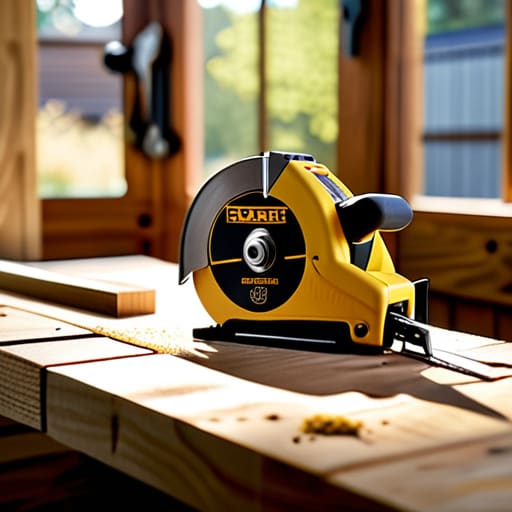
Now, before you dive headfirst into your project, let’s talk about your toolkit. Just like I wouldn’t dream of tackling a complex reduction without my favorite chef’s knife, you shouldn’t start your build without the right gear. If you’re just starting out, don’t feel like you need to buy every gadget in the catalog. Focus on the essential woodworking tools for beginners: a reliable circular saw for those long cuts, a cordless drill for assembly, and a solid tape measure. Think of these as your foundational ingredients; they don’t have to be fancy, but they do need to be dependable.
Once you have the basics, I highly recommend looking into some clever workbench tool storage ideas to keep your workspace from turning into a chaotic kitchen during a dinner rush. A cluttered surface is the enemy of precision. Whether it’s adding a pegboard to the back or incorporating small drawers into your design, staying organized will make the entire process so much more enjoyable. Having a clear, accessible workspace is the secret ingredient to turning a simple project into a masterpiece you’ll actually want to use every single day.
Pro-Tips from the Kitchen: Fine-Tuning Your Workbench for Maximum Flow
- Think of your workbench like your prep station; ergonomics are everything. Before you drive that final screw, make sure the height feels natural for your body. If you’re constantly hunching over, you’ll be too exhausted to actually enjoy the creative process.
- Don’t skimp on the stability. In a high-pressure kitchen, a wobbly cutting board is a nightmare, and the same goes for woodworking. If your bench shifts when you’re sawing or sanding, you’ll lose precision and, frankly, your patience.
- Incorporate a “mise en place” mindset by building in smart storage. Whether it’s a small drawer for your most-used measuring tapes or some pegboard space for your clamps, having your tools within arm’s reach keeps your momentum from stalling.
- Choose a work surface that can take a beating. Just like a heavy-duty cast iron skillet, you want a top that can handle some rough treatment. A thick, solid wood top might take a little more effort to build, but it’ll age beautifully and support your wildest projects.
- Leave room for growth. I always tell my clients not to build for the business they have today, but for the one they want tomorrow. Make sure your bench is sized to accommodate larger projects down the line so you don’t outgrow your sanctuary too quickly.
Bringing It All Together: My Final Kitchen Wisdom
Treat your workbench build like a signature recipe; focus on a solid foundation and high-quality “ingredients” (materials) so your creative process never gets derailed by a shaky setup.
Don’t let the fear of a messy first attempt stop you—just like mastering a complex sauce, you’ll find your rhythm through trial, error, and a little bit of patience.
Remember that your workspace is an investment in your future self, designed to support both your technical skills and the passion that drives your culinary and creative journey.
The Foundation of Every Great Creation
Think of your workbench not just as a piece of furniture, but as your personal mise en place for creativity; if your foundation isn’t steady and organized, even the most inspired vision will eventually fall apart.
Amelia Johnson
Your New Creative Command Center
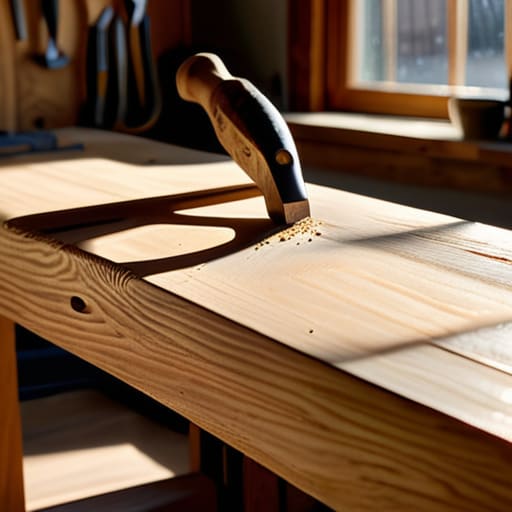
At the end of the day, building this workbench is about so much more than just assembling some lumber and screws. You’ve gone from selecting the right heavy-duty design to gathering the essential tools needed to bring your vision to life. By focusing on a sturdy foundation and the right equipment, you haven’t just built a piece of furniture; you have successfully created a reliable workspace that can withstand the heat of your most ambitious projects. Whether you are prepping for a massive dinner party or fine-tuning a new craft, having a solid, stable surface is the ultimate way to ensure your mise en place is always perfect and your workflow remains seamless.
As you stand before your finished creation, I want you to remember that every great chef—and every great maker—starts with a single, humble step. There will be sawdust on your floor and perhaps a few bruised knuckles along the way, but that is simply the price of entry for something beautiful. Don’t be afraid to get your hands dirty and embrace the process of constant refinement. This workbench is your new sanctuary, a place where your passion meets your purpose. Now, go ahead—set your tools, clear your mind, and start building the life and the career that truly feeds your soul.
Frequently Asked Questions
Should I prioritize a heavy, stationary workbench or something lightweight and mobile if I'm working in a small apartment kitchen?
If you’re working in a small apartment, go mobile every single time! Think of it like a rolling prep station. A heavy, stationary bench is a dream for a dedicated workshop, but in a tight kitchen, it’s just a permanent obstacle. A lightweight, sturdy cart on high-quality casters gives you the flexibility to create a culinary sanctuary when you need it and tuck it away when you don’t. Mobility is your best friend!
What kind of wood is the best "bang for your buck" when I'm trying to balance a professional-grade build with a realistic budget?
If you’re looking to balance that professional-grade stability with a budget that won’t leave you hungry, look no further than Hard Maple or even high-quality Birch plywood for the core. Maple is the gold standard in professional kitchens for a reason—it’s incredibly durable and easy to sanitize. If that feels a bit too pricey for your first big project, Birch offers a fantastic middle ground that still gives you that sturdy, reliable foundation.
How do I ensure my workbench is at the perfect ergonomic height so I'm not killing my back during long prep sessions?
Listen, I’ve spent way too many shifts in NYC kitchens hunched over prep tables, and let me tell you—your back will never forgive you! To find your sweet spot, stand naturally with your arms at your sides. Bend your elbows at a 90-degree angle. Your workbench surface should sit right at that crease of your wrist. It’s all about maintaining a neutral spine so you can focus on the craft, not the ache.


Amelia Johnson
I believe that food is not just sustenance but an expression of culture and creativity. Let’s explore how we can turn our culinary passions into rewarding careers that feed both our souls and our wallets.