How to Sharpen Your Tools and Keep Them Working
I can still hear the frantic, rhythmic thud-thud-thud of my old mentor’s knife hitting the board during a Saturday night rush in Manhattan. I was twenty years old, sweating through my whites, and struggling to slice through a single heirloom tomato without bruising the skin into oblivion. I thought I just needed a more expensive blade, but the truth was much simpler: I was fighting my equipment instead of working with it. Learning how to sharpen tools isn’t just about maintenance; it’s about respect for the craft and ensuring your gear never becomes the bottleneck in your creativity.
In this guide, I’m stripping away the intimidating jargon and the expensive gadgets you don’t actually need. I’m going to walk you through the real-world techniques I use to keep my kit in peak condition, from mastering the whetstone to understanding the subtle geometry of a perfect edge. Whether you’re a home cook or an aspiring pro, I promise to give you the no-nonsense, practical steps to turn your dull, frustrating blades into precision instruments that make every prep session feel like a soulful act of craftsmanship.
Table of Contents
- Step-by-Step Instructions
- Honing vs Sharpening Explained Refining Your Creative Instrument
- Choosing the Best Sharpening Stones for Beginners
- Pro-Tips from the Line: How to Keep Your Edge Without the Stress
- The Chef’s Cheat Sheet: Keeping Your Edge
- The Soul of the Blade
- Honing Your Skills and Your Steel
- Frequently Asked Questions
Guide Overview
Tools & Supplies
- Utility knife or chisel (the item being sharpened)
- Honing strop (leather strip for final edge)
- Sharpening stone (dual-grit whetstone) 1 unit
- Lubricant (water or honing oil) 1 bottle
- Microfiber cloth 1 unit
Step-by-Step Instructions
- 1. First things first, you’re going to need to grab yourself a decent whetstone. Don’t go skimping here; a cheap, uneven stone is just going to frustrate you and potentially damage your precious blades. I always recommend a double-sided stone with different grits—usually something around 1000 for sharpening and 6000 for honing. Before you even touch your knife to the stone, soak it in a shallow bowl of water for about 10 to 15 minutes until the bubbles stop rising. This ensures the stone stays lubricated and prevents it from overheating while you work.
- 2. Once your stone is prepped, find a stable, non-slip surface. I like to place a damp kitchen towel underneath my stone to keep it from sliding around while I’m in the zone. Now, hold your knife at a consistent angle—usually about 15 to 20 degrees. If you’re struggling to find that angle, here’s a little pro tip from my days in NYC kitchens: try placing the spine of your knife against a nickel; that’s roughly the angle you’re aiming for. Consistency is everything when it comes to a clean edge.
- 3. Start with the coarse side of the stone and begin your strokes. You want to sweep the blade across the stone in a smooth, controlled motion, moving from the heel of the knife all the way to the tip. Think of it like a rhythmic dance rather than a chore. Apply gentle, even pressure as you push the blade away from you, making sure you cover the entire length of the edge. You’ll eventually feel a tiny “burr” forming on the opposite side of the blade—that’s a good thing! It means you’re actually re-profiling the metal.
- 4. After you’ve worked one side, flip the knife over and repeat the exact same process on the other side. It is absolutely vital that you maintain that same angle so you don’t end up with a wavy, uneven edge. I know it can feel a bit repetitive, but treat this as a meditative moment in your prep routine. If you rush this part, you’re basically undoing all the hard work you just put in, and we definitely don’t want that.
- 5. Now that you’ve done the heavy lifting, it’s time to switch to the finer grit side of your stone to polish that edge. This step is what transforms a “sharp” knife into a truly surgical instrument. Use much lighter pressure here—almost like you’re stroking a kitten—and focus on those long, sweeping motions to smooth out any microscopic imperfections left by the coarse grit. This is where the magic happens and your blade starts to sing with precision.
- 6. Finally, give your knife a quick test, but please, be careful. A classic way to check your progress is to see if the blade can effortlessly slice through a single sheet of paper without snagging. If it does, you’ve nailed it! Once you’re satisfied, wipe the blade down with a clean, damp cloth to remove any stray stone grit, and then dry it immediately. Leaving moisture on your steel is a recipe for rust, and a rusted knife is a heartbreak no chef should have to endure.
Honing vs Sharpening Explained Refining Your Creative Instrument
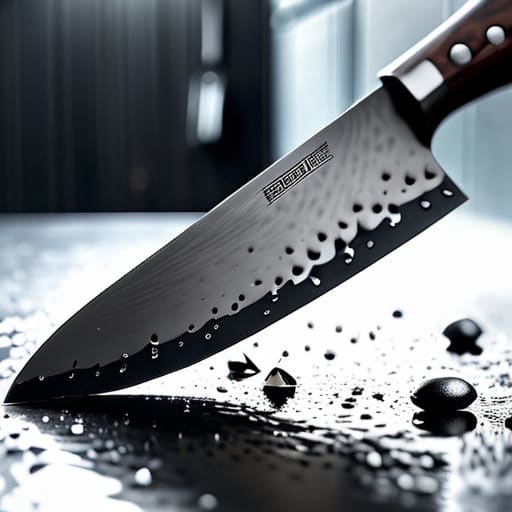
I often see young cooks in the kitchen getting these two terms mixed up, and honestly, it’s one of those little nuances that makes a massive difference in your workflow. Think of it this way: sharpening is like a deep, restorative facial for your knife—it’s actually removing tiny amounts of metal to create a brand-new edge. On the flip side, honing is more like a quick touch-up. When we talk about honing vs sharpening explained, we’re really talking about realigning the microscopic teeth of the blade that get bent out of shape during a busy service.
You don’t need to hit the stones every single time you prep a mirepoix, but you should use your honing steel frequently to keep that edge straight. If you find yourself struggling to slice through a ripe tomato, that’s your signal that it’s time to move beyond the steel and dive into some actual whetstone sharpening techniques. Mastering that distinction is how you transition from just “using” a knife to truly commanding your tools with precision and grace.
Choosing the Best Sharpening Stones for Beginners
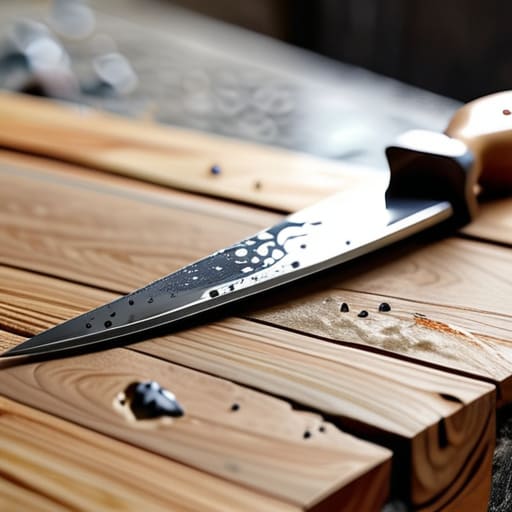
Now, I know walking into a kitchen supply store can feel a bit like being lost in a spice market—overwhelming and a little intimidating. When you’re just starting out, you don’t need a professional-grade setup with ten different grit levels. For most of you, I highly recommend starting with a double-sided combination water stone. These usually feature a coarse grit for repairing chips or reshaping a dull edge and a finer grit for smoothing everything out. It’s the most cost-effective way to master the basics without breaking your budget.
As you dive into your first few sessions, remember that the goal isn’t just to grind metal, but to understand the rhythm of the stone. You’ll eventually want to experiment with different whetstone sharpening techniques to see what feels natural for your hand, but don’t rush the process. A common mistake I see even seasoned cooks make is trying to use a stone that’s too fine too early. Take your time, keep your surface wet, and treat this as a meditative practice rather than a chore. It’s all about building that muscle memory!
Pro-Tips from the Line: How to Keep Your Edge Without the Stress
- Don’t treat sharpening like a chore; treat it like a ritual. Setting aside twenty minutes on a slow Sunday to care for your blades is much more meditative than fighting a dull knife during a frantic dinner rush.
- Master the “Angle of Attack.” Consistency is everything here—if your angle wobbles, your edge will too. Find that sweet spot where your knife meets the stone and hold it like you’re protecting a secret recipe.
- Listen to the sound of your steel. There’s a specific, rhythmic “shing” that tells you you’re doing it right. If it sounds screechy or uneven, take a breath, reset your grip, and try again.
- Water is your best friend, but don’t overdo it. Whether you’re using whetstones that need a soak or oil stones, keeping that surface lubricated prevents metal buildup from clogging your grit and ruining the finish.
- Know when to call in the pros. I love doing my own maintenance, but if you have a high-end Japanese Damascus blade that feels “off,” don’t risk a rookie mistake. Sometimes, investing in a professional service is the smartest way to protect your tools and your sanity.
The Chef’s Cheat Sheet: Keeping Your Edge
Treat sharpening as a ritual, not a chore; a well-maintained knife isn’t just about safety, it’s about giving yourself the freedom to cook with precision and soul.
Know the difference between a quick touch-up and a deep reset—use your honing rod daily to keep that edge aligned, but don’t be afraid to hit the stones when your blade truly needs a rebirth.
Invest in quality over quantity; starting with a solid set of stones is much better than buying a dozen cheap gadgets that won’t give you the control you need to master your craft.
The Soul of the Blade
“Don’t look at sharpening as a tedious chore on your prep list; look at it as a moment of respect for your craft. When you take the time to hone your edge, you aren’t just fixing a tool—you’re preparing your mind to create something beautiful.”
Amelia Johnson
Honing Your Skills and Your Steel
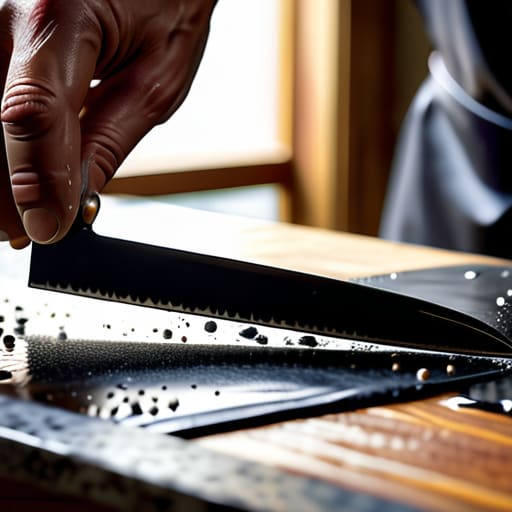
At the end of the day, mastering your tools is about more than just avoiding bruised tomatoes or uneven cuts; it’s about respecting the craft. We’ve walked through the nuances of selecting the right stones, the technical distinction between honing for maintenance and sharpening for a true edge, and the actual hands-on process of finding that perfect angle. Remember, it’s not about having the most expensive setup in the kitchen, but about having the patience and discipline to treat your equipment with care. When you take those few extra minutes to work your blade against the stone, you aren’t just performing a chore—you are investing in your precision and ensuring that every prep session feels like a seamless extension of your vision.
As you head back to your cutting board, I want you to remember why you started cooking in the first place. Whether you’re an aspiring chef dreaming of your own Michelin star or a home cook finding peace in a weekend sourdough project, your tools are the bridge between your imagination and the plate. Don’t let dull blades dampen your creative spirit or make the work feel like a struggle. Embrace the ritual, find your rhythm, and let that sharp edge empower you to cook with absolute confidence. You have the passion and now you have the technique—now go out there and make something delicious!
Frequently Asked Questions
How often should I actually be sharpening my knives versus just using a honing rod?
Think of your honing rod as your daily “tune-up” and sharpening as your “major service.” I use my rod every single time I step into the kitchen—it realigns the edge so your cuts stay clean and effortless. But actual sharpening? That’s a deeper ritual. Depending on how much prep you’re crushing, aim to hit the stones every few months. Keep that edge crisp, and your knives will love you back!
Is it safe to use an electric sharpener, or am I going to ruin my good steel?
Look, I get the temptation—when you’re staring down a mountain of prep, an electric sharpener feels like a lifesaver. But honestly? If you’re working with high-quality, professional-grade steel, I’d steer clear. Those machines can be a bit too aggressive, stripping away metal too quickly and potentially ruining that delicate edge you’ve worked so hard to perfect. Stick to manual stones; they give you the control and connection your knives deserve.
How can I tell if my knife is truly sharp enough to use, or if I'm just playing with a dangerous edge?
Honestly, the best way to tell is the “paper test.” Hold a sheet of printer paper vertically and try to slice through it with a smooth, downward motion. If the blade glides through like butter, you’re golden. If it tears, catches, or feels like you’re sawing through cardboard, stop right there! A dull knife is actually more dangerous because it requires more force, making it way more likely to slip.


Amelia Johnson
I believe that food is not just sustenance but an expression of culture and creativity. Let’s explore how we can turn our culinary passions into rewarding careers that feed both our souls and our wallets.