How to Make Your Own Candles at Home
I remember standing in my grandmother’s cozy Vermont kitchen, surrounded by the intoxicating scent of simmering cinnamon and cloves, thinking that if I could master the delicate balance of a reduction sauce, I could master anything. But let’s be real: when I first tried to dive into the world of DIY crafts, I quickly learned that figuring out how to make candles isn’t nearly as simple as just melting some wax and hoping for the best. I’ve seen so many people get discouraged by uneven tops or scents that disappear the moment you strike a match, treating it like a chemistry experiment gone wrong rather than the sensory art form it actually is.
In this guide, I’m stripping away the fluff and the expensive, intimidating equipment lists to give you the real deal. I’ll walk you through the essential techniques to ensure your creations smell divine and look professional, treating your workspace with the same respect a chef treats a mise en place. We are going to explore the practical, hands-on steps of scent loading and temperature control so you can transform simple ingredients into soulful expressions of light that actually fill a room. Let’s get cooking—or rather, pouring!
Table of Contents
- Step-by-Step Instructions
- Curating Your Palette Essential Soy Wax Candle Making Supplies
- Mastering the Alchemy of Essential Oils for Scented Candles
- Pro-Tips from My Kitchen to Yours: Avoiding the Melted Mess
- Bringing the Glow Home: My Final Thoughts
- Finding Your Glow
- Lighting Your Path Forward
- Frequently Asked Questions
Guide Overview
Tools & Supplies
- Double boiler or heat-proof bowl and pot for melting wax
- Thermometer to monitor wax temperature
- Pouring pitcher for easy control
- Stirring spoon or spatula
- Soy or paraffin wax (1-2 lbs)
- Candle wicks (set of various sizes)
- Fragrance oils (1 oz)
- Candle jars or containers (2-4 units)
- Wick stickers or glue dots
Step-by-Step Instructions
- 1. First things first, you’ve got to gather your mise en place—and yes, I’m using my chef terminology here! You’ll need high-quality soy or beeswax, cotton wicks, some beautiful glass jars or tins, a double boiler (or a heat-proof bowl over a pot of simmering water), a thermometer, and of course, your chosen fragrance oils. Think of these as your essential ingredients; just like a reduction needs the right balance of acidity, your candle needs the right ratio of wax to scent to really sing.
- 2. Once your station is set, it’s time to melt the wax. Place your wax in your double boiler and turn the heat to medium-low. This is where patience becomes your best friend; you don’t want to rush the process or scorch the wax, as that can ruin the clean burn we’re aiming for. Keep a close eye on it and stir occasionally until it’s completely liquid and clear, much like when you’re melting butter for a delicate hollandaise.
- 3. While your wax is melting, let’s prep your vessels. Take your jars and ensure they are bone-dry and clean. This is the perfect time to center your wicks. Use a tiny bit of melted wax or a wick sticker to secure the bottom of the wick to the center of the jar. I always recommend using a wick centering tool (or even just a clothespin!) to keep that wick standing perfectly upright while the wax sets. A crooked wick is a recipe for a messy burn later on.
- 4. Now comes the part that gets my creative juices flowing: adding the scent. Once your wax reaches the optimal temperature—usually around 185°F (85°C) according to my thermometer—remove it from the heat and pour in your fragrance oils. This is where you can really express your personality. Stir the mixture gently but thoroughly for at least two minutes to ensure the oil and wax are fully integrated, otherwise, you might end up with “wet spots” or a scent that doesn’t throw quite right.
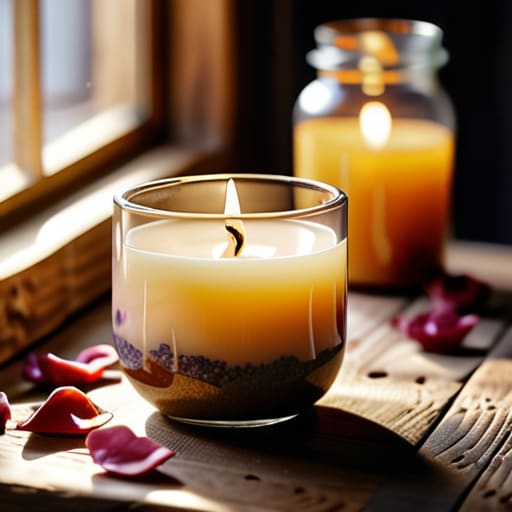
- 5. Next, we carefully pour the liquid gold into your prepared jars. Pour slowly to avoid creating air bubbles, which can be a real mood killer when you’re looking for that flawless finish. Leave about half an inch of space at the top of the jar. If you’re feeling a bit adventurous, this is also the moment you might sprinkle in some dried botanicals or even a pinch of fine sea salt if you’re playing with a specific aesthetic.
- 6. The hardest part of the entire process: the wait. You need to let your candles sit undisturbed at room temperature. If you move them too soon, the surface might crack or sink unevenly. I usually recommend giving them at least 24 hours to fully cure. Think of it like letting a sourdough starter rest; it needs that time to develop its character and structure before it’s ready for the world to see.
- 7. Finally, once they are completely solid, it’s time for the trim. Take a pair of scissors and snip the wicks down to about a quarter-inch above the wax surface. This ensures a controlled, steady flame when you finally light them. Now, grab a glass of wine, light your creation, and soak in the aroma of something you built with your own two hands!
Curating Your Palette Essential Soy Wax Candle Making Supplies
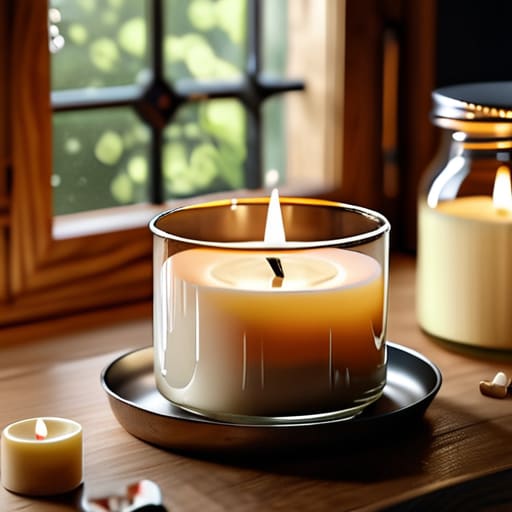
Before you dive into the actual melting and pouring, we need to talk about your toolkit. Think of this like setting up a professional mise en place in a kitchen; if your ingredients aren’t ready, the whole service falls apart! When you’re first starting out with candle making for beginners, it’s tempting to just grab whatever is cheapest at the craft store, but I promise you, the quality of your materials dictates the soul of your finished product. I always recommend investing in high-quality soy wax candle making supplies because soy offers that clean, slow burn that makes a candle feel like a luxury rather than a chore.
While you’re gathering your gear, don’t overlook the little things that make a massive difference. For instance, choosing the best wick types for candles is actually a bit of a science—it’s the difference between a perfect flame and a smoky mess. And if you’re looking to elevate your scent game, skip the synthetic fragrances and look for pure essential oils for scented candles. It brings a level of aromatherapy and depth that truly turns a simple hobby into a creative ritual. Just remember, your tools are the bridge between a messy experiment and a masterpiece!
Mastering the Alchemy of Essential Oils for Scented Candles
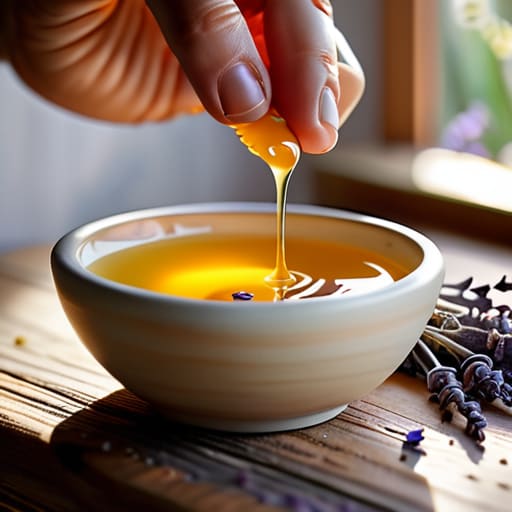
Now, let’s talk about the real magic: the scent. If my time in professional kitchens taught me anything, it’s that aromatics are the soul of the experience. When you’re working with essential oils for scented candles, you aren’t just adding a smell; you’re building an atmosphere. Unlike synthetic fragrances that can sometimes feel a bit “one-note,” pure essential oils offer a complex, layered profile that evolves as the candle burns. However, they can be a little temperamental! I always recommend starting with a scent profile that feels intuitive to you—think citrus for energy or lavender for a calm evening.
One thing I learned the hard way during my early days of candle making for beginners is that timing is everything. You can’t just dump your oils into boiling wax and expect a masterpiece. You need to wait until the wax has cooled to a specific point so the heat doesn’t “flash off” those delicate, precious scents. I like to keep a little notebook of my experiments, noting exactly when I added the oils to see how it affects the scent throw. It’s all about finding that sweet spot where the fragrance truly sings!
Pro-Tips from My Kitchen to Yours: Avoiding the Melted Mess
- Watch your temperature like a hawk; just like tempering chocolate, if your wax gets too hot, you risk ruining the scent throw, and if it’s too cool, your candle might end up with a bumpy, uneven surface.
- Don’t rush the cure time—I know, I know, we all want that cozy glow immediately, but letting your soy candles sit for at least a week allows the fragrance to fully bind with the wax for a much stronger scent.
- Center those wicks like your life depends on it! Use a wick centering tool or even a simple clothespin to make sure everything is straight, because a crooked wick leads to an uneven burn that wastes precious wax.
- Keep a “scent diary” as you go; I always jot down the exact ratios of oils I use because, in the heat of the moment, it’s so easy to forget the magic formula that made one batch smell like a dream.
- Always test a small sample before committing to a massive batch; think of it like a tasting spoon in a professional kitchen—you wouldn’t serve a dish without checking the seasoning first, right?
Bringing the Glow Home: My Final Thoughts
Remember that candle making is just like cooking—it’s all about the quality of your ingredients, so don’t be afraid to invest in premium wax and oils that truly sing.
Don’t let the fear of a “failed” batch stop you; every little mishap is just a delicious lesson in disguise that brings you closer to your signature scent.
View this craft as more than just a hobby; it’s a creative outlet that has the potential to grow from a cozy kitchen project into a beautiful, soul-filling business.
Finding Your Glow
“Making candles is so much more than just melting wax and adding scent; it’s about mastering the art of atmosphere. When you get that balance of fragrance and flame just right, you aren’t just creating a product—you’re crafting a little piece of magic that can turn any space into a sanctuary.”
Amelia Johnson
Lighting Your Path Forward
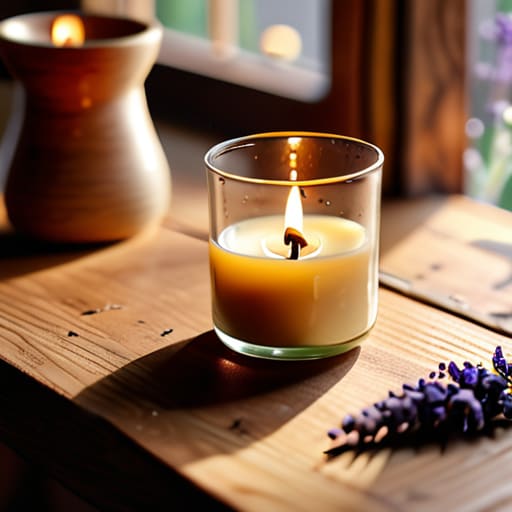
As we wrap up this little journey through the art of candle making, I hope you feel a bit more confident in your ability to master the craft. We’ve covered everything from selecting the perfect soy wax to the delicate, almost scientific process of blending essential oils to create a scent that truly sings. Remember, it’s not just about following a recipe; it’s about understanding how each element—the wick, the temperature, and the fragrance—works together to create a cohesive sensory experience. Don’t be discouraged if your first pour isn’t absolute perfection; even in the professional kitchens where I started, the first attempt at a new technique is rarely the masterpiece. It’s all part of the beautiful learning curve.
At the end of the day, whether you are making these for your own cozy evenings or dreaming of turning this into a side hustle that feeds your soul, remember that you are creating something deeply personal. Just like a well-seasoned dish, a great candle is an expression of your unique creativity and care. I truly believe that when you pour your heart into a craft, that energy shines through in the final product. So, grab your supplies, embrace the mess, and start lighting up the world one beautiful, hand-poured candle at a time. You’ve totally got this!
Frequently Asked Questions
How can I prevent my candles from "tunneling" or having that annoying uneven melt pool?
Ugh, the dreaded tunnel! I’ve been there, staring at a half-formed wax wall like it’s a personal insult. To fix this, the secret is all in the “memory.” The first time you light a candle, let it burn until the melt pool reaches the very edge of the jar. This sets the wax’s memory so it burns evenly next time. If it’s already tunneling, try a quick heat gun session to smooth things out!
Is there a trick to getting the scent to actually throw across the room once the candle is lit?
Oh, the dreaded “scentless candle” struggle! I’ve been there, and trust me, it’s heartbreaking when your beautiful creation smells like nothing. The secret is all about the “hot throw.” First, make sure you’re adding your fragrance oils when the wax is at the perfect temperature—usually around 185°F—to ensure they actually bind. Also, don’t skimp on the wick size! If the wick is too small, you won’t get a strong enough melt pool to carry that aroma across the room.
Can I safely mix different types of wax, or will that mess up the burn time and texture?
That is such a great question! Honestly, it’s tempting to play chemist, but mixing waxes can be a bit of a wildcard. While you can blend them to achieve a specific texture or a cleaner burn, it’s definitely not a “set it and forget it” situation. Different waxes have different melting points and molecular structures, so mixing them can lead to unpredictable results like tunneling or uneven scent throw. If you do experiment, just test a small batch first!


Amelia Johnson
I believe that food is not just sustenance but an expression of culture and creativity. Let’s explore how we can turn our culinary passions into rewarding careers that feed both our souls and our wallets.