How to Build a Birdhouse With the Kids
I was standing in my backyard last summer, clutching a lukewarm espresso and staring at a pile of cedar planks, feeling completely defeated by a DIY tutorial that promised “simplicity” but delivered nothing but frustration. It’s a lot like trying to master a complex mother sauce without understanding the basics—you can follow the instructions all day, but if your foundation is shaky, the whole thing falls apart. Most people think learning how to build a birdhouse requires a master carpenter’s toolkit or a degree in engineering, but the truth is much more approachable. It’s really just about understanding your ingredients and having a bit of patience, much like letting a slow-simmered stew develop its character.
In this guide, I’m stripping away the fluff and the intimidating jargon to give you a recipe for success. I’ll walk you through the essential tools, the best wood choices, and the precise assembly steps so you can create a sanctuary that actually lasts. We aren’t just making a box; we are crafting a functional piece of art for your garden. By the time we’re done, you’ll have the confidence to build something beautiful that truly nourishes the local wildlife.
Table of Contents
- Step-by-Step Instructions
- Selecting the Best Wood for Birdhouses and Lasting Beauty
- Essential Woodworking Tools for Birdhouses and Creative Precision
- Seasoning Your Project: 5 Pro-Tips for a Five-Star Birdhouse
- Bringing Your Vision to Life: My Final Kitchen Notes for Your Birdhouse Project
- The Secret Ingredient to Any Project
- From Sawdust to Sanctuary
- Frequently Asked Questions
Guide Overview
Tools & Supplies
- Hand saw or miter saw to cut wood pieces
- Hammer to drive nails
- Drill with spade bit for the entrance hole
- Measuring tape to mark dimensions
- Sandpaper to smooth rough edges
- Untreated cedar or pine board (1" x 6" x 4')
- Galvanized finishing nails (small box)
- Waterproof wood glue (small bottle)
- Mounting hardware or wire
Step-by-Step Instructions
- 1. First things first, we need to gather our “mise en place.” Just like you wouldn’t start a complex reduction without having your shallots minced and your stock ready, you shouldn’t start building without the right tools. Grab some untreated cedar or pine—cedar is my favorite because it’s naturally weather-resistant, much like a good cast-iron skillet—along with a saw, a hammer, some galvanized nails, and a drill.
- 2. Now, let’s prep our ingredients by measuring and cutting the wood. You’ll need six pieces: a floor, a roof, a back, a front, and two sides. Think of this like prepping your vegetables; if your cuts aren’t clean and precise, the whole “dish” is going to feel a bit off when you try to assemble it later.
- 3. Once you have your pieces, it’s time to create the entrance. Using your drill, create a hole in the front panel. The size of this hole is absolutely critical because it determines which “guests” are invited to the party; a hole that’s too big might let in unwanted predators, while one that’s too small will keep the local bluebirds from moving in.
- 4. Let’s start the assembly by nailing the sides to the back panel. I like to think of this as building the foundation of a great recipe. Make sure everything is square and sturdy; if the base isn’t solid, the rest of the structure won’t hold up to the elements.
- 5. Next, attach the floor and the front panel. When you’re attaching the floor, I highly recommend drilling a few tiny holes in the corners for drainage. Just like you wouldn’t want a sauce that’s too watery, you don’t want your feathered friends sitting in a puddle after a heavy rainstorm.
- 6. Finally, it’s time to add the roof. I usually attach it with a slight overhang to act as a little awning, keeping the interior dry and cozy. If you want to be a real pro, you can use a hinge on one side of the roof so you can easily clean it out once the nesting season is over—it’s all about maintaining a sustainable environment for your little visitors!
Selecting the Best Wood for Birdhouses and Lasting Beauty
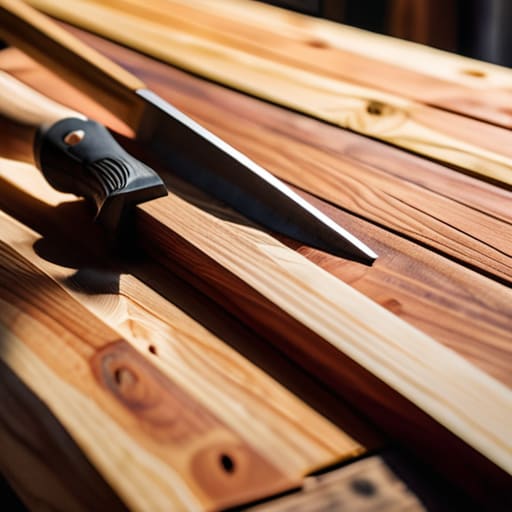
Think of selecting your lumber the same way I think about sourcing ingredients for a signature dish—quality matters immensely if you want the final result to stand the test of time. You wouldn’t use wilted herbs in a delicate consommé, so don’t settle for flimsy, treated woods that might leach chemicals into the environment. When searching for the best wood for birdhouses, I always recommend sticking to naturally rot-resistant species like cedar, redwood, or cypress. These woods are the “organic, farm-to-table” stars of the backyard; they handle the humidity and rain beautifully without needing a heavy coat of toxic paint.
While you’re gathering your supplies, don’t forget that your choice of material affects how easy the assembly will be. If you’re using a denser hardwood, you’ll want to make sure your woodworking tools for birdhouses are sharp and ready to go to avoid splintering. I personally love cedar because it ages into a gorgeous, weathered patina that looks stunning in any garden setting. It’s all about finding that perfect balance between durability and aesthetic charm, ensuring your feathered neighbors have a sturdy, safe home for seasons to come.
Essential Woodworking Tools for Birdhouses and Creative Precision
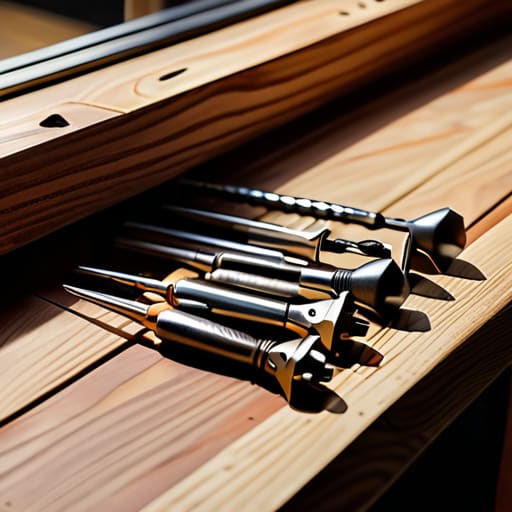
Now, if you think my kitchen is a whirlwind of chaos, wait until you see my workshop! Just like prepping a complex reduction, you can’t expect a masterpiece if your tools are dull or mismatched. When gathering your woodworking tools for birdhouses, think of them as your mise en place. You’ll need a reliable saw for those clean, crisp edges—nothing ruins a project faster than a jagged cut—and a sturdy drill. Most importantly, pay close attention to your drill bit size; getting the safe birdhouse entrance hole size just right is the difference between a cozy home and a place where predators might sneak a snack.
Precision is everything, whether you’re plating a delicate scallop or securing a cedar plank. When it comes to attaching birdhouse roof sections, I always recommend using exterior-grade screws rather than just nails. It’s a bit like seasoning a dish: you want it to hold up over time, even when things get a little rough. Using the right fasteners ensures that your creation survives the elements, allowing your feathered friends to settle in comfortably for many seasons to come.
Seasoning Your Project: 5 Pro-Tips for a Five-Star Birdhouse
- Think of your birdhouse like a delicate reduction—don’t rush the process. Take your time with the sanding; you want those edges to be smooth so the birds don’t snag a feather, much like how I’d ensure a sauce is perfectly strained before serving.
- Skip the heavy-duty chemical stains. Just like we wouldn’t serve a dish loaded with artificial additives, you don’t want to expose your feathered guests to toxic fumes. Stick to natural, non-toxic finishes that let the wood breathe.
- Drainage is your best friend, whether you’re plating a soup or building a home. Drill a few small holes in the bottom of the house to ensure any rainwater can escape, keeping the interior dry and cozy for the little ones.
- Don’t forget about ventilation! A stuffy kitchen is a nightmare, and a stuffy birdhouse is even worse. Leave a tiny gap near the roofline to allow for airflow, keeping the temperature just right during those warm summer afternoons.
- Avoid the “over-seasoned” look with unnecessary decorations. While a little flair is great, avoid adding perches outside the entrance hole; they actually make it easier for predators to hang out and wait, which is definitely not the vibe we’re going for!
Bringing Your Vision to Life: My Final Kitchen Notes for Your Birdhouse Project
Just like perfecting a delicate sauce, patience is your best ingredient—don’t rush the assembly, or you might end up with a structural mess that won’t last the season.
Treat your tools with respect and your wood with care; choosing high-quality materials and using the right gear ensures your “culinary” creation stands the test of time.
Remember that there’s no single “correct” recipe—embrace your creative flair and don’t be afraid to add your own unique seasoning to your birdhouse design!
The Secret Ingredient to Any Project
Building a birdhouse is a lot like perfecting a signature sauce—it’s not just about following the recipe or having the right tools; it’s about the patience you pour into the process and the intention to create a space where something beautiful can truly thrive.
Amelia Johnson
From Sawdust to Sanctuary
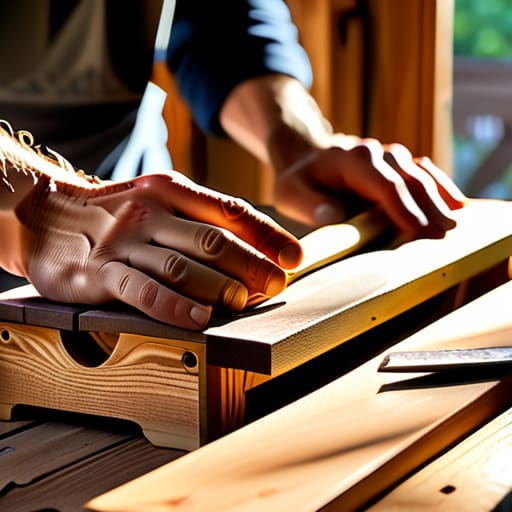
At the end of the day, building a birdhouse is a lot like perfecting a complex reduction sauce—it takes patience, the right tools, and a whole lot of heart. We’ve walked through everything from selecting the perfect, weather-resistant wood to ensuring your measurements are as precise as a pastry chef’s scale. By focusing on quality materials and using the right woodworking essentials, you aren’t just putting together a box; you are constructing a durable, functional piece of art that can withstand the elements. Remember, even if your first few cuts aren’t as clean as a professional chef’s julienne, the goal is progress, not perfection.
As you hang your finished creation in the garden, I want you to take a second to appreciate what you’ve actually done. You’ve taken raw, unformed materials and transformed them into a place of refuge and life. Just like a well-run kitchen or a beautifully plated dish, there is a profound sense of satisfaction in seeing a project come to life through your own hands and creativity. Don’t stop here! Let this be the first ingredient in a much larger recipe of DIY adventures. Keep experimenting, keep building, and most importantly, keep feeding that creative hunger that makes life so incredibly delicious.
Frequently Asked Questions
How can I make sure my birdhouse design is actually safe and inviting for the birds, rather than just looking pretty?
Think of it like plating a signature dish: presentation matters, but if the flavors aren’t right, nobody’s coming back! To keep your feathered guests happy, skip the toxic paints or stains—stick to natural finishes. Most importantly, ensure there’s plenty of ventilation and drainage. You wouldn’t serve a soup without seasoning, so don’t serve a home without airflow! A little attention to these “functional ingredients” makes all the difference for their comfort.
What kind of non-toxic finishes or stains can I use that won't harm my feathered neighbors?
Think of finishing your birdhouse like seasoning a delicate sauce—you want to enhance the beauty without overpowering or poisoning the core ingredients. Since our feathered friends will be pecking at those edges, skip the heavy chemical varnishes. I’d recommend a simple food-grade mineral oil or a natural beeswax finish. They’re non-toxic, eco-friendly, and give the wood a gorgeous, organic glow that feels just as right in a garden as a clean plate feels on a table.
Where is the absolute best spot in my yard to hang the finished house to ensure the birds actually move in?
Think of this like plating a masterpiece—presentation and placement are everything! You wouldn’t serve a delicate soufflé in a drafty hallway, right? For your feathered guests, aim for a quiet, semi-shaded spot about five to ten feet off the ground. Avoid high-traffic areas or spots right next to a noisy AC unit. You want it to feel like a cozy, tucked-away bistro—safe, private, and just the right amount of peaceful.


Amelia Johnson
I believe that food is not just sustenance but an expression of culture and creativity. Let’s explore how we can turn our culinary passions into rewarding careers that feed both our souls and our wallets.