How to Reupholster a Chair for a Fresh New Look
I was standing in my living room last Tuesday, staring at this gorgeous, mid-century wooden armchair that looked like it had been through a literal war zone, wondering why I even bothered. The fabric was frayed, the padding was lumpy, and my first instinct was to toss it on the curb. But then I thought about my grandmother’s kitchen in Vermont—how she could take the most basic ingredients and, with just a little bit of technique and soul, turn them into a feast. I realized that learning how to reupholster a chair is actually a lot like mastering a complex reduction sauce; it requires patience, the right tools, and a refusal to settle for anything less than perfection.
Forget those intimidating, high-budget DIY videos that make you feel like you need a professional workshop just to change a cushion. I’m going to strip away the fluff and give you the real, no-nonsense blueprint for transforming your tired furniture. We’re going to walk through everything from selecting a fabric that actually holds up to the technical bits of stapling and tucking that make the difference between a DIY disaster and a designer masterpiece. Let’s get your hands a little dirty and turn that old seat into something truly spectacular.
Table of Contents
- Step-by-Step Instructions
- Curating Your Canvas Fabric Selection for Furniture
- Mastering the Essentials Upholstery Tools and Supplies
- Pro-Tips from the Kitchen to the Workshop: Avoiding Common Upholstery Pitches
- Chef’s Notes for a Flawless Finish
- The Secret Ingredient in Every Transformation
- From Scraps to Showstoppers
- Frequently Asked Questions
Guide Overview
Tools & Supplies
- Staple gun and staples for securing fabric
- Pliers for removing old staples and tacking
- Scissors or utility knife for cutting fabric
- Measuring tape for sizing materials
- Screwdriver for removing seat components
- Upholstery fabric (1-3 yards depending on chair size)
- High-density foam (1 piece)
- Batting/Dacron (1 roll or sheet)
- Dust cover fabric/Cambric (1 yard)
Step-by-Step Instructions
- 1. Before you even touch a staple gun, you need to perform what I like to call a “kitchen prep” for your chair. Strip it down completely by removing the old fabric, staples, and foam. As you pull everything apart, save the old fabric pieces like they’re precious scraps of parchment paper; they act as your original template and will show you exactly how much coverage you need for the new material.
- 2. Once the frame is bare, take a good look at the padding. If the old foam is crumbling like a poorly made financier, it’s time to toss it. Replace it with high-density foam or even a layer of batting to give your chair that plump, professional silhouette that makes people want to sit down immediately.
- 3. Now comes the part that requires a steady hand: laying out your new fabric. Lay your fabric face down on a clean floor, place the chair seat (or back) face down on top of it, and center it carefully. Think of this like centering a beautiful garnish on a plate; if you start off crooked, the whole dish is going to look off.
- 4. Start your stapling process from the center of each side to ensure even tension. Pull the fabric taut—but not so tight that you’re straining the fibers—and drive your staples in. I always recommend working in a cross-pattern (top, bottom, left, right) to distribute the tension equally and prevent any unsightly bunching or rippling.
- 5. As you move toward the corners, things get a little more technical. You’ll need to fold the excess fabric neatly, similar to how you might fold a dumpling or a crepe, to tuck the corners away without creating bulk. This is where you really showcase your craftsmanship, so take your time and don’t rush the tucks.
- 6. Once everything is secure, grab a pair of sharp fabric shears and trim away any excess material hanging off the underside. You want a clean edge, but leave just enough so you can tuck it into the frame if you’re adding a decorative trim or “dust cover” later. A clean finish is the difference between a DIY project and a professional-grade masterpiece.
Curating Your Canvas Fabric Selection for Furniture
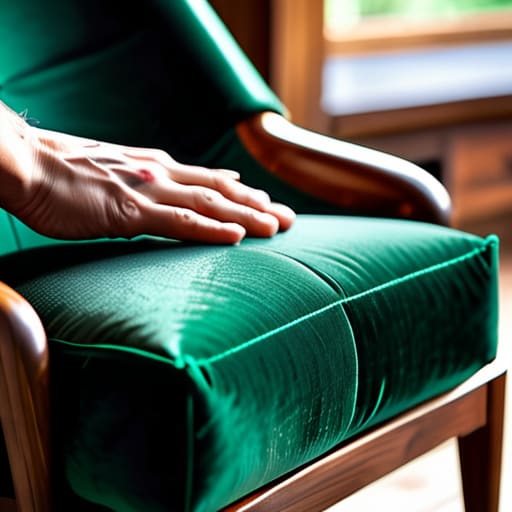
Choosing the right fabric is a lot like selecting the perfect protein for a signature dish—it’s the foundation that dictates the entire experience. You wouldn’t pair a delicate sea bass with a heavy, pungent sauce, so don’t pair a lightweight linen with a high-traffic dining chair. When you’re diving into fabric selection for furniture, you have to consider both the aesthetic “flavor” and the durability. If this chair is destined for a cozy reading nook, a plush velvet might be your best bet, but for a busy kitchen chair, you’ll want something with a higher rub count to withstand the daily hustle.
Before you get too swept up in gorgeous patterns, do yourself a massive favor and use an upholstery fabric yardage calculator. There is nothing more heartbreaking than being mid-project and realizing you’re a few inches short of a finished seam! While you’re at it, take a peek at the current state of your seat. If the padding feels thin or lumpy, this is the perfect moment for replacing chair foam padding to ensure your masterpiece isn’t just beautiful, but actually comfortable to sit in.
Mastering the Essentials Upholstery Tools and Supplies
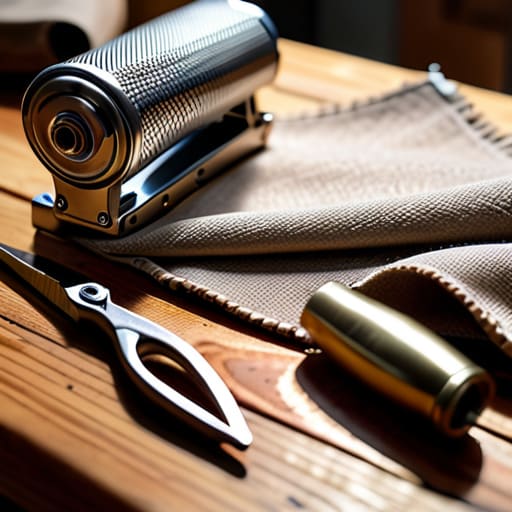
Before you dive into the actual work, think of gathering your gear like a chef prepping their mise en place. You wouldn’t dream of starting a complex reduction without your knives and aromatics ready, and reupholstering is no different. You’ll need a solid set of upholstery tools and supplies to prevent frustration halfway through. A high-quality staple gun is your best friend here, but don’t just grab the cheapest plastic one you find at the hardware store; you want something with enough muscle to drive staples deep into the frame without tiring your hand.
While you’re at it, don’t overlook the “hidden” ingredients that make a chair truly comfortable. If your seat feels a bit saggy, you might find yourself replacing chair foam padding to bring back that original “just-out-of-the-kitchen” bounce. I always suggest grabbing a pair of heavy-duty fabric shears and a staple remover—trust me, removing old upholstery fabric can be a messy, stubborn process that requires a bit of finesse to avoid damaging the wooden frame underneath. Getting these basics right ensures the final result feels as professional as it looks.
Pro-Tips from the Kitchen to the Workshop: Avoiding Common Upholstery Pitches
- Treat your old fabric like a precious recipe; never toss the original scraps until the new piece is fully secured. I always tell my clients to “map” their old fabric by marking the grain and seams with chalk so you don’t end up with a pattern that looks as messy as a broken emulsion.
- Think of tension like seasoning a dish—it’s all about balance. If you pull the fabric too tight, you’ll get unsightly puckering that ruins the silhouette; too loose, and your chair will feel as limp as an overcooked noodle. Aim for a firm, even pull across the entire surface.
- Don’t skip the “mise en place” of upholstery: the padding. Just as a great sauce relies on a solid base, your chair’s comfort depends on the foam and batting underneath. If the old foam is crumbling like a stale biscuit, replace it now, or your hard work won’t feel worth the effort.
- Watch your corners like you’re plating a delicate garnish. This is where most DIY projects fall apart. Take your time folding the fabric neatly into the corners to avoid bulky, awkward lumps that make the chair look amateurish rather than artisanal.
- Always do a “taste test” before committing. Before you start stapling away, drape your new fabric over the frame to see how it hangs and how the pattern aligns. It’s much easier to adjust your “ingredients” before the heat is turned up and the staples are in!
Chef’s Notes for a Flawless Finish
Treat your fabric like a signature ingredient; the quality and texture you choose are the foundation of your entire project, so don’t skimp on the good stuff.
Precision is everything, much like seasoning a delicate sauce—it’s better to go slow and steady with your tools than to rush and end up with a lumpy, uneven result.
Don’t be afraid to experiment and find your own rhythm, because the most beautiful pieces come from the confidence you build through a little bit of trial, error, and a lot of heart.
The Secret Ingredient in Every Transformation
“Think of reupholstering a chair exactly like plating a signature dish; you aren’t just covering up old wood and foam, you’re layering texture, color, and intention to breathe new life into something that was once forgotten.”
Amelia Johnson
From Scraps to Showstoppers
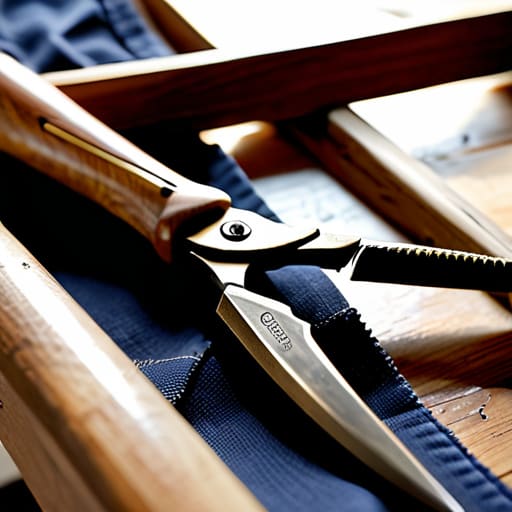
Taking that old, tired chair and breathing new life into it is a lot like perfecting a complex reduction sauce; it requires patience, the right tools, and a bit of soul. We’ve navigated through the heavy lifting of selecting the perfect, durable fabric and gathering our essential toolkit, ensuring you have everything from the right tension to the right texture. Remember, it’s not just about pulling fabric tight; it’s about understanding the foundation of your piece and respecting the craftsmanship that goes into every staple. By mastering these core elements, you’ve transitioned from someone just following instructions to a creator who understands how to layer materials to achieve a professional, polished finish.
As you step back to admire your handiwork, I want you to realize that you’ve done much more than just fix a piece of furniture. You’ve practiced the art of transformation, much like how a few well-chosen spices can turn a simple meal into a lifelong memory. Whether this chair ends up in a sunny reading nook or as the centerpiece of your dining room, it now carries a story of creative resilience. Don’t be afraid to make mistakes or try a bold pattern next time—after all, the most delicious lives, and the most beautiful homes, are often built through a little bit of experimentation and a whole lot of heart.
Frequently Asked Questions
Is it worth investing in professional-grade foam, or can I get away with using what’s already inside the chair?
Think of this like upgrading your kitchen from a basic home setup to a professional line. If your current foam is crumbling or feels like sitting on a bag of chips, it’s time for an upgrade. Investing in high-density, professional-grade foam is worth every penny; it’s the foundation of your “dish.” While you can reuse old padding, fresh foam ensures your masterpiece doesn’t lose its shape—and its soul—after just a few sits.
How do I figure out exactly how much fabric I need to buy so I don't end up one yard short right when I'm in the zone?
Trust me, I’ve been there—staring at a half-finished project with nothing but a dream and a single scrap of velvet left. It’s like running out of shallots halfway through a reduction! To avoid that heartbreak, don’t just eyeball it. Measure the widest part of your chair, add six inches for the “wrap-around” margin, and then add an extra yard just for breathing room. It’s better to have a little leftover for a matching accent pillow than to face a fabric shortage!
If I mess up a staple or a stitch, is it easy to fix, or am I looking at a total do-over?
Deep breaths! Honestly, I’ve seen much bigger disasters in a high-pressure kitchen than a stray staple. If you catch a mistake early, it’s usually just a quick “re-seasoning.” If a stitch looks wonky or a staple pulls poorly, just carefully remove it with your pliers and try again. It’s not a total do-over unless you’ve accidentally sliced through the structural foam. Think of it as adjusting the seasoning—sometimes you just need a little finesse to get it right!


Amelia Johnson
I believe that food is not just sustenance but an expression of culture and creativity. Let’s explore how we can turn our culinary passions into rewarding careers that feed both our souls and our wallets.