Resin Crafts for Beginners: a Simple Starting Guide
I remember standing in my grandmother’s kitchen back in Vermont, staring at a failed batch of homemade caramel that had turned into a sticky, burnt mess, thinking I’d never master the art of precision. Honestly, if you’re feeling that same intimidation looking at a starter kit, you aren’t alone. Most people will tell you that you need a professional studio or a degree in fine arts to get started, but that is a total myth. In reality, diving into resin crafts for beginners is much more like learning to balance a sauce; it’s all about patience, the right ratios, and not being afraid to make a little mess while you find your rhythm.
I’ve spent my career perfecting recipes and refining operations, and I’m bringing that same no-nonsense approach to your new creative obsession. This guide isn’t going to feed you a bunch of sugary, unrealistic hype about instant perfection. Instead, I’m going to walk you through the essential tools, the common pitfalls to avoid, and the simple techniques that will help you create something beautiful without losing your mind. Let’s turn that creative spark into something tangible and stunning.
Table of Contents
- Step-by-Step Instructions
- Mastering Essential Resin Art Supplies for Artistic Expression
- Perfecting Resin Mixing Ratios for Beginners to Fuel Creativity
- Kitchen Secrets for Resin: 5 Pro-Tips to Keep Your Creative Flow Smooth
- Bringing the Flavor to Life: My Top Three Tips for Success
- Finding Your Flow
- Serving Up Your Creative Masterpiece
- Frequently Asked Questions
Guide Overview
Tools & Supplies
- Silicone molds for shaping the resin
- Mixing cups for combining components
- Wooden stir sticks for blending
- Heat gun or lighter to remove bubbles
- Protective gloves to prevent skin contact
- Epoxy resin kit (Resin and Hardener) 16oz
- Silicone molds (various shapes) 1 set
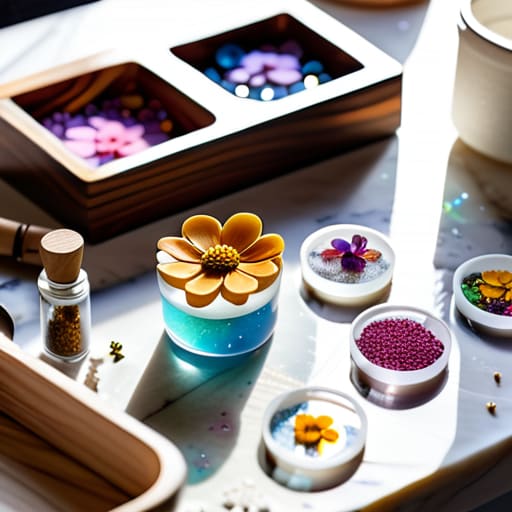
- Liquid pigments or mica powder 1 set
- Glitter or dried flowers 1 pack
- Sandpaper assortment for smoothing edges
Step-by-Step Instructions
- 1. First things first, you’ve got to prep your workspace, and trust me, this is just like mise en place in a professional kitchen. Clear off a flat, sturdy surface and lay down some silicone mats or even old parchment paper to catch any accidental drips. Most importantly, make sure you’re in a well-ventilated room and grab your safety gear—gloves and a respirator are non-negotiable if you want to keep your lungs as happy as your art.
- 2. Now, let’s talk about the “ingredients”: choosing your resin. For beginners, I highly recommend starting with a two-part epoxy resin because it’s much more forgiving than UV resin. Grab a digital scale if you can; just like baking a delicate soufflé, resin requires mathematical precision. If your ratios are even slightly off, you’ll end up with a sticky, gummy mess that no amount of patience can fix.
- 3. Once you’ve measured your resin and hardener, it’s time to stir. This is where people usually trip up, so listen close: stir slowly and steadily. You aren’t trying to whip egg whites into a meringue here; if you stir too fast, you’ll introduce a mountain of tiny air bubbles that will haunt your finished piece. Scrape the sides and the bottom of the cup constantly until the liquid goes from cloudy to crystal clear.
- 4. If you’re feeling a little fancy and want to add some “seasoning”—like glitter, dried flowers, or mica powder—now is the time. Add your pigments to the mixed resin and give it one more gentle swirl. I love using gold leaf to give my pieces a little culinary flair, but remember: less is usually more. You want to enhance the beauty of the resin, not overwhelm it.
- 5. Now, pour your creation into your molds. Do it in small, steady increments rather than one big dump. If you see bubbles rising to the surface like foam on a simmering sauce, take a long-neck lighter or a heat gun and lightly pass the flame over the surface. The heat will pop those bubbles instantly, leaving you with a finish that is smooth as silk.
- 6. Finally, the hardest part for any creative soul: the wait. Cover your molds with a box to keep dust from settling on them, and then walk away. Depending on the brand, this could take anywhere from 12 to 24 hours. Resist the urge to “peek” every hour! Much like letting a dough rise, resin needs its undisturbed time to reach its full potential.
Mastering Essential Resin Art Supplies for Artistic Expression
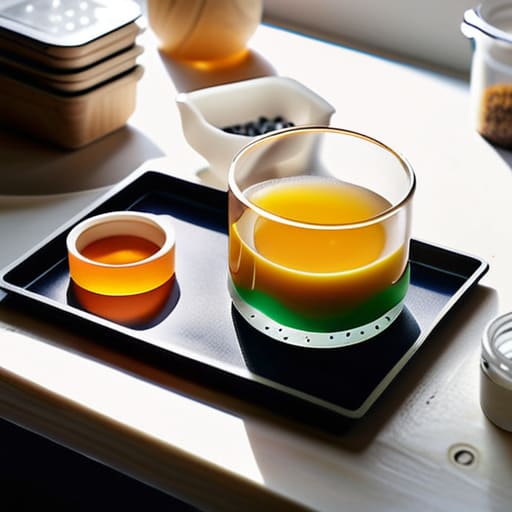
Think of gathering your supplies like mise en place in a professional kitchen; if your station isn’t set, your final dish—or in this case, your art—is going to suffer. When you’re first starting out, don’t feel like you need to buy every shiny gadget on the market. Focus on the essential resin art supplies that actually make a difference, like high-quality silicone molds and a reliable digital scale. Just like you wouldn’t eyeball the salt in a delicate soufflé, you can’t eyeball your resin; getting those resin mixing ratios for beginners exactly right is the secret sauce to a crystal-clear finish.
Safety is another non-negotiable, much like wearing non-slip shoes in a busy line. Please, don’t skip the safety precautions for working with epoxy, such as wearing gloves and working in a well-ventilated space. It might feel a bit overkill at first, but your lungs and skin will thank you later! Once you’ve got your gear and your safety setup dialed in, you’re no longer just playing around—you’re officially a maker, ready to turn raw materials into something truly beautiful.
Perfecting Resin Mixing Ratios for Beginners to Fuel Creativity
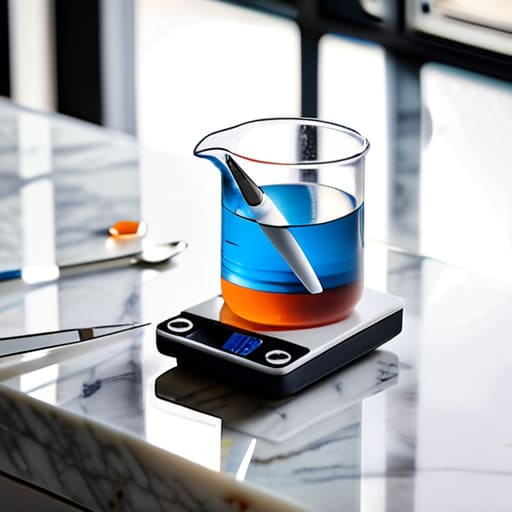
Think of mixing resin much like following a delicate sourdough recipe; if your measurements are even slightly off, the whole batch can fail to rise—or in this case, fail to harden. When you’re just starting out, getting your resin mixing ratios for beginners exactly right is the difference between a crystal-clear masterpiece and a sticky, unusable mess. I always tell my clients that precision is your best friend. Use a digital scale rather than relying on volumetric measurements whenever possible, because even a tiny deviation can mess with the chemical reaction.
Once you’ve nailed the ratio, you’ll want to focus on the technique. I like to stir slowly and steadily, almost like you’re folding egg whites into a soufflé, to avoid introducing excess air. This is one of the most effective ways of learning how to prevent resin bubbles from ruining your hard work. If you see a few stray bubbles popping up anyway, don’t panic! A quick pass with a heat gun or a lighter can work wonders. Just remember to be patient; rushing the process is the fastest way to lose that professional finish we’re all striving for.
Kitchen Secrets for Resin: 5 Pro-Tips to Keep Your Creative Flow Smooth
- Think of your workspace like a professional mise en place; clear the clutter and prep your area before you even touch the resin. A messy station is the fastest way to ruin a beautiful pour, so keep your tools organized and ready to go.
- Temperature is your best friend or your worst enemy. Just like tempering chocolate, resin is incredibly sensitive to the heat in your room. If your space is too chilly, your art might end up cloudy or never fully cure, so keep things cozy and consistent.
- Don’t rush the process! I know the urge to see the finished product is strong—it’s the same feeling I get when a new recipe is simmering on the stove—but patience is key. Give your pieces ample time to set without moving them, or you’ll end up with more heartbreak than a broken emulsion.
- Bubbles are the “impurities” of the resin world. To keep your work crystal clear, try pouring slowly and using a heat tool or a quick pass with a torch to pop those tiny air pockets. It’s all about that refined, polished finish.
- Safety isn’t just a suggestion; it’s your most important ingredient. Treat resin like a potent spice or a sharp chef’s knife—respect it. Always wear your gloves and work in a well-ventilated space to ensure your creative journey stays healthy and sustainable.
Bringing the Flavor to Life: My Top Three Tips for Success
Treat your resin like a delicate reduction; patience is everything. Just like you wouldn’t rush a slow-cooked sauce, don’t rush the curing process—give your pieces the time they need to set perfectly.
Invest in quality “ingredients” from the start. Much like a chef wouldn’t use subpar salt, choosing high-quality resin and reliable molds will save you from a lot of kitchen-style disasters down the line.
Don’t be afraid to experiment with your own unique seasoning. Once you’ve mastered the basics, start playing with colors and textures to find your own culinary—or rather, artistic—signature style!
Finding Your Flow
“Think of resin like a new, complex reduction on the stove; it requires patience, a steady hand, and a bit of intuition, but once you master the chemistry, you can pour your heart into every single creation.”
Amelia Johnson
Serving Up Your Creative Masterpiece
We’ve covered a lot of ground today, from gathering your essential supplies to nailing those tricky mixing ratios that make or break a pour. Think of it just like prepping a complex reduction in a busy kitchen; if you don’t respect the process and get your measurements exactly right, the final result won’t have that perfect, crystal-clear finish we’re all after. Remember, mastering your tools and understanding the chemistry of your medium is the secret ingredient to avoiding those dreaded bubbles and sticky messes. Once you have the technical foundation down, you’re no longer just following a recipe—you’re truly cooking with fire.
As you move from the prep station to the actual creation, I want you to remember that perfection is often the enemy of progress. In my years in professional kitchens, I learned that some of the most soul-satisfying dishes come from a bit of happy accident and a lot of intuition. Resin is exactly the same; it’s a fluid, living medium that rewards your curiosity and your courage to experiment. Don’t be afraid to get a little messy or try a color combination that feels a bit wild. At the end of the day, this is your canvas, so pour your heart into every layer and enjoy the delicious journey of seeing your vision come to life.
Frequently Asked Questions
Is there a way to avoid those annoying tiny bubbles that seem to pop up in every piece I pour?
Ugh, those bubbles! Honestly, they’re like finding a hair in a gourmet reduction—totally frustrating when you’ve poured your heart into a piece. To keep things crystal clear, try warming your resin in a warm water bath before mixing; it thins the viscosity just like tempering chocolate. Also, pour your resin in a slow, steady stream to avoid trapping air. A quick pass with a heat gun works wonders, too—think of it like a finishing torch!
Since I'm working in a small kitchen space, what kind of ventilation do I actually need to keep my workspace safe?
Listen, I know the struggle—working in a tight kitchen or a tiny studio is a bit like managing a cramped line during a Saturday night rush. You need airflow! Since resin fumes can be sneaky, please don’t just rely on an open window. I highly recommend a dedicated fume extractor or a high-quality HEPA air purifier right at your station. If you can, set up a small fan to pull air away from your face. Stay safe!
Can I preserve dried flowers or even small food-related items in resin without them turning brown over time?
Oh, I love this question! It’s like trying to preserve the perfect seasonal harvest. The short answer? Yes, but you have to be a bit strategic. For flowers, ensure they are bone-dry; any moisture is a recipe for rot. For tiny food items—like a single peppercorn or a dried chili—the same rule applies. To prevent browning, use UV-resistant resin and keep your pieces out of direct sunlight. Think of it as protecting your culinary art from the elements!


Amelia Johnson
I believe that food is not just sustenance but an expression of culture and creativity. Let’s explore how we can turn our culinary passions into rewarding careers that feed both our souls and our wallets.