How to Make Your Own Curtains (no Sewing Machine Needed)
I was standing in my first tiny apartment in NYC, staring at these heavy, soul-crushing beige drapes that looked like they belonged in a hospital waiting room, when it hit me: I didn’t need a massive renovation budget to change the vibe of my space. I just needed a little bit of creative courage and some fabric. Most people think that creating diy curtains requires a professional sewing studio and a master’s degree in textile design, but honestly? That’s just a recipe for intimidation. Just like learning to master a delicate hollandaise sauce, it’s all about understanding the basic ingredients and not being afraid to make a little mess along the way.
In this guide, I’m stripping away the fluff and giving you the straight-up, no-nonsense techniques to transform your windows. We’re going to walk through selecting the perfect fabric weights, choosing your hardware, and executing a few simple construction methods that look completely high-end. Whether you’re a total novice or someone who just wants to save a few bucks without sacrificing style, I promise to show you how to craft something beautiful that truly nourishes your home’s aesthetic.
Table of Contents
- Step-by-Step Instructions
- Curating Your Canvas Masterful Fabric Selection for Curtains
- Polished Perfection Achieving Seamless Hemmed Curtain Edges
- The Secret Sauce: 5 Pro-Tips for Curtains That Look High-End
- Savoring the Success: Your Final Recipe for Perfect Curtains
- The Secret Ingredient for Your Space
- Finishing the Feast: Your Custom Window Reveal
- Frequently Asked Questions
Guide Overview
Tools & Supplies
- Measuring tape for window dimensions
- Fabric scissors for clean cuts
- Sewing machine or needle and thread for assembly
- Iron for pressing seams
- Fabric (2-3 yards depending on width)
- Thread (1 spool matching fabric color)
- Hem tape or pins for securing edges
Step-by-Step Instructions
- 1. First things first, we need to gather our “mise en place.” Just like I wouldn’t dream of starting a complex reduction without my prep bowls ready, you shouldn’t start sewing without your tools. You’ll need your chosen fabric (think of this as your star ingredient), a measuring tape, fabric shears, pins, an iron, and a sewing machine. If you’re feeling fancy, grab some decorative trim to add that final, professional flourish.
- 2. Now, let’s get measuring. Grab that tape measure and find the width and height of your window. A little pro tip from my kitchen days: always add a few extra inches to both the width and the height. You want your curtains to have some intentional drape rather than looking like they’re struggling to cover the glass, and you definitely need that extra fabric for the hems.
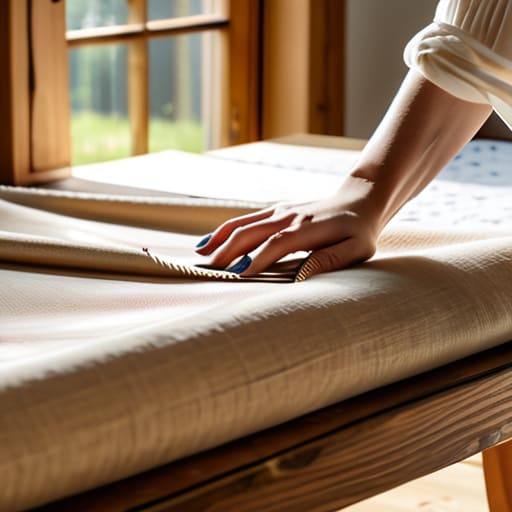
- 3. Time to prep the fabric. Lay your material out flat on a clean surface—I like to use a large dining table—and use your shears to cut your pieces according to your measurements. Once you’ve got your panels cut, give them a good steam with your iron. Pre-shrinking and smoothing your fabric now prevents those annoying little puckers later, much like how I always make sure my garnishes are perfectly crisp before they hit the plate.
- 4. Let’s tackle the side hems. Fold the raw edges of your fabric inward by about half an inch, press it flat with your iron, and then fold it over another half inch. Pin it all the way down the sides. This double-fold technique hides those messy raw edges and gives your curtain a sturdy, high-end weight that feels much more expensive than it actually was.
- 5. Now, we move to the top of the curtain, which is where the magic happens. Depending on whether you want a rod pocket or a more modern grommet look, you’ll fold the top edge down. If you’re going for a classic rod pocket, fold the fabric down enough to accommodate your curtain rod, plus an extra inch for a clean finish. Pin it carefully and sew a straight line along the bottom of that fold to secure it.
- 6. Don’t forget the bottom hem! This is where you can really play with the “plating” of your project. Fold the bottom edge up to your desired length, press it with the iron to create a sharp crease, and pin it. I usually go for a slightly wider hem at the bottom because it adds a lovely bit of structural elegance that helps the fabric hang beautifully against the light.
- 7. Finally, it’s time for the grand reveal. Stitch your final hems, trim any loose threads (we call this “cleaning your station”), and slide your panels onto the rod. If they look a little stiff, give them one more gentle steam to help them settle into their new home. Stand back, grab a glass of wine, and admire what you’ve created—you’ve just turned a simple piece of cloth into a soulful design element for your sanctuary.
Curating Your Canvas Masterful Fabric Selection for Curtains
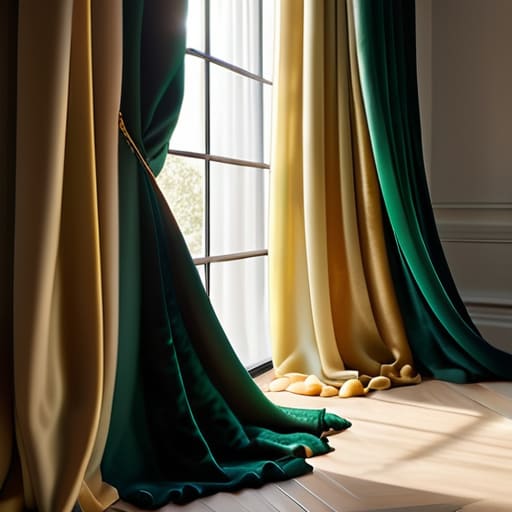
Choosing the right material is a lot like selecting the perfect base for a signature sauce; if the foundation isn’t solid, the whole dish falls flat. When you’re diving into fabric selection for curtains, I always tell my clients to think about the “flavor” they want to bring to a room. Are you looking for something light and airy, like a delicate chiffon that lets the sunlight dance through? Or do you want something heavy and dramatic, like a velvet that feels as rich as a slow-simmered demi-glace? The weight of your textile dictates how the light interacts with your space, so don’t be afraid to swatch different textures before you commit.
If you’re working with a tighter budget, don’t sweat it! You can still achieve high-end custom window treatments by hunting for high-quality linen blends at local thrift stores or discount textile outlets. My little secret? Look for fabrics with a beautiful drape; even a simple cotton can look incredibly expensive if it hangs with intention. Just remember that once you’ve found “the one,” your next step will be ensuring those hemmed curtain edges are crisp and clean to give your project that professional, polished finish.
Polished Perfection Achieving Seamless Hemmed Curtain Edges
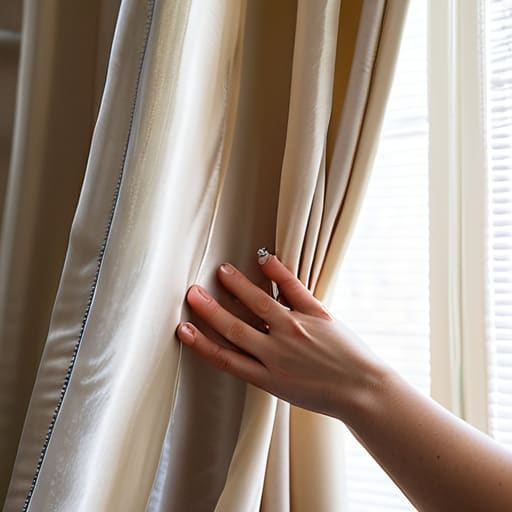
Think of your hems like the final garnish on a Michelin-star dish; they might seem like a small detail, but they are what truly elevate the entire presentation. When you’re working on hemmed curtain edges, precision is your best friend. I always tell my clients that a messy hem can make even the most expensive silk look like a cheap tablecloth. To avoid that dreaded “wavy” look, I highly recommend using plenty of pins—think of them as your mise en place—to keep everything perfectly aligned before you even touch the sewing machine.
If you’re working with heavier textiles, don’t be afraid to use a bit of iron-on interfacing to add some structure. It’s a total game-changer for creating those crisp, professional lines that make your custom window treatments look like they were plucked straight from a high-end boutique. And here’s a little pro tip from my kitchen days: always press your seams as you go. A well-pressed hem doesn’t just look better; it gives your fabric a sense of intentionality and weight that screams quality.
The Secret Sauce: 5 Pro-Tips for Curtains That Look High-End
- Don’t skimp on the “fullness”—think of it like seasoning a dish. If your fabric is too skimpy, the curtains will look thin and unappetizing. Aim for at least two to two-and-a-half times the width of your window so they drape with that lush, expensive-looking volume.
- Mind your measurements twice, then sew once. In a professional kitchen, a single misplaced gram can ruin a soufflé, and in sewing, an extra inch can leave your curtains hovering awkwardly above the floor. Always measure from the rod to the desired floor length, not just the window frame.
- Ironing is your best friend, not your enemy. Just like you wouldn’t serve a wrinkled tablecloth, don’t hang wrinkled curtains. Press your seams flat as you go; it’s much easier to work with crisp, pre-pressed fabric than trying to steam out a mess once they’re already hanging.
- Choose your hardware with intention. Your curtain rod is like the plating for your meal—it sets the stage. A heavy, substantial rod can give lightweight linen a much-needed sense of structure and elegance, making the whole setup feel intentional rather than accidental.
- Embrace the “hang time.” Once you’ve finished your DIY masterpiece, give them a few days to settle. Just like a good stew needs time to let the flavors marry, your curtains need a little time to find their natural drape and shake out any minor tension from the hanging process.
Savoring the Success: Your Final Recipe for Perfect Curtains
Treat your fabric selection like choosing the perfect star ingredient; the quality and texture you pick at the start will define the entire “flavor” of your room.
Don’t rush the prep work—just like a slow-simmered reduction, taking your time with precise hems and careful measurements is what separates a messy amateur job from a professional-grade finish.
Embrace the creative process and don’t fear a little imperfection, because the real magic lies in the soul and personality you pour into making your space uniquely yours.
The Secret Ingredient for Your Space
“Think of DIY curtains like a signature reduction; you’re taking raw, simple elements and simmering them with your own intention until they transform into something that truly nourishes the soul of your home.”
Amelia Johnson
Finishing the Feast: Your Custom Window Reveal

Just like perfecting a complex reduction sauce, crafting your own curtains requires patience, the right ingredients, and a bit of finesse. We’ve journeyed through the essential prep work, from selecting a fabric that has the perfect weight and drape for your windows, to mastering those clean, professional hems that make all the difference between a DIY project and a designer look. Remember, even if your first stitch isn’t as straight as a chef’s knife, the goal was to move from a blank canvas to something that truly belongs in your home. You’ve gathered your tools, prepped your materials, and executed the technique—now it’s time to let your space breathe.
At the end of the day, whether you are redesigning a kitchen or sewing a set of linen drapes, you are practicing the art of intentional living. There is something incredibly soul-nourishing about looking around a room and knowing that you didn’t just buy a product, but you actually created an atmosphere. Don’t be afraid to experiment with bold patterns or unexpected textures in your next project. Cooking and decorating both stem from the same place: the courage to try something new and the joy of seeing it come to life. Now, go hang those beauties up and celebrate your hard work!
Frequently Asked Questions
I’m worried about the weight—will my homemade fabric be too heavy for my existing curtain rod to handle?
That is such a valid concern—it’s like worrying if a heavy cast-iron skillet will crack your stovetop! If you’ve picked a lush velvet or a thick linen, your current rod might struggle. Before you hang them, do a quick “stress test” by weighing your fabric. If it’s heavy, upgrade to a sturdy metal rod with reinforced brackets. It’s better to invest in a solid foundation now than to have your hard work come crashing down later!
How do I make sure my DIY curtains don't look "homemade" in a bad way once they're actually hanging in the room?
Think of it like plating a dish: even the best ingredients need a professional finish to truly shine. To avoid that “clunky” DIY look, focus on the hardware and the hang. Use high-quality, substantial curtain rods rather than flimsy ones, and ensure your curtains are steamed or ironed to perfection—wrinkles are the ultimate giveaway. Finally, let them pool just a tiny bit on the floor; that extra inch of fabric adds a luxurious, intentional weight.
If I'm working with a tight budget, are there any clever ways to upcycle old linens into something that looks high-end?
Oh, I love this question! It’s like turning pantry staples into a gourmet meal. If you’re on a budget, look to your linen closet. Old lace tablecloths or even high-quality cotton bedsheets can be absolute gems. The trick to making them look “high-end” rather than “hand-me-down” is all in the weight and the hardware. Pair your upcycled fabric with a heavy, substantial curtain rod and some elegant rings; it instantly elevates the look from DIY to designer!


Amelia Johnson
I believe that food is not just sustenance but an expression of culture and creativity. Let’s explore how we can turn our culinary passions into rewarding careers that feed both our souls and our wallets.