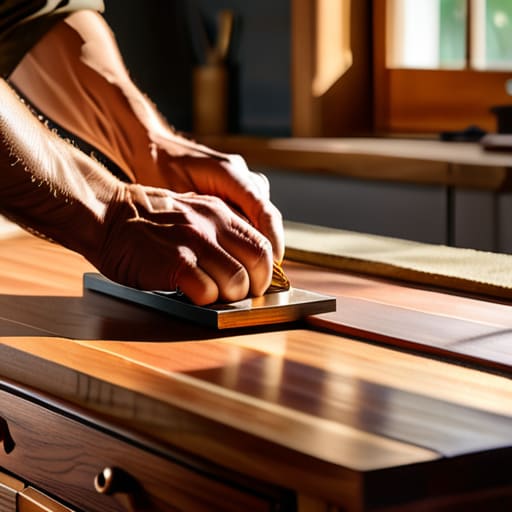
How to Refinish Old Furniture and Make It New
I remember standing in my grandmother’s kitchen back in Vermont, watching her transform a bruised, overripe peach into a stunning tart; she taught me that you don’t throw away something just because it looks a little rough around the edges. I think we often apply that same harsh logic to our homes, assuming a scratched side table or a faded dresser is destined for the landfill. But here’s the secret: learning how to refinish furniture isn’t about hiding flaws, it’s about uncovering the soul beneath the surface. Just like a complex sauce requires patience and the right seasoning, a piece of wood requires a steady hand and a bit of vision to truly shine again.
I’m not here to sell you on some unrealistic, Pinterest-perfect fantasy that requires a professional workshop and a massive budget. Instead, I’m going to walk you through the practical, no-nonsense steps to revitalize your space without losing your mind (or your entire savings account). We’ll dive into the essential prep work, the best ways to layer your finish, and how to avoid those common, frustrating mistakes that leave a piece looking clunky rather than chic. Let’s get to work and turn that “junk” into your next favorite heirloom.
Table of Contents
- Step-by-Step Instructions
- Mastering Wood Stripping Techniques to Uncover Hidden Beauty
- Essential Furniture Sanding Grits Guide for a Flawless Finish
- Seasoning Your Project: 5 Pro-Tips for a Chef-Quality Finish
- Bringing It All Together: My Golden Rules for a Soulful Finish
- The Secret Ingredient in Every Transformation
- From Raw Wood to a Finished Masterpiece
- Frequently Asked Questions
Guide Overview
Tools & Supplies
- Sandpaper (various grits for smoothing surfaces)
- Screwdriver (for removing hardware)
- Paintbrush or foam roller (for applying finish)
- Tack cloth (for removing fine dust)
- Wood cleaner or degreaser (1 bottle)
- Wood primer (1 quart)
- Paint or stain (1 quart)
- Protective gloves (1 pair)
Step-by-Step Instructions
- 1. First things first, you’ve got to clear your workspace and gather your mise en place. Just like I wouldn’t dream of starting a service without my knives sharpened and my station prepped, you shouldn’t dive into furniture without the right tools. Grab some sandpaper (start with a medium grit), a high-quality screwdriver, some drop cloths, and a good respirator. You want to make sure your environment is organized and safe before you get your hands dirty.
- 2. Now, let’s get into the heavy lifting: disassembly. I know it feels counterintuitive to take things apart, but think of it like deconstructing a complex sauce to understand its base layers. Remove any hardware—knobs, pulls, or hinges—and set them aside in a labeled bag. If the piece has any delicate inlay or decorative elements, take a close look to see if they need extra gentle handling before you move on to the next phase.
- 3. Next up is the stripping or sanding phase, which is essentially the “prep work” of the furniture world. If the piece has an old, thick varnish, you might want to use a chemical stripper, but if it’s a lighter finish, sandpaper is your best friend. Your goal is to strip away the old, tired layers until you reach the raw, beautiful wood underneath. It can be a bit tedious, much like peeling a mountain of shallots, but you have to be thorough and patient to ensure the new finish sticks properly.
- 4. Once the surface is smooth, it’s time for the deep clean. Dust and residue are the enemies of a flawless finish—they’re like salt in a delicate pastry dough that just won’t incorporate. Use a tack cloth or a slightly damp microfiber cloth to wipe down every nook and cranny. You want the surface to be absolutely pristine so that your new stain or paint can bond perfectly with the wood.
- 5. Now for the fun part: applying your new color or stain. This is where your creativity really gets to shine! Whether you’re going for a moody, dark walnut or a bright, modern pop of color, apply your product in thin, even layers. I always tell my clients to think of this like layering flavors in a reduction; you don’t want to dump everything in at once. Take your time, follow the grain of the wood, and let each layer dry completely before adding the next.
- 6. Finally, we need to seal the deal with a protective topcoat. This is the “plating” of your project—it protects your hard work and gives it that professional, polished look. Whether you choose a matte wax for a rustic vibe or a high-gloss polyurethane for something more formal, apply it carefully to prevent streaks. Once it’s cured, reattach your hardware, and voilà! You’ve officially transformed a forgotten relic into a soulful centerpiece.
Mastering Wood Stripping Techniques to Uncover Hidden Beauty
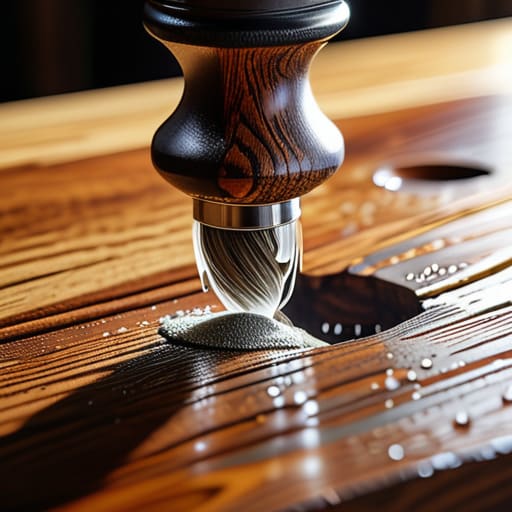
Think of stripping away old finishes like cleaning a heavy, cream-based sauce off a pan—it takes patience, and if you rush it, you’re going to leave a mess behind. When you’re diving into removing old varnish from wood, don’t just go in swinging with a scraper. I always recommend starting with a high-quality chemical stripper to do the heavy lifting. It softens that stubborn, crusty layer, allowing you to lift it away without gouging the precious grain underneath. It’s all about that gentle, steady approach to ensure you don’t ruin the “ingredients” you’re working with.
Once the bulk of the gunk is gone, you’ll need to transition into the fine-tuning phase. This is where people often stumble, but if you treat it like prepping a delicate julienne, you’ll nail it. You’ll want to move through a sequence of grits to smooth out the surface. While I’m usually more focused on flavor profiles than a furniture sanding grits guide, I’ve learned that the texture of your wood is just as vital as the seasoning on a steak. Consistency is your best friend here; if you skip a step, those tiny scratches will scream at you once you finally apply your finish.
Essential Furniture Sanding Grits Guide for a Flawless Finish
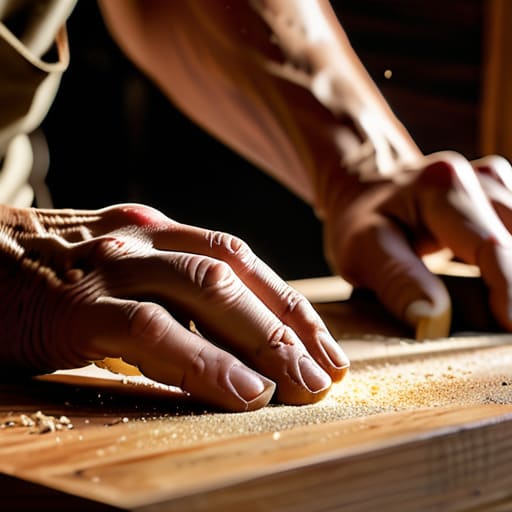
Think of sanding your piece like prepping a delicate protein for a high-end service; you wouldn’t throw a raw steak straight onto a searing hot pan without a little finesse, right? In the world of restoration, your sandpaper is your most vital tool. If you jump straight to a fine grit, you’ll leave behind deep scratches that no amount of polish can hide. I always recommend starting with a coarse grit—around 80 or 100—to level out those stubborn imperfections left behind after removing old varnish from wood. It’s all about building those layers of texture carefully.
Once the heavy lifting is done, you’ll want to transition through the middle grits, like 150, to smooth out the grain. This is where the magic happens. I like to tell my clients that a flawless finish is earned in the transition. Finally, finish with a 220 grit to ensure the surface is buttery smooth. Following a solid furniture sanding grits guide ensures that when you eventually move on to applying your stain, the wood absorbs the color evenly, preventing those dreaded blotchy patches that can ruin all your hard work.
Seasoning Your Project: 5 Pro-Tips for a Chef-Quality Finish
- Treat your workspace like a mise en place; clear the clutter and lay out every single tool, rag, and sandpaper grit before you even touch the wood so you aren’t scrambling mid-process.
- Don’t rush the “resting” period—just like letting a good dough rise, your wood needs time to dry completely between coats of stain or sealer to avoid a tacky, uneven mess.
- Test your flavors before serving the main course by applying a small dab of stain on a hidden underside of the furniture to see how the wood truly reacts.
- Work with the grain, never against it; fighting the natural direction of the wood is like trying to whisk a sauce the wrong way—it’s just going to create unnecessary friction and a messy texture.
- Listen to your materials; if a finish feels too thick or looks “gloppy,” stop and buff it out immediately rather than trying to power through, because a little patience now saves a massive headache later.
Bringing It All Together: My Golden Rules for a Soulful Finish
Treat your furniture like a complex reduction; patience is your best ingredient. Rushing through the stripping or sanding stages is the quickest way to ruin the “flavor” of your piece, so give every layer the time it deserves to shine.
Don’t fear the mistakes, but respect the prep. Just like a kitchen mishap can teach you more than a perfect service, a little extra sanding or a missed spot is just part of the creative process—just make sure your foundation is solid before you start adding the final flourishes.
Let your personal seasoning show. Whether you’re going for a rustic, weathered look or a sleek, modern sheen, the goal is to create something that feels like an extension of your own creativity, not just a carbon copy of a store-bought item.
The Secret Ingredient in Every Transformation
“Think of refinishing a piece of furniture exactly like prepping a signature dish; you can’t rush the prep work if you want a masterpiece. It’s all about those slow, intentional layers—stripping away the old to reveal the true, soulful character underneath.”
Amelia Johnson
From Raw Wood to a Finished Masterpiece
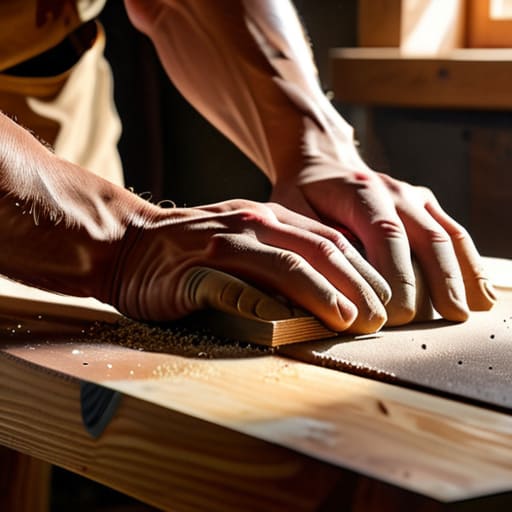
We’ve covered a lot of ground together, from the initial grit of stripping away old, tired layers to the delicate dance of sanding your way toward a smooth, professional surface. Just like perfecting a complex reduction in a busy kitchen, the secret to success lies in the patience you show during the prep work. You can’t rush the stripping process, and you certainly can’t skip the progression of grits if you want that flawless, high-end finish. By mastering these foundational techniques, you’ve moved beyond just “fixing” a piece of furniture; you’ve essentially prepared the canvas for a true culinary-style masterpiece of craftsmanship.
As you take that final step—whether it’s applying a rich stain or a protective topcoat—take a second to really look at what you’ve accomplished. Refinishing furniture is so much more than a weekend DIY project; it is an act of creative reclamation. Much like how a well-seasoned cast iron pan tells a story of every meal ever cooked, your newly transformed piece now carries a new chapter of your own history. Don’t be afraid to make mistakes or try a bold new color next time. Food, art, and woodworking all share the same soul: they are meant to be explored, tasted, and lived in. Now, go out there and make something beautiful!
Frequently Asked Questions
I’ve got a vintage piece with a really dark stain—is it possible to go lighter without ruining the wood, or am I playing with fire?
Oh, I’ve been there! It’s a bit like trying to dial back the seasoning on a heavy reduction—it takes a delicate touch. You aren’t necessarily playing with fire, but you can’t just “paint” over the darkness. You’ll need to strip it back to the raw grain and use a light bleaching agent or a wood conditioner to lift those pigments. It’s a slow simmer, not a flash fry, so patience is your best ingredient!
How do I know if a piece is worth the sweat and tears of a full refinish, or if I should just call it a day and move on?
Look at it like a bruised heirloom tomato—is there a beautiful, flavorful core underneath, or is it just mush? Check the joinery and the wood species first. If it’s solid hardwood like oak or walnut, it’s worth the effort. But if it’s particle board or has massive structural rot, save your energy. You want a piece with “good bones” that can actually handle the heat of a transformation!
What’s the best way to choose a finish that actually lasts, especially if I want that perfect balance between a professional look and an easy DIY maintenance routine?
Think of choosing a finish like picking the perfect glaze for a delicate pastry—it needs to protect the “flavor” while looking stunning. For that sweet spot between high-end professional vibes and low-maintenance living, I swear by a high-quality hardwax oil. It sinks into the wood rather than sitting on top, giving you that rich, soulful texture that’s incredibly easy to spot-repair without a full sanding. It’s a total game-changer for busy creators!


Amelia Johnson
I believe that food is not just sustenance but an expression of culture and creativity. Let’s explore how we can turn our culinary passions into rewarding careers that feed both our souls and our wallets.