How to Tile a Backsplash Without Hiring a Pro
I remember standing in a cramped, sweltering kitchen in Manhattan early in my career, staring at a cracked, grease-stained wall and thinking, there has to be a better way to treat this space. Most people think that learning how to tile a backsplash is some high-stakes, professional-only endeavor that requires a contractor on speed dial and a massive bank account. But honestly? That’s a total myth. Whether you’re a home cook looking to elevate your prep station or a budding culinary entrepreneur prepping your first food truck, your backsplash is the soulful backdrop to your creativity, and you don’t need a construction degree to get it right.
In this guide, I’m stripping away the intimidating jargon and giving you the real-deal, chef-tested approach to DIY tiling. We’re going to walk through everything from choosing a tile that can actually handle a splash of marinara to the precise technique of setting your grout without losing your mind. I promise to share the kind of practical, no-nonsense advice I’d give a friend over a glass of wine—helping you build a kitchen that looks professional, feels personal, and stays beautifully functional for years to come.
Table of Contents
- Step-by-Step Instructions
- Selecting Kitchen Remodel Backsplash Ideas to Feed Your Soul
- Essential Kitchen Tile Installation Tools for Every Creative Chef
- Pro-Tips from the Line: Avoiding Kitchen Nightmares Before They Start
- Chef’s Notes: Bringing Your Backsplash to Life
- The Soul of the Kitchen
- The Final Garnish
- Frequently Asked Questions
Guide Overview
Tools & Supplies
- Tile cutter or wet saw for cutting tiles to size
- Notched trowel for spreading adhesive
- Rubber grout float for applying grout
- Spacers to maintain even grout lines
- Level to ensure straight rows
- Backsplash tiles (enough to cover area plus 10% extra)
- Tile adhesive or mastic (1 tub/bag)
- Grout (1 bag)
- Tile sealer (1 bottle)
Step-by-Step Instructions
- 1. First things first, we need to prep your workspace, because a messy station is the enemy of a great result. Clear off those countertops and lay down some drop cloths to protect them from any stray adhesive or dust. You’ll want to give your wall a good, deep clean with a degreaser; if there’s any lingering grease from last night’s sauté, your tiles simply won’t stay put.
- 2. Next, grab your level and a pencil to map out your layout. I always tell my clients that this is like mise en place for your kitchen—if you don’t plan your ingredients (or in this case, your tiles) beforehand, things can get chaotic fast. Start from the center of your main wall and work your way out to ensure your pattern looks balanced and intentional, rather than skewed to one side.
- 3. Now, it’s time to get a little messy with the thin-set mortar. Using a notched trowel, spread a layer of adhesive onto a small section of the wall at a time. You want to create those perfectly even ridges that allow the tile to sit flush against the surface. Just a pro tip from my days in high-volume kitchens: don’t spread too much at once, or it’ll start to skin over before you can even get the tiles down!
- 4. Gently press your tiles into the mortar, applying a bit of even pressure to ensure they are seated deeply. As you go, use your level constantly to check that everything is straight. It might feel a bit tedious, but patience is your best friend here. If a tile feels a little wonky, just lift it up, adjust, and press it back down.
- 5. Once your tiles are all in place, let them sit for at least 24 hours to cure completely. This is the hardest part for me because I always want to see the finished product immediately, but you have to let the “foundation” set. Think of it like letting a complex sauce simmer and develop—you can’t rush the magic.
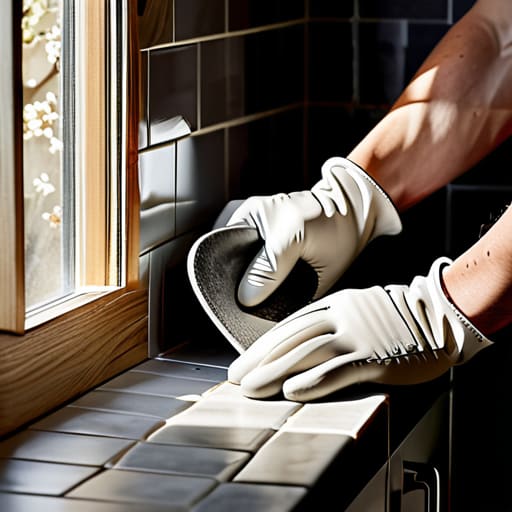
- 6. After the adhesive has hardened, it’s time for grouting! Mix your grout to a peanut butter consistency and use a rubber grout float to push it into the gaps between the tiles. Make sure you’re covering the joints completely, but don’t overdo it and leave a huge mess on the tile faces. Use a damp sponge to wipe away the excess, working in circular motions to achieve that smooth, professional finish we’re all dreaming of.
- 7. Finally, once the grout has wiped clean, let everything dry completely before you start using your stove again. Once it’s set, give the tiles a final wipe with a microfiber cloth to remove any remaining haze. Now, go grab a glass of wine and admire your handiwork—you’ve just leveled up your culinary sanctuary!
Selecting Kitchen Remodel Backsplash Ideas to Feed Your Soul
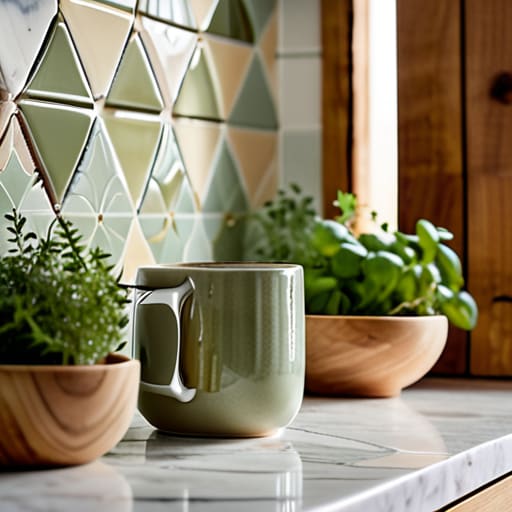
When you’re diving into your kitchen remodel, don’t just look at tiles as a way to protect your walls from tomato sauce splashes. Think of your backsplash as the visual seasoning of your entire home. Whether you’re drawn to the timeless elegance of subway tiles or the bold, textured energy of Moroccan Zellige, your choice should reflect your personal culinary journey. I always tell my clients to look for patterns that spark joy; after all, you’re going to be standing in front of this beauty every single morning while your coffee brews.
Before you get too deep into the weeds, take a moment to play with different backsplash tile layout patterns. Sometimes, a simple offset pattern can feel a bit predictable, but switching to a herringbone or a vertical stack can completely transform the vibe of your kitchen. It’s also wise to scout out your kitchen remodel backsplash ideas by visiting local showrooms or even scrolling through travel blogs to see how global textures might work in your space. Remember, this isn’t just a construction project—it’s about creating a backdrop that makes you want to cook.
Essential Kitchen Tile Installation Tools for Every Creative Chef
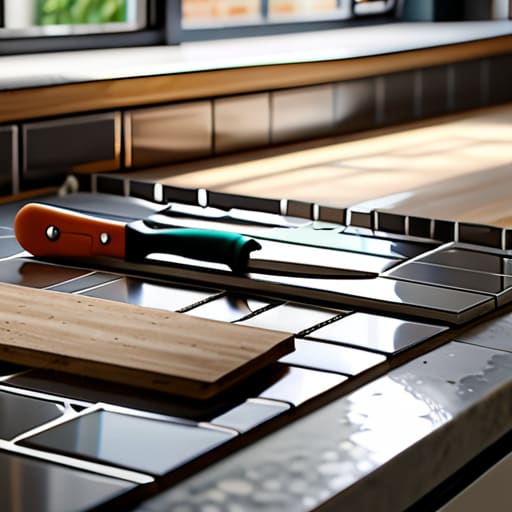
Before you dive into the actual work, think of your tool kit like a chef’s mise en place. You wouldn’t dream of starting a service without your sharpest knives and organized stations, and tiling is no different. To get this right, you’ll need more than just a hammer and nails; you’ll need a reliable notched trowel for applying tile adhesive and grout evenly, a spirit level to ensure your lines don’t look like a melting soufflé, and a good pair of tile cutters. Honestly, knowing how to cut tiles for backsplash pieces with precision is what separates a professional-looking finish from a DIY disaster.
I always tell my clients that the secret to a stress-free install is having the right gear on hand before you even open the first box of tile. Investing in a decent manual tile cutter or a wet saw will save you so much heartache when you hit those tricky corners near the outlets. Also, don’t skimp on your spacers! They are the unsung heroes that keep your backsplash tile layout patterns perfectly symmetrical. Trust me, having these kitchen tile installation tools ready to go makes the whole process feel less like a chore and more like a creative flow.
Pro-Tips from the Line: Avoiding Kitchen Nightmares Before They Start
- Plan your layout like a mise en place—get everything organized before you even touch the mortar. Start your first row with a level line, not the countertop, because if your base is slightly off, that error is going to grow like a sourdough starter left out too long!
- Don’t be afraid to mix and match textures. Just like balancing acid and fat in a sauce, combining a glossy subway tile with a matte mosaic can add incredible depth and visual “flavor” to your kitchen walls.
- Always, always buy about 10-15% more tile than you think you need. Between accidental breaks and those tricky corner cuts, you don’t want to be mid-project and realize you’re running low—it’s the culinary equivalent of realizing you’re out of garlic halfway through a garlic-heavy sauté.
- Take your time with the grout. It’s the seasoning of your backsplash! If you rush the cleaning process, you’ll end up with a cloudy mess. Wait for it to set just right, then wipe it away with a damp sponge to let those true colors shine through.
- Think about your “work zone” ergonomics. If you’re a heavy-duty cook, choose a tile and grout combination that’s easy to wipe down. You want a backsplash that celebrates your creativity without becoming a high-maintenance chore every time a sauce splatters.
Chef’s Notes: Bringing Your Backsplash to Life
Treat your backsplash like a signature dish—it’s the finishing touch that ties your entire kitchen aesthetic together, so don’t be afraid to let your personal creativity shine through your tile choice.
Precision is your best friend in the kitchen and on the wall; take your time with the layout and measurements to ensure your tiles are as perfectly aligned as a Michelin-star plating.
Don’t skimp on the quality of your tools or materials, because investing in the right adhesive and grout today means a beautiful, durable culinary workspace that will stand the test of time.
The Soul of the Kitchen
“Think of tiling your backsplash less like a construction project and more like plating your signature dish; it’s that final, intentional layer of texture and color that turns a mere workspace into the vibrant, soulful heart of your home.”
Amelia Johnson
The Final Garnish
As we wrap up this culinary-meets-construction project, take a second to look at what you’ve actually accomplished. You’ve moved from the initial dream of a beautiful kitchen to the nitty-gritty of selecting the perfect materials, gathering your professional-grade tools, and executing that precise, step-by-step installation. Whether you went with a classic subway tile or something more adventurous, remember that the secret to a successful backsplash lies in the attention to detail—just like balancing the acidity in a delicate reduction. You’ve laid the foundation, applied the grout, and cleaned up the mess, turning a blank wall into a functional piece of art that is ready to withstand the heat of your busiest dinner services.
At the end of the day, your kitchen is more than just a place to prep meals; it is the stage where your creativity comes to life. Tiling your own backsplash is a metaphor for the culinary journey itself: it requires patience, a bit of grit, and the courage to embrace the imperfections that make a space feel lived-in and loved. I hope this project has given you a newfound confidence, not just in your DIY skills, but in your ability to shape your environment to reflect who you truly are. Now, grab a glass of wine, step back, and admire your handiwork—you’ve earned it!
Frequently Asked Questions
How do I know if my walls are actually ready for tile, or if I'm going to end up with a wavy, uneven mess?
Trust me, I’ve seen more than a few beautiful tiles ruined by a wonky foundation. Before you even touch that thin-set, grab a level and run it vertically, horizontally, and diagonally across your wall. If you see gaps or a “wavy” line, your substrate isn’t ready. You might need to patch those divots with some joint compound or even install a cement backer board. Think of it like prepping a pan—if the surface isn’t smooth, the finish won’t be either!
If I’m working with a busy pattern or a bold color, how can I make sure my grout choice doesn't totally clash with my vision?
Think of grout as the seasoning of your backsplash—too much salt can ruin a delicate dish, and the same goes for your tile! If you’re rocking a bold, busy pattern, I recommend playing it safe with a neutral grout that matches your tile’s base color. This lets the pattern shine without looking chaotic. However, if you want to lean into the drama, a high-contrast grout can make those geometric shapes really pop!
What’s the best way to handle those tricky little cuts around electrical outlets without feeling like I'm going to ruin the whole project?
Oh, I have been there! There is nothing quite like that sudden heart palpitations when you realize you’re staring down an electrical outlet. Take a deep breath—you’ve got this. The secret is to use a tile nipper or a wet saw with a diamond blade for precision. Measure twice, mark clearly with a pencil, and take tiny, incremental cuts. Think of it like fine-tuning a delicate sauce; patience and steady hands are your best ingredients!


Amelia Johnson
I believe that food is not just sustenance but an expression of culture and creativity. Let’s explore how we can turn our culinary passions into rewarding careers that feed both our souls and our wallets.