Clever Diy Storage Solutions for Small Homes
I still remember the chaos of my first professional kitchen in NYC—the frantic sound of clanging copper, the steam hitting my face, and that sinking feeling when I couldn’t find the damn saffron because a stack of heavy pans had buried it under a mountain of clutter. It wasn’t just about the mess; it was about the lost rhythm that happens when your workspace fights you. Most people think you need to drop thousands on custom-built cabinetry to fix a disorganized kitchen, but honestly? That’s a total myth. You don’t need a massive renovation budget to find your flow; you just need smart, intentional diy storage solutions that actually respect the way you move and cook.
I’m not here to sell you on some overpriced, aesthetic-only organizational trend that falls apart the moment you put a heavy cast-iron skillet in it. Instead, I’m going to share the no-nonsense, chef-tested methods I’ve used to turn cramped, chaotic spaces into streamlined sanctuaries. We’re going to dive into practical, soulful ways to organize your ingredients and tools so that your kitchen feels less like a battlefield and more like a canvas for your creativity. Let’s get to work.
Table of Contents
- Upcycled Home Organization Breathing New Life Into Forgotten Treasures
- Budget Friendly Shelving Projects to Elevate Your Creative Space
- My Secret Sauce for a Kitchen That Actually Works for You
- Making Your Space Work for Your Passion
- The Soul of the Kitchen
- Bringing Your Vision to Life
- Frequently Asked Questions
Upcycled Home Organization Breathing New Life Into Forgotten Treasures
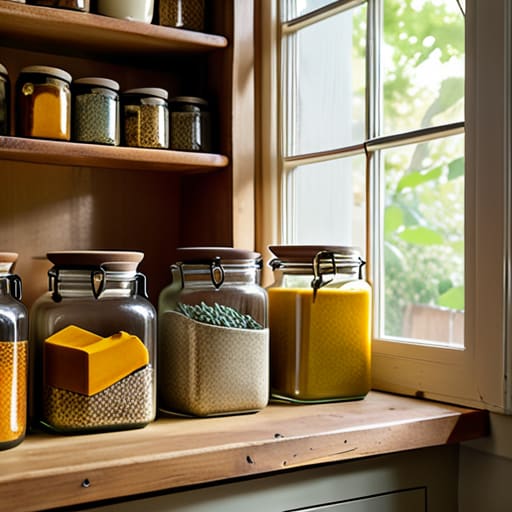
There is something deeply soulful about taking an object that’s lost its purpose and giving it a second act. Back when I was running a high-pressure kitchen in NYC, I learned that nothing—absolutely nothing—should go to waste. We used to take old, mismatched glass jars and turn them into a beautiful, organized system for our spice blends. You can bring that same creative energy into your own home through upcycled home organization. Instead of running to a big-box retailer for plastic bins, look at your vintage tea tins or even those beautiful ceramic crocks sitting in the back of your cupboard. They aren’t just “stuff”; they are vessels waiting to hold your treasures.
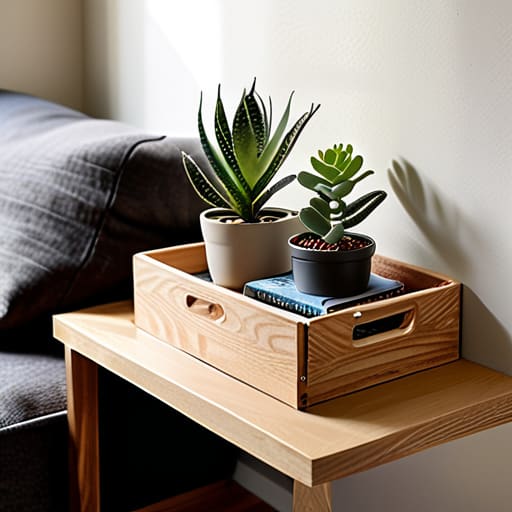
If you’re working with a tight footprint, these repurposed container ideas are absolute game-changers for maximizing every inch. I love the idea of using old wooden crates as makeshift shelving for a pantry or even a small nook. It’s not just about being resourceful; it’s about infusing your living space with a bit of history and character. When we choose to upcycle, we aren’t just organizing; we are curating a life that honors both our budget and our planet.
Budget Friendly Shelving Projects to Elevate Your Creative Space
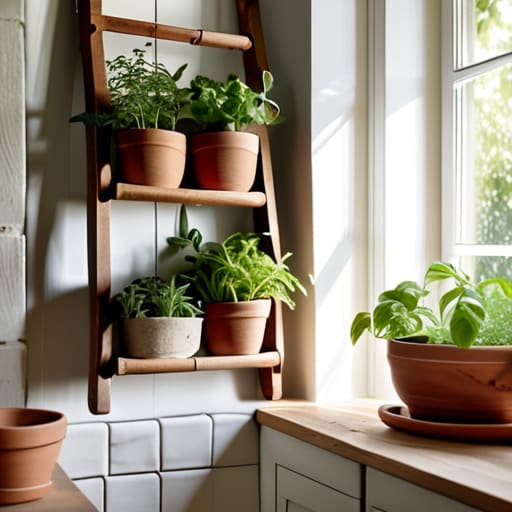
Now, let’s talk about when you want that high-end, professional kitchen aesthetic without the custom-built price tag. I’ve seen so many talented cooks struggle in cramped quarters simply because they didn’t have the right setup, but you don’t need a massive renovation to fix that. One of my favorite budget friendly shelving projects involves using simple wooden crates or even sturdy reclaimed ladders to create vertical interest. By leaning a vintage ladder against a wall, you can drape linens or even hang small herb pots, turning a blank wall into a functional piece of art.
If you’re working with a tighter footprint, like many of my clients in the city, you have to get smart with your vertical real estate. I always recommend looking upward; installing floating shelves near the ceiling is one of those game-changing small apartment storage hacks that keeps your most-used spices and oils within reach while clearing up precious counter space. It’s all about creating a flow that feels intentional rather than cluttered. Remember, a well-organized space isn’t just about tidiness—it’s about clearing the mental fog so you can actually focus on the joy of creating.
My Secret Sauce for a Kitchen That Actually Works for You
- Think like a chef and prioritize your “mise en place.” Before you start drilling holes or buying bins, group your items by how you actually use them—keep your most-loved spices and oils right at arm’s reach, while the heavy, once-a-year appliances can go tucked away on higher shelves.
- Don’t underestimate the power of vertical space. I’ve seen so many beautiful kitchens cramped because everything was fighting for counter real estate; use magnetic strips for your knives or wall-mounted rails for your prettiest measuring spoons to free up that precious workspace.
- Embrace the “clear bin” philosophy. There is nothing more frustrating than digging through a dark pantry for that specific bag of heirloom flour, so use transparent containers to turn your ingredients into a visual library that makes cooking feel effortless.
- Label everything, but make it pretty. Whether you’re using a classic chalk marker or a chic minimalist label maker, giving your jars a name isn’t just about organization—it’s about honoring the ingredients and making your pantry feel like a curated boutique.
- Build in “flex zones” for seasonal shifts. Your storage needs during a busy holiday baking marathon are totally different from a quiet summer of salads, so design your DIY solutions with modularity in mind—think stackable baskets or adjustable dividers that can evolve with your culinary rhythm.
Making Your Space Work for Your Passion
Don’t view organization as a chore; see it as a way to respect your ingredients and tools so they’re always ready for your next culinary adventure.
You don’t need a massive budget to create a professional-grade setup—creativity and upcycling can often beat expensive, store-bought solutions any day.
A well-organized kitchen isn’t just about tidiness, it’s about creating a flow that allows your creativity to take center stage without the clutter getting in your way.
The Soul of the Kitchen
“Don’t think of DIY storage as just a way to clear the clutter; think of it as building a stage for your ingredients. When you craft a space that honors your tools and spices, you’re not just organizing a kitchen—you’re setting the scene for your next culinary masterpiece.”
Amelia Johnson
Bringing Your Vision to Life
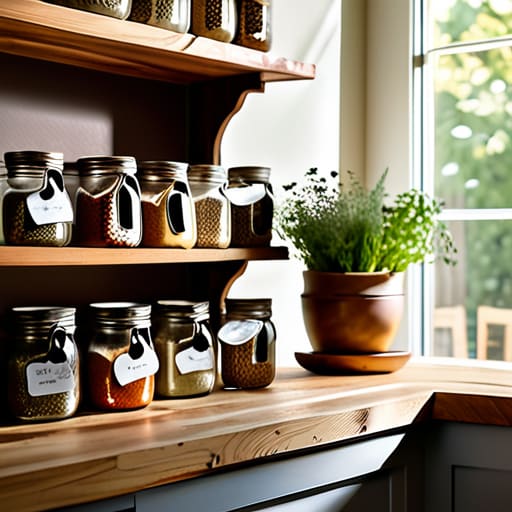
As we wrap up this little culinary journey, I hope you see that organizing your space doesn’t have to mean buying expensive, sterile plastic bins from a big-box store. Whether you’ve decided to breathe new life into old mason jars through upcycling or you’ve rolled up your sleeves to build custom, budget-friendly shelving, you are doing more than just clearing clutter. You are curating an environment that respects your tools and your ingredients. By implementing these DIY storage solutions, you’ve turned a chaotic kitchen or pantry into a functional workspace that actually supports your creative flow rather than hindering it. Remember, a well-organized space is the secret ingredient to a stress-free cooking experience.
At the end of the day, your kitchen is the heart of your home, and it should feel like a reflection of your unique soul. Don’t let the fear of a “imperfect” project stop you from starting; even a slightly crooked shelf tells a story of growth and hands-on learning. I truly believe that when we take the time to care for our surroundings, we are actually nurturing our passion for the craft itself. So, grab your tools, maybe a little bit of sandpaper, and go create a space that makes you excited to cook every single day. You’ve got the vision, and I can’t wait to see the beautifully organized sanctuaries you build!
Frequently Asked Questions
How can I organize my small pantry so I can actually see all my spices and ingredients without it feeling like a cluttered mess?
Trust me, I’ve been there—staring at a spice cabinet that looks more like a chaotic scavenger hunt than a chef’s workstation. To fix this, ditch the deep shelves and go vertical! Use tiered risers or even a rotating lazy Susan so nothing gets lost in the “back abyss.” I’m a huge fan of uniform glass jars with handwritten labels; it turns a cluttered mess into a beautiful, visual library of flavor that actually inspires you to cook.
Are there any specific DIY storage hacks that work best for heavy kitchen gear, like cast iron pans or stand mixers, without risking a shelf collapse?
Oh, the heavy hitters! I’ve definitely seen a few DIY shelves surrender to a Le Creuset or a KitchenAid, and trust me, that’s a heartbreak no one needs. For the heavy stuff, skip the flimsy particle board. I swear by reinforced floating shelves with heavy-duty steel brackets, or better yet, a dedicated rolling butcher block cart. It keeps your gear accessible and your floors safe. Think strength meets style—your cast iron deserves a sturdy home!
I love the idea of upcycling, but how do I make sure my repurposed containers actually look cohesive and professional in my kitchen rather than just looking like a collection of random scraps?
Oh, I hear you! There’s a fine line between “eclectic charm” and “cluttered chaos,” right? To keep things looking intentional, I swear by a unified color palette or a consistent material theme. If you’re using mismatched glass jars, try using the same style of minimalist labels or a uniform set of wooden lids. It’s all about creating a visual thread that ties those “scraps” together into a curated, professional collection.


Amelia Johnson
I believe that food is not just sustenance but an expression of culture and creativity. Let’s explore how we can turn our culinary passions into rewarding careers that feed both our souls and our wallets.