How to Spray Paint Anything for a Flawless Finish
I was standing in my tiny studio apartment, staring at a thrifted, chipped wooden chair that looked more like junk than a piece of furniture, clutching a can of matte black spray paint like it was a weapon. I had this vision of a chic, modern accent piece, but my first attempt at learning how to spray paint ended in a literal disaster: drips, uneven patches, and a texture that felt more like sandpaper than silk. It reminded me so much of my early days in professional kitchens—you can have the finest ingredients in the world, but if your technique is sloppy, the final dish is going to fall flat no matter how much passion you pour into it.
Don’t worry, though; I’ve spent enough time refining processes in high-pressure kitchens to know that any skill can be mastered with the right prep work. In this guide, I’m stripping away the fluff to give you the honest, no-nonsense blueprint for achieving a professional finish. We’re going to cover everything from prepping your surface to mastering that perfect, sweeping motion, ensuring your DIY projects look like they came from a high-end boutique rather than a messy garage.
Table of Contents
- Step-by-Step Instructions
- The Essential Prep Perfecting Spray Paint Surface Preparation
- A Chefs Precision Preventing Paint Drips and Runs
- The Secret Sauce: 5 Pro-Tips for a Flawless Finish
- The Secret Sauce to a Flawless Finish
- The Secret Ingredient to a Flawless Finish
- The Final Flourish
- Frequently Asked Questions
Guide Overview
Tools & Supplies
- Spray paint cans (various colors needed)
- Drop cloths (to protect surfaces)
- Painter's tape (for masking edges)
- Sandpaper (to smooth surface before painting)
- Surface cleaner (1 bottle for prep)
- Protective mask (1 unit for safety)
- Nitrile gloves (1 pair for handling)
Step-by-Step Instructions
- 1. First things first, we need to prep our workspace, and I mean really prep it. Think of this like mise en place in a professional kitchen; if your station is a mess, your final dish is going to suffer. Lay down some old newspapers or a drop cloth, and make sure you’re in a well-ventilated area—preferably outdoors if the weather is playing nice. You don’t want to be breathing in those fumes any more than I’d want to breathe in heavy smoke in a cramped kitchen.
- 2. Next, we have to get our surface “surgically clean.” I’m talking about scrubbing away every bit of dust, grease, or old residue with a bit of soap and water or a degreaser. If you’re working on something metal or wood, a light sanding with fine-grit sandpaper is your secret weapon for ensuring the paint actually sticks instead of just sliding off like a poorly emulsified sauce.
- 3. Once everything is bone-dry, it’s time to mask off the areas you don’t want to touch. Use some painter’s tape to cover up any hardware, edges, or delicate bits that should stay their original color. It takes a little patience, but precision is everything when you’re aiming for that high-end, professional finish that makes people wonder if you actually bought the piece new.
- 4. Now, let’s talk about the actual spray technique. Before you even touch your project, give the can a good shake—about two minutes of vigorous shaking to make sure all those pigments are perfectly blended. When you’re ready to spray, hold the can about 8 to 12 inches away and use sweeping, even motions. Avoid the temptation to hover in one spot, or you’ll end up with those dreaded drips that look like a kitchen disaster.
- 5. This is where most people trip up: you have to embrace the power of thin coats. Instead of trying to cover everything in one heavy pass, apply several light, translucent layers. It’s exactly like seasoning a dish; you wouldn’t dump a whole jar of salt in at once, right? You build the flavor—or in this case, the color—gradually to ensure a smooth, even application.
- 6. Patience is your best friend during the drying phase. Check the can for specific drying times, but generally, you’ll want to let each layer set before applying the next. If you rush this part, you’re going to end up with a tacky, smeared mess that will break your heart. Let the project breathe and settle between coats to achieve that flawless, factory-grade look.
- 7. Finally, once the paint is completely cured, you can carefully peel away your painter’s tape. If you’ve done everything right, you’ll reveal crisp, clean lines that look absolutely stunning. If you’re working on something that gets a lot of handling, consider adding a clear protective topcoat to seal in your hard work and give it that extra bit of durability it needs to shine.
The Essential Prep Perfecting Spray Paint Surface Preparation
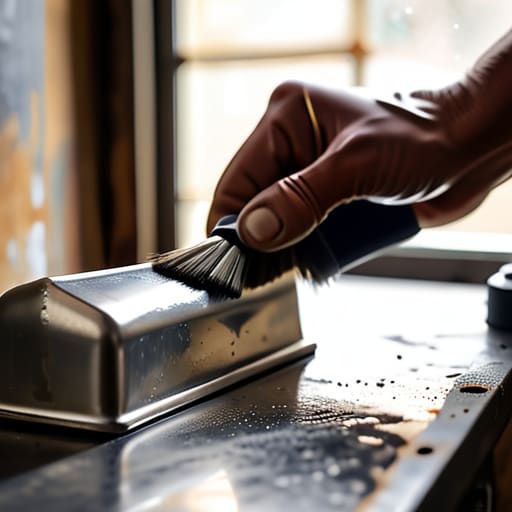
Think of your surface like a clean workstation in a professional kitchen; if your cutting board is greasy, your mirepoix is going to be a mess. The same logic applies here. Proper spray paint surface preparation is the difference between a finish that looks like a high-end restaurant plating and one that looks like a frantic dinner rush. You can’t just spray and pray! Start by scrubbing away any dust, oil, or old grime with a degreaser. If you’re working on something that’s going to live in the elements, like a garden chair, make sure you’re selecting the best spray paint for outdoor use to ensure that hard work actually lasts.
Once your surface is squeaky clean, don’t skip the most important “seasoning” step: applying a quality primer for spray painting. I always tell my clients that primer is like building a solid flavor base for a sauce; it provides the foundation that everything else clings to. A good primer helps the color adhere better and prevents that dreaded peeling later on. Taking these extra few minutes now will save you a massive headache—and a lot of wasted paint—down the road!
A Chefs Precision Preventing Paint Drips and Runs
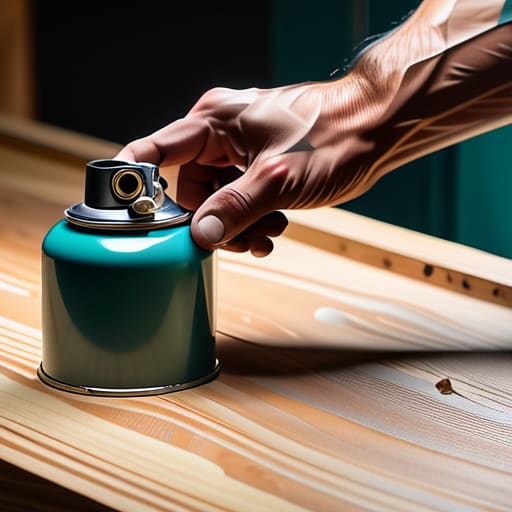
Think of this stage like tempering chocolate or emulsifying a delicate hollandaise; it’s all about control and timing. If you get too heavy-handed with the can, you’ll end up with those dreaded, messy streaks that look more like a kitchen mishap than a professional finish. To master preventing paint drips and runs, you have to treat the spray can like a high-end seasoning tool. Instead of trying to coat the entire surface in one go, aim for several ultra-thin, translucent layers. It’s much better to build up the color gradually than to drown your project in a single, heavy application that inevitably pools at the bottom.
Another pro tip from my time in high-pressure kitchens: keep your equipment in top shape. Just like a dull knife ruins a prep session, a clogged nozzle can cause uneven bursts that lead to splatters. A little bit of spray paint nozzle maintenance—like wiping the tip clean between sessions—goes a long way in ensuring a smooth, consistent flow. Always keep your hand moving in a steady, sweeping motion, starting the spray just before you hit the object and stopping just after you pass it. This ensures you aren’t dumping a concentrated burst of pigment right at the edges!
The Secret Sauce: 5 Pro-Tips for a Flawless Finish
- Master the “Mise en Place” of Spray Painting: Just like I wouldn’t start a service without my prep bowls ready, don’t start spraying until you’ve laid down your drop cloths and taped off your edges. Being organized is half the battle.
- Temperature is Everything: You wouldn’t try to emulsify a sauce in a freezing kitchen, right? Make sure your project and your paint cans are at room temperature. If it’s too cold, the paint won’t flow smoothly and you’ll end up with a texture like grainy sand.
- The “Light Mist” Technique: Think of your first coat like seasoning a dish—you want to go light and even, not dump the whole spice jar in at once. Multiple thin, sweeping layers are always better than one thick, gloopy layer that’s destined to drip.
- Keep That Can Moving: In the kitchen, we use constant motion when whisking to avoid clumps; spray painting is no different. Never start or stop your stroke directly on the object. Always start your spray to the side, sweep across, and release as you move past.
- Let It Breathe: Patience is a virtue, especially when you’re hungry for results! Give each layer adequate drying time before applying the next. If you rush the process, you’re basically trying to plate a dish before the protein has even finished resting.
The Secret Sauce to a Flawless Finish
Treat your prep work like mise en place; if your surface isn’t cleaned and primed perfectly before you start, no amount of high-quality paint can save the final dish.
Think of your spray can like a delicate sauce—aim for light, even layers rather than one heavy pour to avoid those dreaded, messy drips that ruin your presentation.
Patience is your best ingredient; resist the urge to rush the drying process, because a steady, layered approach is what turns a simple DIY project into a professional-grade masterpiece.
The Secret Ingredient to a Flawless Finish
“Think of spray painting like seasoning a delicate sauce; it’s all about the layers. If you rush the process or go too heavy too fast, you’ll end up with a mess instead of a masterpiece. Patience and a light touch are what turn a simple DIY project into something that truly tastes—or in this case, looks—expensive.”
Amelia Johnson
The Final Flourish
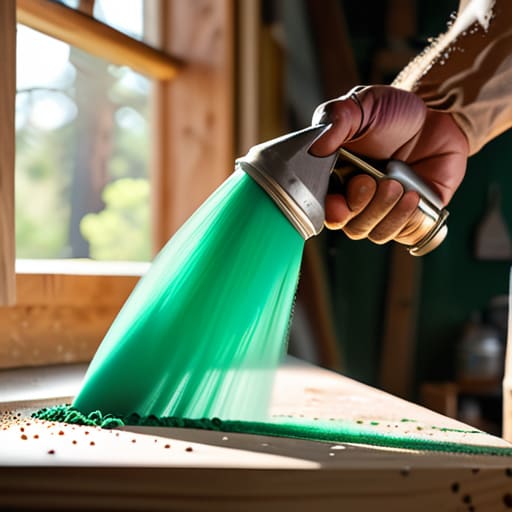
At the end of the day, mastering spray paint is a lot like perfecting a complex reduction sauce—it’s all about the prep and the patience. We’ve covered everything from the meticulous cleaning of your surfaces to the steady, even strokes needed to avoid those dreaded drips. Remember, the secret isn’t just in the can; it’s in how you respect the process. By taking the time to sand, prime, and apply thin, controlled layers, you aren’t just slapping on color; you are building a professional-grade finish that will stand the test of time.
Now that you’ve got the technique down, it’s time to step out of the kitchen—or the garage—and start creating. Don’t be afraid to experiment with bold colors or unexpected textures, even if it feels a little intimidating at first. Just like my first attempt at a soufflé, your first few projects might not be absolute perfection, but that’s where the real magic happens. Use every “mistake” as a lesson to refine your craft. Go ahead and turn your vision into reality; I can’t wait to see the incredible, colorful world you build one spray at a time!
Frequently Asked Questions
How do I know when I've applied enough paint without accidentally creating a thick, gloopy mess?
Think of it like glazing a cake: you’re aiming for a thin, even coat, not a heavy pour. If you try to get full coverage in one go, you’ll end up with a “gloopy mess” that’s impossible to fix. Instead, aim for a light, translucent mist. It’ll look a little patchy at first, but trust the process! Multiple thin layers are much better than one thick, heavy layer every single time.
Can I spray paint something that's already been painted, or do I need to strip it down to the bare surface first?
Think of this like refreshing a sauce that’s lost its luster—you don’t always need to start from scratch, but you can’t just pour more on and hope for the best! You can definitely spray paint over an existing layer, provided the old finish is clean, stable, and not peeling. Just give it a good sanding first to create some “tooth” for the new paint to grab onto. It’s all about that prep work!
What’s the best way to handle the smell and fumes so I don't end up with a massive headache?
Ugh, the dreaded “paint headache”—I’ve been there, and trust me, it’s not a vibe. Think of it like working in a kitchen with a faulty vent hood; you wouldn’t dream of cooking without airflow! Always work outdoors if possible, or at the very least, crack every window and set up a fan to keep the air moving. Most importantly, don’t skip the mask. A good respirator is your best friend here!


Amelia Johnson
I believe that food is not just sustenance but an expression of culture and creativity. Let’s explore how we can turn our culinary passions into rewarding careers that feed both our souls and our wallets.