How to Build a Raised Garden Bed From Scratch
I still remember standing in my grandmother’s garden back in Vermont, her hands caked in rich, dark soil as she pulled the most fragrant basil I’d ever smelled. Back then, I thought the secret to that flavor was some magical, ancient seed, but the truth is much simpler: it’s all about the foundation. Most people think you need a massive backyard and a degree in landscaping to start growing your own ingredients, but that’s a total myth. Learning how to build a raised garden bed isn’t about complex engineering; it’s about creating a controlled, nutrient-rich sanctuary where your culinary dreams can actually take root without fighting weeds or poor soil.
In this guide, I’m stripping away the fluff and giving you the exact, no-nonsense blueprint I use when I’m prepping a space for seasonal herbs. We’re going to walk through selecting the right materials, avoiding the common mistakes that lead to rotting wood, and setting up your bed for maximum flavor yield. Whether you’re a seasoned home cook or just someone looking to add a little freshness to your kitchen, I’m here to help you build something that feeds both your pantry and your soul.
Table of Contents
- Step-by-Step Instructions
- Choosing Your Canvas Cedar vs Pressure Treated Lumber
- Mastering the Mix the Perfect Raised Bed Soil Mix Ratio
- Pro-Tips from My Kitchen Garden: Small Tweaks for Big Harvests
- Bringing Your Garden to Life: My Top Three Kitchen-to-Garden Tips
- The Heart of the Harvest
- From Blueprint to Bounty
- Frequently Asked Questions
Guide Overview
Tools & Supplies
- Drill and bits for driving screws
- Measuring tape for accurate cuts
- Level to ensure even ground
- Handsaw or miter saw for wood cutting
- Untreated cedar or redwood boards (approx. 3-4 pieces)
- Galvanized wood screws (1 box)
- Garden soil and compost (enough to fill volume)
- Hardware cloth or landscape fabric (optional for base)
Step-by-Step Instructions
- 1. First things first, you’ve got to pick your materials with intention. Since we’re talking about growing things you’ll eventually be tasting, I highly recommend using untreated cedar or redwood. These woods are naturally rot-resistant, meaning you won’t have to worry about nasty chemicals leaching into your heirloom tomatoes. Avoid the cheap, pressure-treated stuff from the big-box stores; your palate (and the planet) will thank you for it.
- 2. Once you’ve got your wood, it’s time to head to the cutting station. You’ll want to decide on a height that feels comfortable for your back—I personally love a bed that’s about 12 to 18 inches deep so I can really get my hands dirty without feeling like I’m doing a full-body workout. Measure twice, cut once, and make sure your corners are nice and square so your little garden sanctuary doesn’t look lopsided.
- 3. Now, grab your drill and some exterior-grade screws to start the assembly. Lay out your boards on a flat surface and join them to create your frame. I like to use corner posts—basically, small square pieces of wood tucked into the inside corners—to give the structure some extra serious backbone. This prevents the weight of the soil from pushing the walls outward over time.
- 4. Before you let the soil take over, you need to prep your site. Clear away any weeds or stubborn grass, and if you’re placing this directly on the ground, I swear by laying down a layer of corrugated cardboard at the bottom. It’s a total game-changer because it smothers the existing weeds and eventually decomposes, turning into even more organic matter for your plants to feast on.
- 5. This is where the magic happens: the soil mix. Don’t just grab a bag of “dirt” from the backyard; your plants deserve better than that. I always suggest a high-quality blend of compost, peat moss (or coconut coir), and perlite. Think of this as creating a nutrient-rich foundation that acts like a gourmet meal for your seedlings, ensuring they have everything they need to thrive from day one.
- 6. Once your bed is filled and leveled, it’s time to add a bit of protection. If you have curious critters or neighborhood dogs eyeing your new project, consider stapling some hardware cloth (a fine metal mesh) to the bottom of the frame. It’s a small step that saves you a massive headache when you’re trying to harvest your first batch of basil.
- 7. Finally, give your new garden bed a good, deep soak. This settles the soil and ensures that the moisture reaches all the way down to the bottom layer. Now, take a breath, grab a glass of something refreshing, and admire your handiwork. You’ve just built the stage where your culinary dreams are going to grow!
Choosing Your Canvas Cedar vs Pressure Treated Lumber
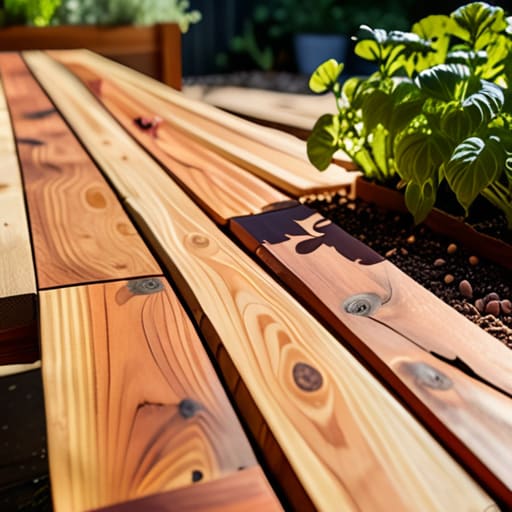
Now, let’s talk about the bones of your project. When you’re standing in the lumber aisle, you’re going to face the ultimate showdown: cedar vs pressure treated lumber. As someone who spent years obsessing over ingredient quality, I view your wood choice much like choosing between organic heirloom tomatoes and standard grocery store varieties—it’s all about the long-term payoff. Cedar is my absolute favorite; it’s naturally rot-resistant and contains those lovely tannins that keep it sturdy without needing a cocktail of chemicals. It’s a bit pricier upfront, but it’s the gold standard for longevity and keeps your growing environment clean.
If you’re working with a tighter budget, pressure-treated wood is an option, but you have to be savvy. Modern treatments are much safer than the old-school stuff, but I still prefer the peace of mind that comes with natural wood, especially if you’re growing heavy feeders like kale or strawberries. Whichever path you choose, remember that the wood is just the frame; the real magic happens once you start layering in your nutrients. Once your structure is set, you can focus on the fun part—perfecting that nutrient-dense soil blend to feed your plants!
Mastering the Mix the Perfect Raised Bed Soil Mix Ratio
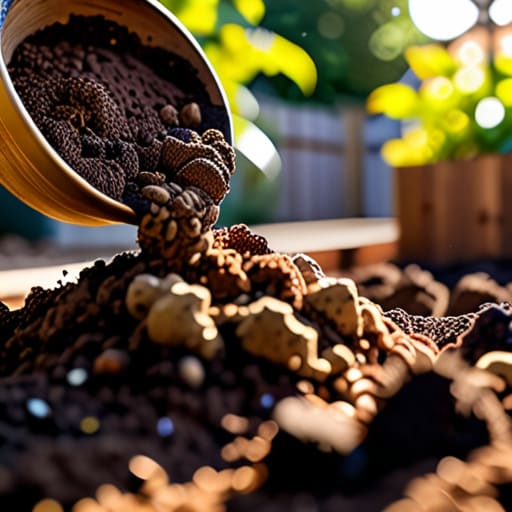
Now that you’ve settled the debate over cedar vs pressure treated lumber, it’s time to talk about the real magic: what goes inside. Think of your soil as the foundation of a fine dining dish; if the base is bland or poor quality, no amount of garnish can save it. When it comes to finding the ideal raised bed soil mix ratio, I always tell my clients to think in thirds. You want a blend of one part high-quality compost, one part peat moss or coconut coir, and one part vermiculite or perlite. This ensures your plants aren’t just sitting in heavy mud, but are instead breathing in a nutrient-rich sanctuary.
Don’t fall into the trap of just dumping cheap topsoil into your new creation. While it’s tempting to save a few bucks, heavy garden soil can compact quickly, leading to poor aeration. By mastering this specific ratio, you’re creating a lightweight, fluffy environment that encourages deep root growth. It’s all about building a living ecosystem that works for you, making your transition from backyard hobbyist to home chef a much more delicious journey.
Pro-Tips from My Kitchen Garden: Small Tweaks for Big Harvests
- Think about your reach before you nail that last board. I always tell my clients to keep beds no wider than four feet; if you can’t reach the center without stepping into the bed, you’re going to compact your beautiful soil and hurt those delicate root systems.
- Don’t forget the “bottom layer” magic. If you’re placing your bed directly on grass, don’t just dump soil on top! Lay down a thick layer of corrugated cardboard first. It smothers the weeds naturally and, as it breaks down, it turns into delicious organic matter for your plants.
- Leveling is your best friend. It sounds tedious, but if your bed is even slightly tilted, water will pool at one end and leave the other bone-dry. Spend those extra ten minutes with a spirit level now so you aren’t playing “water roulette” with your herbs later.
- Consider a little structural reinforcement. If you’re building something larger than a standard planter, I highly recommend driving a wooden stake into the center of the long sides. It prevents that inevitable “bowing” effect that happens once the weight of wet soil starts pushing against the wood.
- Plan for your future self with irrigation in mind. While you’re still in the construction phase, think about where a soaker hose might go. It’s much easier to tuck a watering system into your design today than to try and retrofitting it once your basil and heirloom tomatoes are already reaching for the sun.
Bringing Your Garden to Life: My Top Three Kitchen-to-Garden Tips
Don’t just build a box; build a legacy. Whether you choose cedar or pressure-treated wood, remember that this bed is the foundation for the flavors that will eventually grace your dinner table.
Invest your energy into the soil, not just the structure. You can have the most beautiful raised bed in the neighborhood, but without that perfect, nutrient-dense mix, your culinary dreams won’t have the fuel they need to grow.
Start small and dream big. It’s much better to master one or two flourishing beds that yield incredible herbs and veggies than to get overwhelmed by a massive garden that feels more like a chore than a creative outlet.
The Heart of the Harvest
“Building a raised bed isn’t just about stacking wood and filling it with dirt; it’s about constructing a dedicated stage where your favorite ingredients can perform, giving you a front-row seat to the magic of growing your own culinary legacy.”
Amelia Johnson
From Blueprint to Bounty
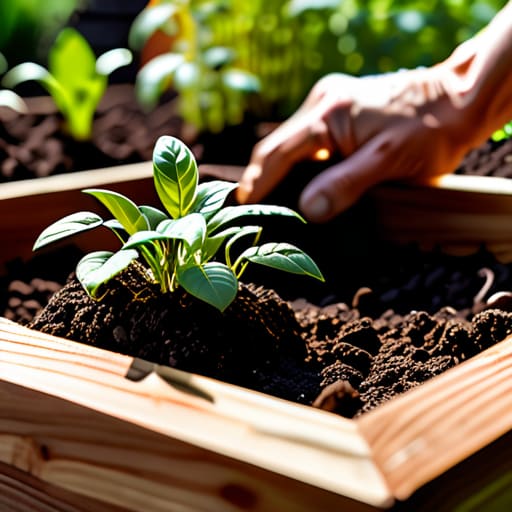
We’ve covered a lot of ground today, from selecting the right lumber to ensure your garden lasts for seasons to come, to mastering that crucial soil ratio that acts as the lifeblood of your plants. Building a raised bed is more than just a weekend DIY project; it’s about setting the foundation for a reliable, high-quality source of ingredients. Remember, whether you chose the longevity of cedar or the cost-effectiveness of other materials, the real magic happens once you get your hands in the dirt. By focusing on these structural fundamentals, you aren’t just building a box; you are constructing a controlled culinary environment where your favorite herbs and vegetables can truly thrive.
As you stand back and look at your finished work, I want you to realize that you’ve done something much bigger than carpentry. You’ve created a space where creativity meets sustenance. There is an incredible, almost spiritual connection that happens when you harvest a handful of basil or a ripe tomato that you nurtured from a tiny seed in a bed you built with your own two hands. Don’t let the fear of a little sawdust or a messy garden stop you. Embrace the process, enjoy the learning curve, and remember that every great chef’s journey begins with a deep respect for the ingredients. Now, go out there and start growing your dream kitchen!
Frequently Asked Questions
How do I keep hungry critters like rabbits or deer from treating my new garden like an all-you-can-eat buffet?
Oh, the heartbreak! There is nothing quite like waking up to find your beautiful baby kale looking like a snack bar for the local wildlife. To keep those hungry guests away, I swear by sturdy fencing. For rabbits, a fine mesh wire buried a few inches deep works wonders. If deer are the culprits, you’ll need something taller—think four to six feet. Think of it as setting boundaries for your culinary sanctuary!
Do I really need to line the bottom of my raised beds, or can I just plant directly into the ground?
That is such a great question! Honestly, you don’t have to, but here’s my take: if you’re planting directly into the ground, I love layering some cardboard at the bottom first. It smothers weeds without the plastic mess, eventually breaking down into delicious organic matter. However, if your soil is heavy clay or super rocky, lining the bottom helps create that “raised” effect, giving your veggies the premium, well-draining environment they deserve.
What’s the best way to position my beds to make sure my herbs and veggies actually get the sunlight they crave?
Think of your garden beds like a chef setting up a workstation—everything needs to be perfectly placed for success! For most veggies and herbs, you’re aiming for that “sweet spot” of six to eight hours of direct sunlight. I always recommend a south-facing position to soak up maximum rays. Just keep an eye on any nearby trees or fences that might cast hungry shadows over your greens during the peak afternoon rush!


Amelia Johnson
I believe that food is not just sustenance but an expression of culture and creativity. Let’s explore how we can turn our culinary passions into rewarding careers that feed both our souls and our wallets.