How to Weatherstrip a Door and Cut Your Energy Bill
I remember standing in my first tiny studio apartment in NYC, trying to whip up a delicate beurre blanc while a literal death wind whistled through the cracks of my front entrance. It was freezing, distracting, and honestly, a total culinary disaster. I used to think that if my place felt drafty, I just needed to crank up the heat and call it a day, but that’s a total myth. The truth is, you can burn through a fortune in heating costs and still feel a chill if you aren’t serious about weatherstripping a door properly. It isn’t just about plugging a hole; it’s about creating a controlled environment where you can actually focus on what matters—whether that’s a simmering sauce or a cozy reading nook.
In this guide, I’m stripping away the complicated jargon and giving you the straight-up, no-nonsense steps to seal those gaps for good. We’re going to walk through selecting the right materials and the precise way to apply them so you can stop fighting the elements. Think of this as the essential prep work for a comfortable home; once we get the foundation right, everything else just flows much smoother.
Table of Contents
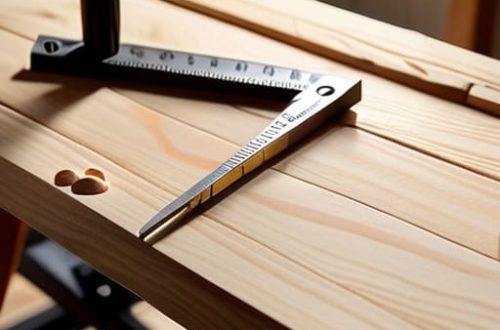
- Step-by-Step Instructions
- Selecting the Finest Types of Weatherstripping Materials
- A Masterful Guide to Preventing Air Leaks Around Doors
- The Chef’s Secret Sauce: 5 Pro-Tips for a Flawless Seal
- The Secret Sauce to a Cozy, Efficient Home
- The Secret Ingredient to a Cozy Home
- The Finishing Touch on Your Home’s Comfort
- Frequently Asked Questions
Guide Overview
Tools & Supplies
- Measuring tape for door dimensions
- Utility knife for trimming excess material
- Screwdriver for securing door sweeps
- Weatherstripping roll or strips (adhesive or screw-on)
- Door sweep (1 unit)
- Cleaning solution or rubbing alcohol for surface prep
Step-by-Step Instructions
- 1. Before we get our hands dirty, we need to prep the “mise en place” for this project. Grab a clean cloth and some rubbing alcohol to deep clean the door frame and the door itself where the new stripping will sit. Just like cleaning a workstation before a dinner rush, you can’t expect anything to stick if there’s a layer of dust or old, crusty residue in the way.
- 2. Next, let’s perform a little “taste test” to find our problem areas. Take a piece of paper or a thin strip of fabric and try to slide it through the gaps around your closed door. If the paper slides through easily without any resistance, you’ve just identified your leak points. Mark these spots with a pencil so you don’t miss them once the real work begins.
- 3. Now, it’s time to remove the old, tired weatherstripping. If you’re dealing with old adhesive strips, peel them back slowly; if they’re nailed or screwed in, use a screwdriver to gently lift them out. Think of this as clearing the old menu to make room for something much better and more efficient.
- 4. Once the surface is clean and dry, it’s time to measure. Grab your measuring tape and get precise—measure the height of the door and the width of the frame gaps. You want to avoid any awkward “scraps” left over, much like how I hate seeing wasted ingredients in a professional kitchen.
- 5. Now for the fun part: applying the new material. If you’re using adhesive foam or rubber, peel the backing off slowly and press it firmly into the door stop. You want to apply consistent pressure along the entire length to ensure there are no air pockets. If you’re using a screw-on style, make sure they are spaced evenly so the seal remains tight and professional.
- 6. Don’t forget the “bottom of the plate”—the door sweep! This is the heavy lifter that prevents drafts from creeping in under the door. Measure the width of the bottom of your door, cut your sweep to size, and either screw it in or stick it on, depending on the kit you bought. It’s the final seasoning that truly completes the dish.
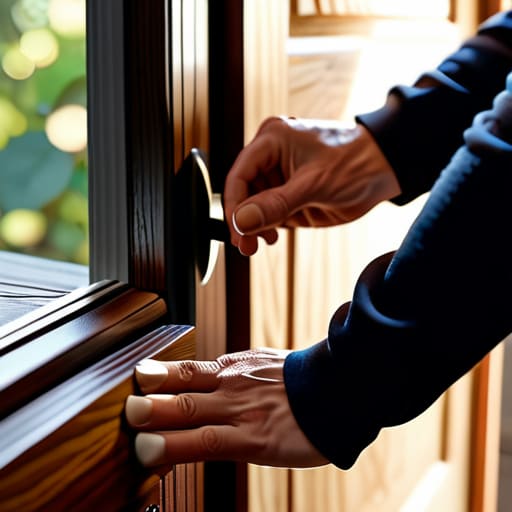
- 7. Finally, close the door and give it a test run. Does it close with a satisfying, snug feel? Does it still latch properly without needing a Herculean effort? If it feels solid and the drafts have vanished, you’ve successfully sealed the deal and turned your entryway into a cozy, energy-efficient sanctuary.
Selecting the Finest Types of Weatherstripping Materials
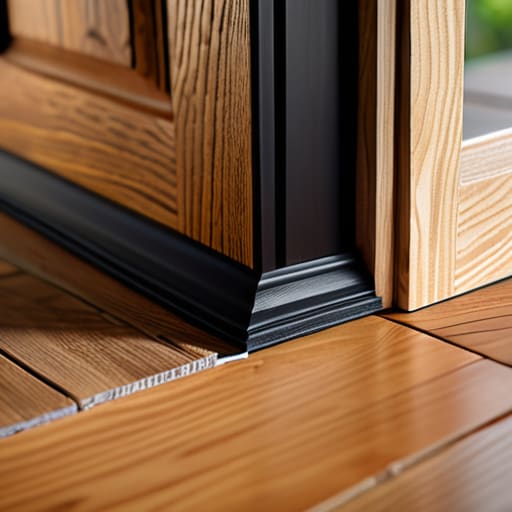
Think of choosing your materials like selecting the right fat for a delicate sauce; if you pick the wrong one, the whole dish—or in this case, your home’s comfort—just falls flat. When you’re looking at the different types of weatherstripping materials, you’ll generally find yourself choosing between foam, rubber, or silicone. Foam is budget-friendly and easy to work with, much like a reliable mirepoix, but it can wear down over time. If you want something that truly lasts, I always recommend diving into the world of silicone or high-quality rubber. These materials are the heavy hitters of the DIY world, offering incredible durability and a much tighter seal against those pesky drafts.
Don’t forget about the foundation of your door, though! A common mistake I see is focusing solely on the sides while ignoring the gap at the floor. A solid door bottom seal installation is absolutely vital for preventing air leaks around doors that sit low to the ground. Whether you’re opting for a classic door sweep or a more modern tension seal, getting that bottom edge right is the secret ingredient to making your space feel cozy and truly insulated.
A Masterful Guide to Preventing Air Leaks Around Doors
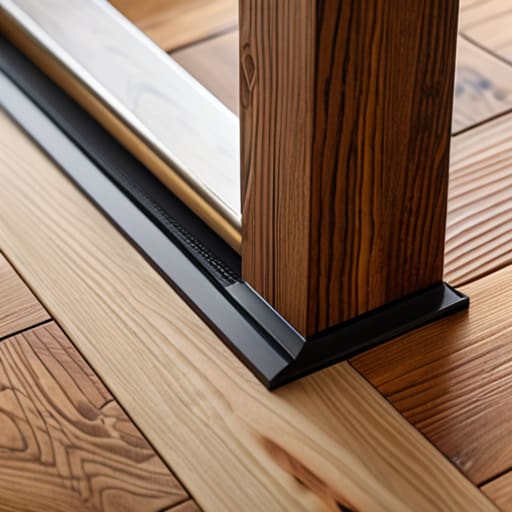
Think of your home like a perfectly balanced reduction; if you have too much heat escaping, the whole thing loses its richness. Just as a chef meticulously checks the seal on a sous-vide bag to ensure nothing escapes, you need to be just as precise when preventing air leaks around doors. It’s not just about the sides of the frame; often, the most significant “flavor loss” happens right at the floor. If you feel a draft hitting your ankles, it’s time to look into a door bottom seal installation. It’s a small tweak that makes a massive difference in how your space feels.
Beyond the immediate fix, I always tell my clients that these small tasks are part of the larger recipe for energy efficient home improvements. Instead of constantly cranking up the thermostat to fight a draft, think of this as improving home insulation from the ground up. Whether you’re tackling a quick door sweep replacement guide or adding new foam to a stubborn hinge, you’re essentially prepping your kitchen for a long, cozy service. It’s all about the prep work!
The Chef’s Secret Sauce: 5 Pro-Tips for a Flawless Seal
- Don’t skip the prep work! Just like you wouldn’t toss ingredients into a pan without cleaning them first, you must scrub that door frame clean of old adhesive and dust. A clean surface is the difference between a seal that lasts for years and one that peels off like a poorly made emulsion.
- Test your “seasoning” with a light source. Grab a flashlight and have a friend shine it from the other side of the door at night. If you see slivers of light peeking through, those are your “air leaks”—the culinary equivalent of an underseasoned dish—and they need more weatherstripping immediately.
- Mind the thickness, just like you’d mind the consistency of a reduction. If your weatherstripping is too thick, the door won’t latch properly, leaving you frustrated; if it’s too thin, it’s useless. Aim for that “Goldilocks” fit where the door closes firmly but without a struggle.
- Apply pressure like you’re kneading dough. When you’re sticking down those adhesive strips, don’t just slap them on. Use your thumbs to firmly press along the entire length to ensure the bond is tight and integrated. You want that contact to be absolute.
- Remember that the threshold is the foundation of the whole dish. Most people obsess over the sides of the door, but the bottom gap is where the real “flavor” (or in this case, the draft) escapes. Invest in a high-quality door sweep to anchor your seal and keep the warmth from wandering off.
The Secret Sauce to a Cozy, Efficient Home
Think of weatherstripping like the perfect seasoning for your home—it’s those small, essential touches that keep the warmth in and make your space feel truly inviting.
Don’t settle for a “one size fits all” approach; just like choosing the right spice for a dish, picking the right material for your specific door type is what makes the difference between mediocre and masterful.
Consistency is key, so treat your door maintenance like a well-prepped mise en place—staying on top of small leaks now prevents a massive, expensive headache down the road.
The Secret Ingredient to a Cozy Home
“Think of weatherstripping like the perfect seasoning for a complex sauce—it’s that subtle, essential layer that seals in the warmth and ensures all the good stuff stays exactly where it belongs.”
Amelia Johnson
The Finishing Touch on Your Home’s Comfort
At the end of the day, weatherstripping a door is a lot like prepping a complex sauce—it requires patience, the right ingredients, and a little bit of attention to the tiny details that most people overlook. We’ve walked through choosing the best materials, from those sturdy foam strips to the elegant silicone seals, and we’ve tackled the nitty-gritty of sealing those pesky air leaks that rob your home of its warmth. By taking these steps, you aren’t just fixing a door; you are performing a vital maintenance ritual that ensures your living space remains a sanctuary of efficiency and comfort, regardless of what the weather is doing outside.
I know that sometimes home improvement projects can feel a bit overwhelming, much like stepping into a high-pressure kitchen for the first time. But just like mastering a signature recipe, it’s all about the confidence you build through the process. Don’t be afraid to get your hands a little dirty to achieve that perfect seal. Once you see the difference in how your home feels—and how much you save on those energy bills—you’ll realize that small, intentional actions lead to the most rewarding results. Go ahead, grab your tools, and create a space that truly nourishes your well-being!
Frequently Asked Questions
How often should I be replacing my weatherstripping to make sure I'm not losing any heat or money?
Think of weatherstripping like the freshness of your herbs—once they lose their vibrancy, they just aren’t doing the job anymore. Ideally, I recommend a full inspection every year when the seasons shift. If you notice any cracking, flattening, or visible gaps, it’s time for a refresh. Most materials last about 5 to 10 years, but don’t wait for a total breakdown; replacing it early saves you a fortune on heating bills!
Is there a way to tell if my door is actually warped, or is it just a matter of fixing the seal?
Think of this like testing a sauce—you have to check the foundation before you start adjusting the seasoning. To see if your door is actually warped, try the “paper test.” Close the door on a sheet of paper; if it slides out with zero resistance in certain spots but catches tightly in others, you’ve likely got a warp. If the gap is consistent all the way down, it’s probably just a seal issue!
Can I use these same weatherstripping tricks on my windows, or do I need something specific for those?
That is such a great question! Think of it like substituting ingredients in a recipe—while the core technique is similar, you wouldn’t use heavy cream where you need a light vinaigrette. You can definitely use the same logic, but windows often require slimmer, more flexible materials like V-seal or specialized caulk to handle those tighter tracks. Always check the “specs” of your window frame first to ensure a perfect, airtight fit!


Amelia Johnson
I believe that food is not just sustenance but an expression of culture and creativity. Let’s explore how we can turn our culinary passions into rewarding careers that feed both our souls and our wallets.